| View previous topic :: View next topic |
| Author |
Message |
ocwd
Member
![]()
Joined: May 14, 2007
Posts: 721
Location: Placentia, CA
|
 Posted: Tue Nov 10, 2009 8:23 am Post subject: Puller Posted: Tue Nov 10, 2009 8:23 am Post subject: Puller |
 |
|
I'll have to check with my buddy to see where he got the puller.
53a1,
Do you want to use my puller (I have one now)? It would cost you about $22 shipping to and from and you would have to promise to return it ASAP.
Dave |
|
| Back to top |
|
 |
53a1
Member

Joined: Jun 25, 2008
Posts: 583
Location: Kern Co.
|
| Posted: Tue Nov 10, 2009 9:27 am Post subject: |
|
|
That is a nice gesture and I appreciate it but I think I'm going to put the 20 bucks into saving and purchasing one because I'm sure I'm going to use it more than once.
I'm looking at one on Ebay for 50 bucks but it has a round ring that the arms attach to. I guess this is so you can slide the arms to any angle to grab any bolt pattern. It's going to have to stand up to some serious abuse. The way the arms are cast to fit on the ring makes me a little nervous it will break.
BYW, I heated the brake drum with my torch in hopes it would free up a little. I'm sure the axle got a little heat. How much heat does it take to ruin the temper in an axle? I didn't get it red or anything like that but it was pretty hot. |
|
| Back to top |
|
|
wesk
Site Administrator


Joined: Apr 04, 2005
Posts: 16298
Location: Wisconsin
|
| Posted: Tue Nov 10, 2009 10:43 am Post subject: |
|
|
You probably did not hurt the axle. It's the drum that is the weak point in this game. Using the wrong tool, heat, and etc to force the drum/hub off the axle using cave man techniques usually results in a bent drum. The vertical centerline of the drum becomes offset where it was suppose to align perfectly with the brake shoes. This causes other griefs down the road.
_________________
Wes K
45 MB, 51 M38, 54 M37, 66 M101A1, 60 CJ5, 76 DJ5D, 47Bantam T3-C & 5? M100
Mjeeps photo album: http://www.willysmjeeps.com/v2/modules.php?set_albumName=Wes-Knettle&op=modload&name=gallery&file=index&include=view_album.php |
|
| Back to top |
|
|
53a1
Member
Joined: Jun 25, 2008
Posts: 583
Location: Kern Co.
|
| Posted: Tue Nov 10, 2009 4:23 pm Post subject: |
|
|
But I thought it was so easy evan a Caveman could do it  |
|
| Back to top |
|
|
53a1
Member
Joined: Jun 25, 2008
Posts: 583
Location: Kern Co.
|
| Posted: Sun Nov 15, 2009 7:45 pm Post subject: |
|
|
This is how I clean parts. I start with paint stripper to get paint & tar off. Two coats with metal brush and scraper followed by a wipe down. Then into the Harbor Freight sand blaster.
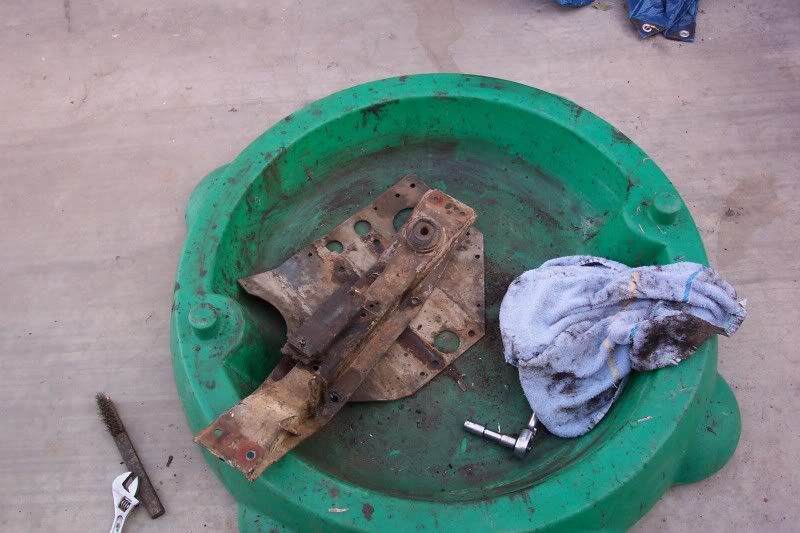
Phosphoric acid, rinse then prime.

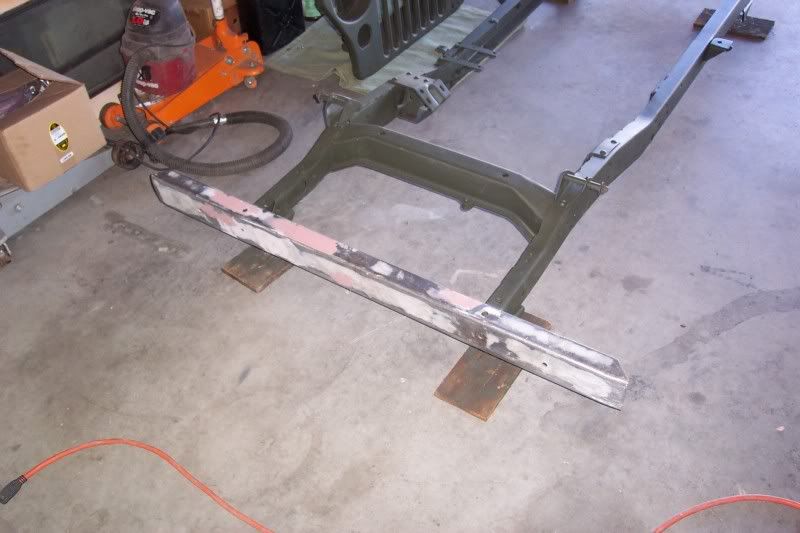
Bumper back from getting straightened.
A shade of green that was on a steering box that was off another A1. Don't know if it's the original color or not but is looks different than what I used.
 |
|
| Back to top |
|
|
53a1
Member
Joined: Jun 25, 2008
Posts: 583
Location: Kern Co.
|
| Posted: Tue Nov 17, 2009 10:12 pm Post subject: |
|
|
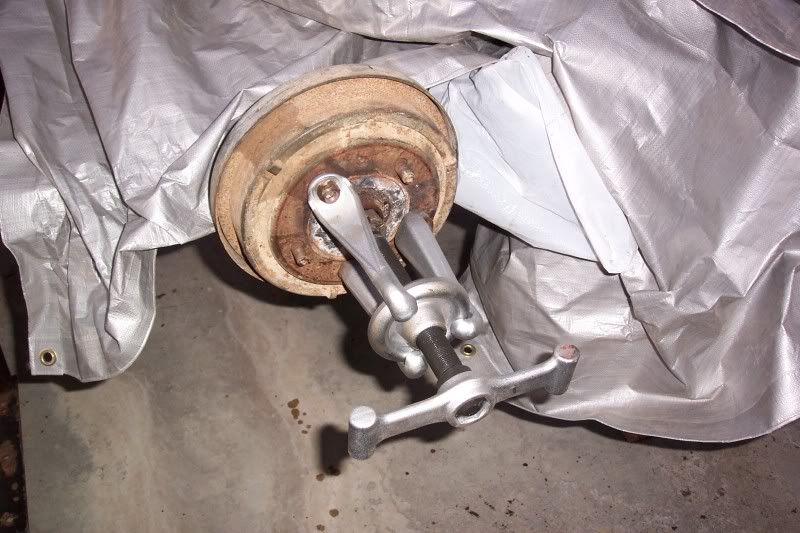
Ordered this online from Stars & Stripes tools. It's the same one listed on Ebay and it was 45.00 + shipping. It's Taiwanese but seems to be decent quality. I had to whack it with a 5 lb sledge hammer to get the hub off and the tool held up fine.
Last edited by 53a1 on Sun Nov 22, 2009 10:51 pm; edited 1 time in total |
|
| Back to top |
|
|
ocwd
Member
![]()
Joined: May 14, 2007
Posts: 721
Location: Placentia, CA
|
| Posted: Fri Nov 20, 2009 8:24 am Post subject: Parts |
|
|
That's a good use of the turtle-shaped sand box. My 2 1/2 year old son has the same one. I think he would be sad if I took it away from him to clean parts in.
I wish I had a sand blasting cabinet. Harbour Freight sells a decent looking one for pretty cheap. Until then I'll just stick to the wire wheel.
Your project looks great. |
|
| Back to top |
|
|
53a1
Member
Joined: Jun 25, 2008
Posts: 583
Location: Kern Co.
|
| Posted: Sat Nov 21, 2009 12:08 pm Post subject: |
|
|
The turtle method could be considered bubba in it own right. It's actually a very durable container and survived two kids and my parts (not at the same time). I also used it as a catch when I spray phosphoric acid.
I may clean it out and give it to the grand kids one day.
I'd wait until they get at least 4 years old before you confiscate it. From 3 to 4 years they used it as a pool. Now they are more interested in the Jeep. |
|
| Back to top |
|
|
53a1
Member
Joined: Jun 25, 2008
Posts: 583
Location: Kern Co.
|
| Posted: Mon Nov 30, 2009 11:26 pm Post subject: |
|
|
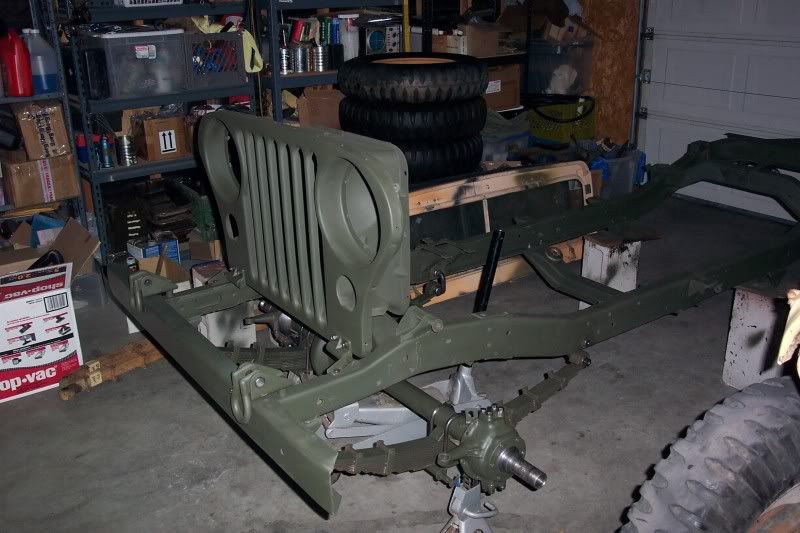
Axle and hub parts are painted. I realized from the pictures that primer is showing and I need to put on another coat of paint.
 |
|
| Back to top |
|
|
Galen
Member

Joined: May 09, 2005
Posts: 111
Location: Bentonville, AR
|
| Posted: Tue Dec 01, 2009 11:09 am Post subject: |
|
|
Looking Good!
_________________
Galen
1947 CJ2
1953 M38A1 |
|
| Back to top |
|
|
53a1
Member
Joined: Jun 25, 2008
Posts: 583
Location: Kern Co.
|
| Posted: Wed Dec 02, 2009 9:17 pm Post subject: |
|
|
Thanks.
I set the preload on the kingpin bearings and ended up removing all the shims from one side to get it to 5 lbs of pull. The manual says 6-9 lbs and the bearing looks great so I'm just going to live with it. The other side took one shim and it's at 6 lbs of pull to get it to move.
I bought a fish scale at Walmart for under 5 bucks and use that for setting the preload.
Springs & spindle hubs didn't need sand blasting. Just used Home Depot paint stripper, wire brush followed by a cleaning in zep purple then phosphoric acid. I didn't consider the cost of all these cleaning products when I started this project but it's major.
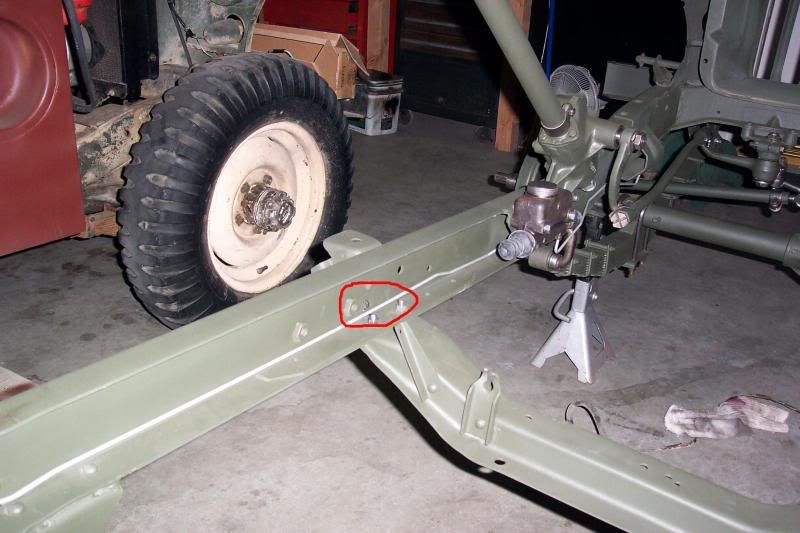
Also, Putting on the front axle I've realized how flexible the frame is. No wonder they box them in.
If I can recommend purchasing anything it would be the small mover's dolly that goes on sale at Harbor Freight. I use them for everything including putting the front axle in. The front axle I can lift no problem but getting it align when bolting it up is another story. And when not in use I store the tranny and engine block on them so I can move stuff around. I also used them to move my frame around and loading into the truck as I usually don't have help. |
|
| Back to top |
|
|
53a1
Member
Joined: Jun 25, 2008
Posts: 583
Location: Kern Co.
|
| Posted: Sat Dec 12, 2009 10:04 pm Post subject: |
|
|
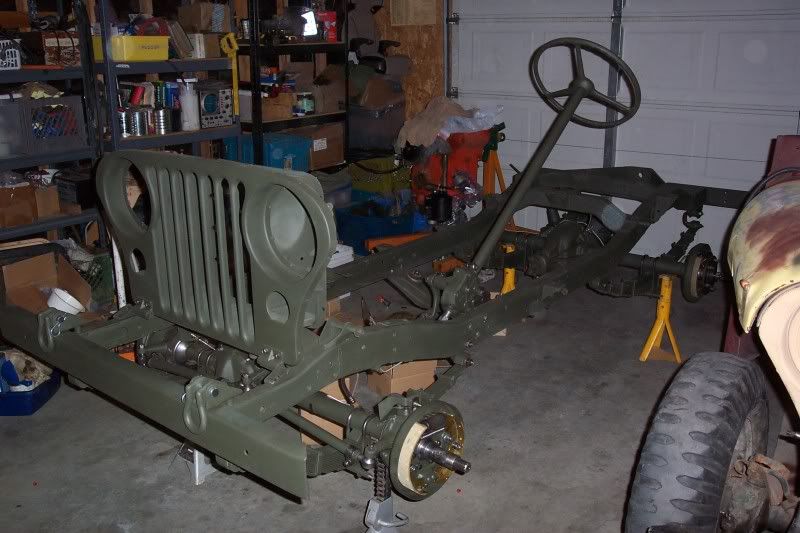
#@$%@ IT GOT COLD but I'm still at it. Rear axle is almost on and front brakes are going together. Steering linkage is almost ready to install.
Springs kicked my ass... Stripper, Brush, Wipe, Stripper, Brush, Wipe, Rinse, OSPHO, OSPHO, Rinse, Soap, Rinse, Air, Prime, Dry, Paint, Dry.
Man I'm Tired. |
|
| Back to top |
|
|
53a1
Member
Joined: Jun 25, 2008
Posts: 583
Location: Kern Co.
|
| Posted: Sat Dec 12, 2009 10:06 pm Post subject: |
|
|
| How come you scrambled the word d amn? |
|
| Back to top |
|
|
53a1
Member
Joined: Jun 25, 2008
Posts: 583
Location: Kern Co.
|
| Posted: Wed Dec 23, 2009 7:28 am Post subject: |
|
|
Decided to do my first master cylinder rebuild. The 137 kit from NAPA was very nice for 17.00 bucks compared to 70.00 for a new unit and included every part except cover gasket and washer that holds the piston in - no big deal. I honed it with a medium stone and oil rinsed with soap and water clean with brake fluid. I assembled then bench bleed then plugged both outlets to see if it would leak under pressure and it didn't.
 |
|
| Back to top |
|
|
53a1
Member
Joined: Jun 25, 2008
Posts: 583
Location: Kern Co.
|
| Posted: Wed Dec 30, 2009 2:47 am Post subject: |
|
|
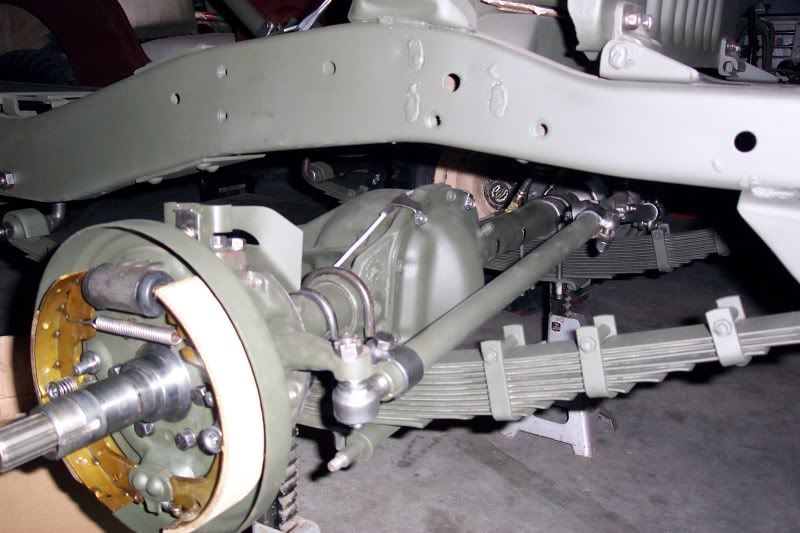
Latest progress.
Completed running the brake lines and brakes. Steering is in and engine and trans are almost ready. Should be rolling and stopping tomorrow. 
 |
|
| Back to top |
|
|
|

