Create an account Home  ·  ·  Forums  ·  ·  Articles  ·  ·  Downloads  ·  ·  Photo Gallery  
Login
Nickname

Password

Don't have an account yet? You can create one here.

Navigation
· Home
· Article Archive
· Article Submit
· Downloads
· FAQ
· Forums
· Members List
· Photo Gallery
· Private Messages
· Web Links
· Your Account

Search Articles


Forums

WTB M38 distributor breaker plate tabs
Hodakaguy M38 Misc Thread
1950 M38 no reading on the dash amp meter
Transfer Case rebuild issues
Zerks causing trouble.
1952 M38 converting to 12V
M38A1 Slave Bucket location
M274 A3 Mule For Sale
flywheel advice
conversion from a 12 volt system back to a 24 volt system

Willys M Jeeps Forums


willysmjeeps.com :: View topic - How To: Blackout Marker Refurb.
 Forum FAQForum FAQ   SearchSearch   UsergroupsUsergroups   ProfileProfile   Log in to check your private messagesLog in to check your private messages   Log inLog in 

How To: Blackout Marker Refurb.

 
Post new topic   Reply to topic    willysmjeeps.com Forum Index -> Technical Knowledge Base
View previous topic :: View next topic  
Author Message
Hawkshadow
Member


Joined: Oct 10, 2012
Posts: 310
Location: Toronto, Ontario, Canada

PostPosted: Sat May 07, 2016 7:36 pm    Post subject: How To: Blackout Marker Refurb. Reply with quote

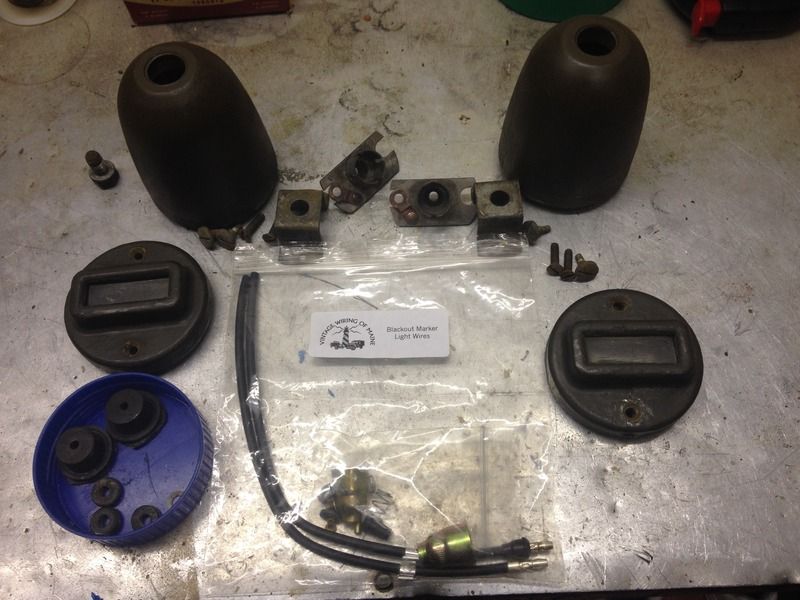
Here is how I refurbished my blackout markers. Ord 9 page 112 provides an excellent exploded diagram to assist in the process. My refurb kit came with my complete harness from Vintage Wiring of Maine. It is a very complete kit and I highly recommend it.

Disassemble and thoroughly clean all parts. Ensure to remove any remnants of the old rotted out spring that may have rusted away and fused itself to the bulb connector assembly. Here is everything disassembled, cleaned, and laid out beside the new kit.


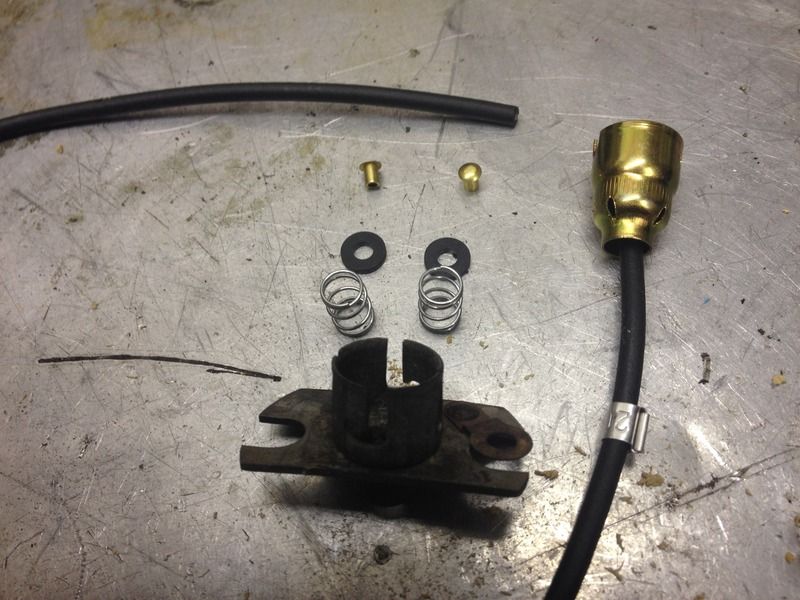
The new kit comes complete with the fibre disc replacement, as well as brass end caps which replaces the wire ends with hardened lead solder on the old setup.


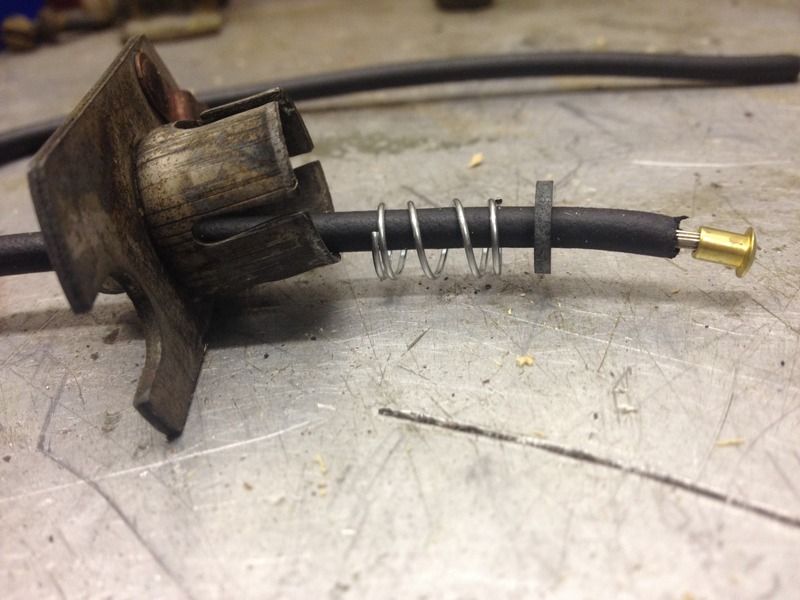
The wire is assembled like so. The new brass end will be soldered in to place.


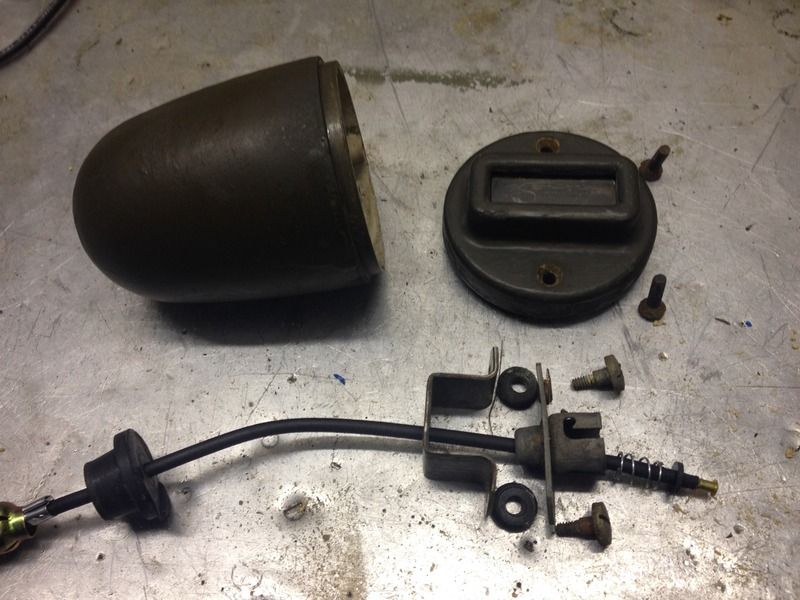
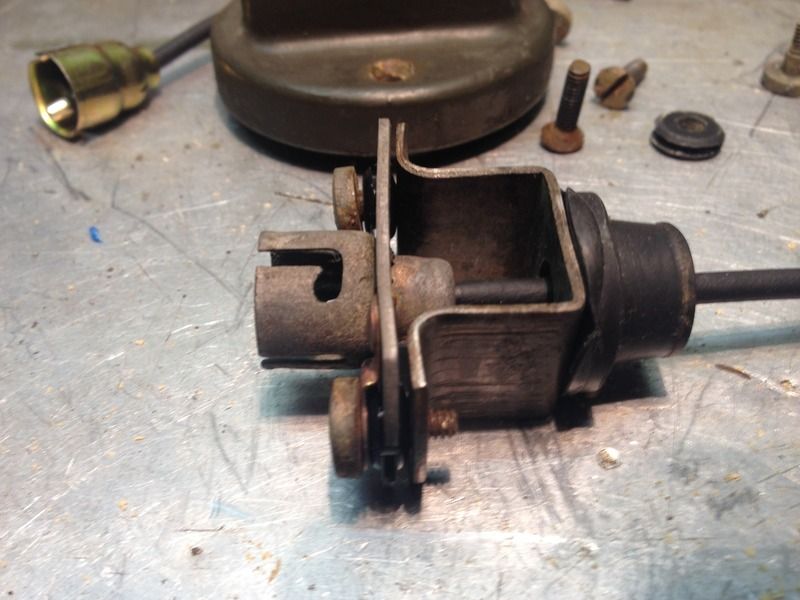
The assembly goes together as laid out below. Although not included in the kit, I chose to replace the aged rubber grommets which go between the connector assembly and the support.


Assemble and slide in to the housing. Ensure that you have good ground continuity between the connector assembly and the housing or the bulb will not light.


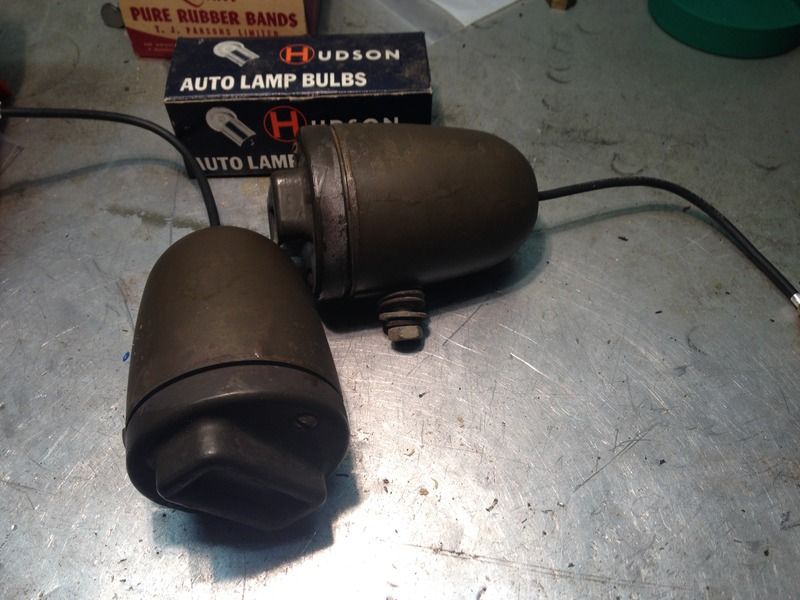
Instal a bulb into the connector assembly, re-instal the door assy and you are good to go!


There you have it!
_________________
Jordan

M38 CDN
52-30718
Back to top
View user's profile Send private message
WESTCOMVIC
Member


Joined: Dec 22, 2010
Posts: 49
Location: Victoria, B.C. Canada

PostPosted: Sun May 08, 2016 7:00 pm    Post subject: Reply with quote

If all tutorials were as revealing as this one, well pictured and explained, it would take all the fun out of trying, and cussing, and trying again!! well done! Very Happy
_________________
1953 M38A1...CFR 53-32475
1953 M-100..CFR 53-70201
Back to top
View user's profile Send private message
jeepers52
Member


Joined: Mar 12, 2008
Posts: 92
Location: Oro Valley, Arizona

PostPosted: Tue May 10, 2016 3:38 pm    Post subject: Reply with quote

You made it look easy!
Thanks for sharing your project
_________________
Mario
U.S. Army

1952 M38 Jeep
1952 M38 Jeep (project)
1945 T-3 Bantam trailer
Back to top
View user's profile Send private message
Hawkshadow
Member


Joined: Oct 10, 2012
Posts: 310
Location: Toronto, Ontario, Canada

PostPosted: Thu May 12, 2016 8:43 am    Post subject: Reply with quote

Thanks for the kind words. The longest part of the project was cleaning the connector assembly. I used a small ultra sonic cleaner after letting them sit in CLR and found that to work well.
_________________
Jordan

M38 CDN
52-30718
Back to top
View user's profile Send private message
Display posts from previous:   
Post new topic   Reply to topic    willysmjeeps.com Forum Index -> Technical Knowledge Base All times are GMT - 6 Hours
Page 1 of 1

 
Jump to:  
You cannot post new topics in this forum
You cannot reply to topics in this forum
You cannot edit your posts in this forum
You cannot delete your posts in this forum
You cannot vote in polls in this forum

Powered by phpBB © 2001 phpBB Group
Forums ©


PHP-Nuke Copyright © 2005 by Francisco Burzi. This is free software, and you may redistribute it under the GPL. PHP-Nuke comes with absolutely no warranty, for details, see the license.