An M38a1 Project thread - Duke gets some loving

Start your project thread here for advice and for others to follow along with your project. This is a long term thread.

Moderator: wesk

User avatar
Willis
Member
Posts: 26
Joined: Sun Sep 13, 2015 6:00 pm
Location: Harrisburg, PeeAy

Post by Willis »

The windshield is ready for final body work. I'm not thrilled with how the top ridge came out, but again my hands were tied unless I really wanted to get involved.

Image

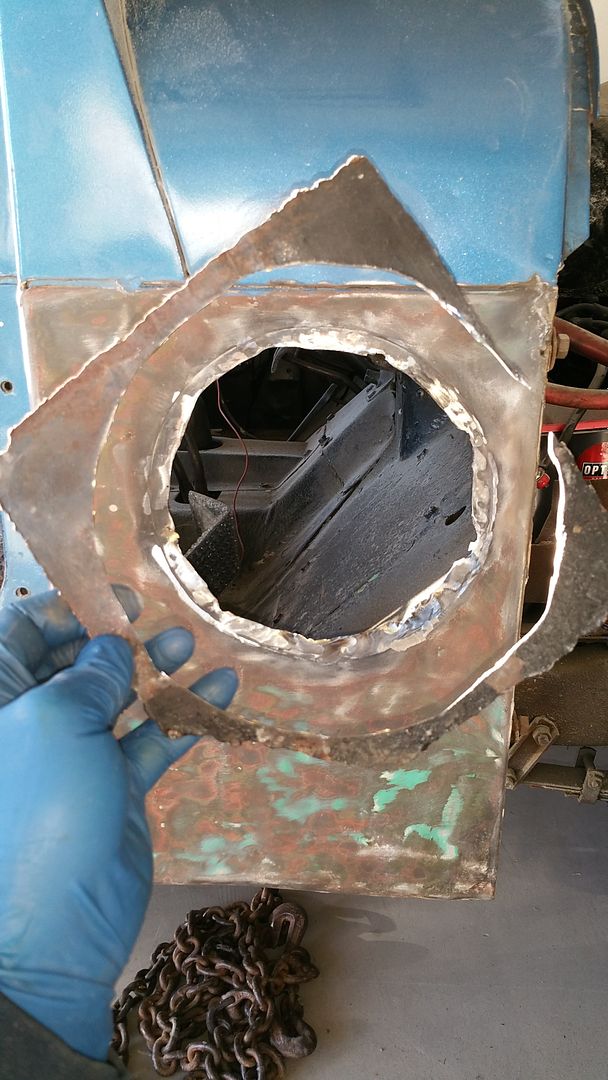
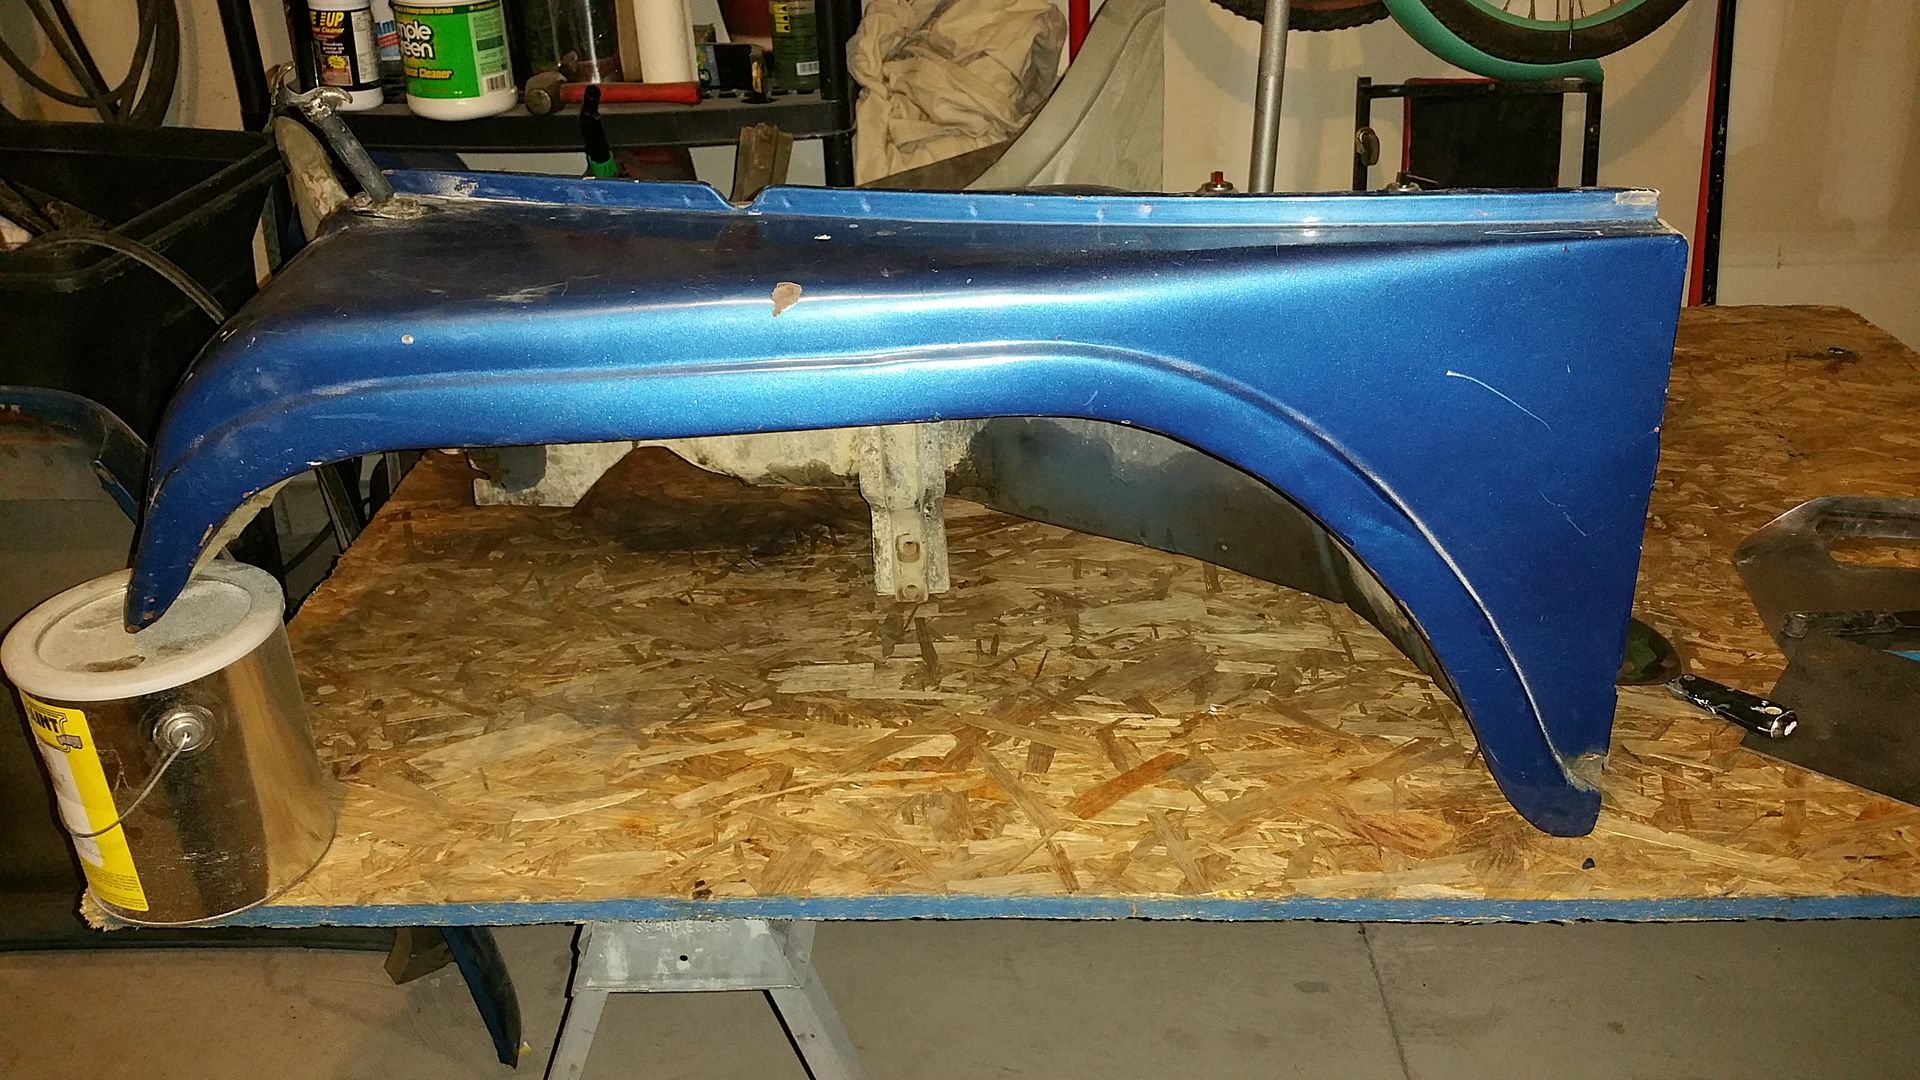
I started work on the passenger fender while I wait for a slave recess patch panel to surface.

The fender is in pretty okay shape but I have a couple hurdles to hop over.

Image

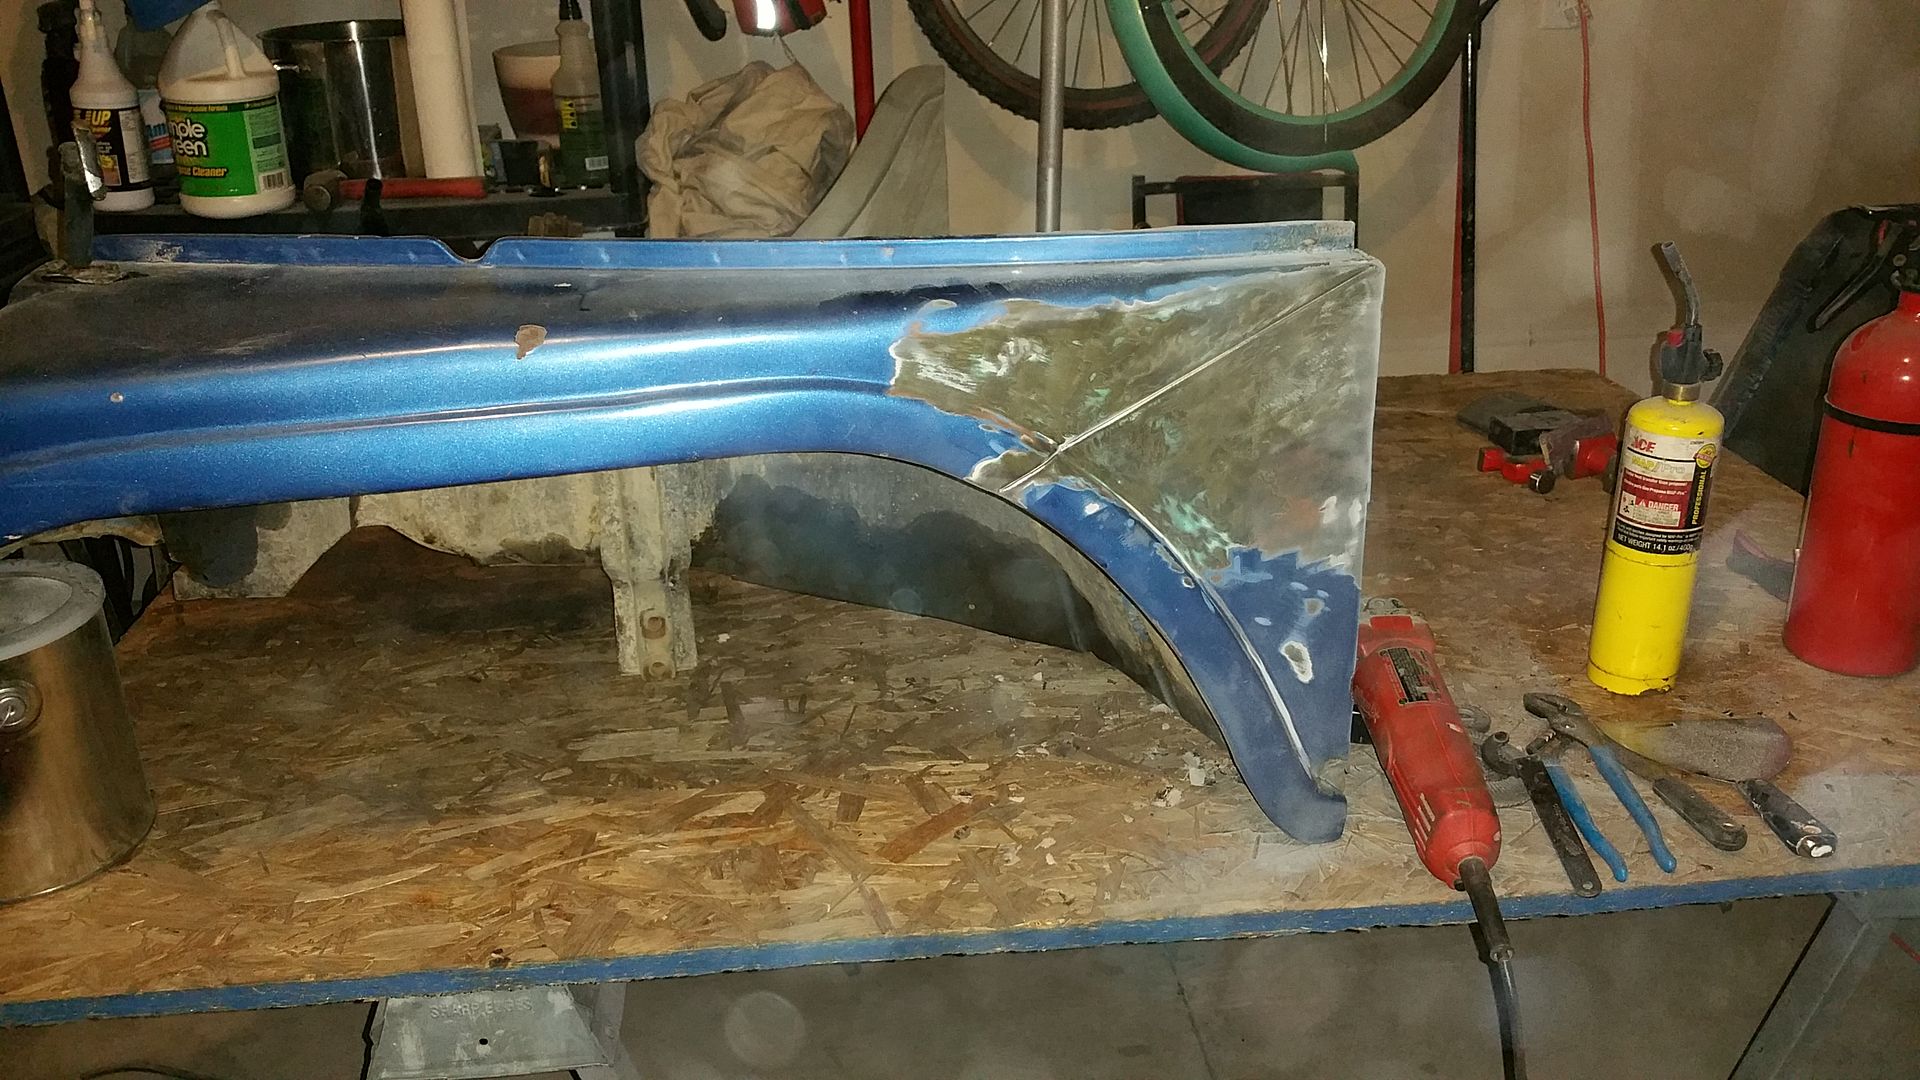
Whoever was into the fender before me liked to use braise. I've never delt with it before. I tried heating it with some map gas but it must not be hot enough.

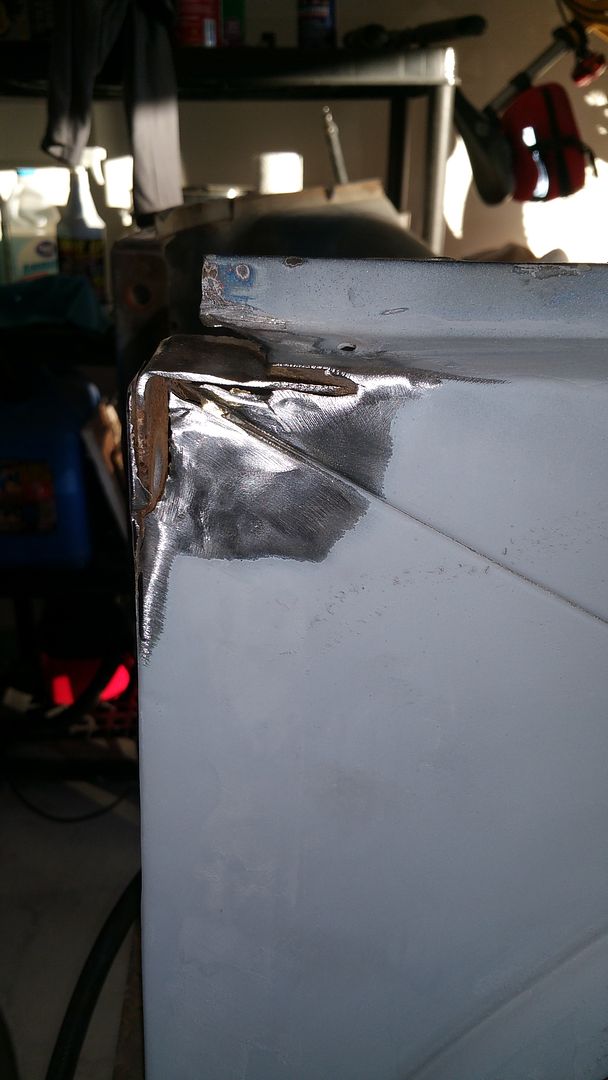
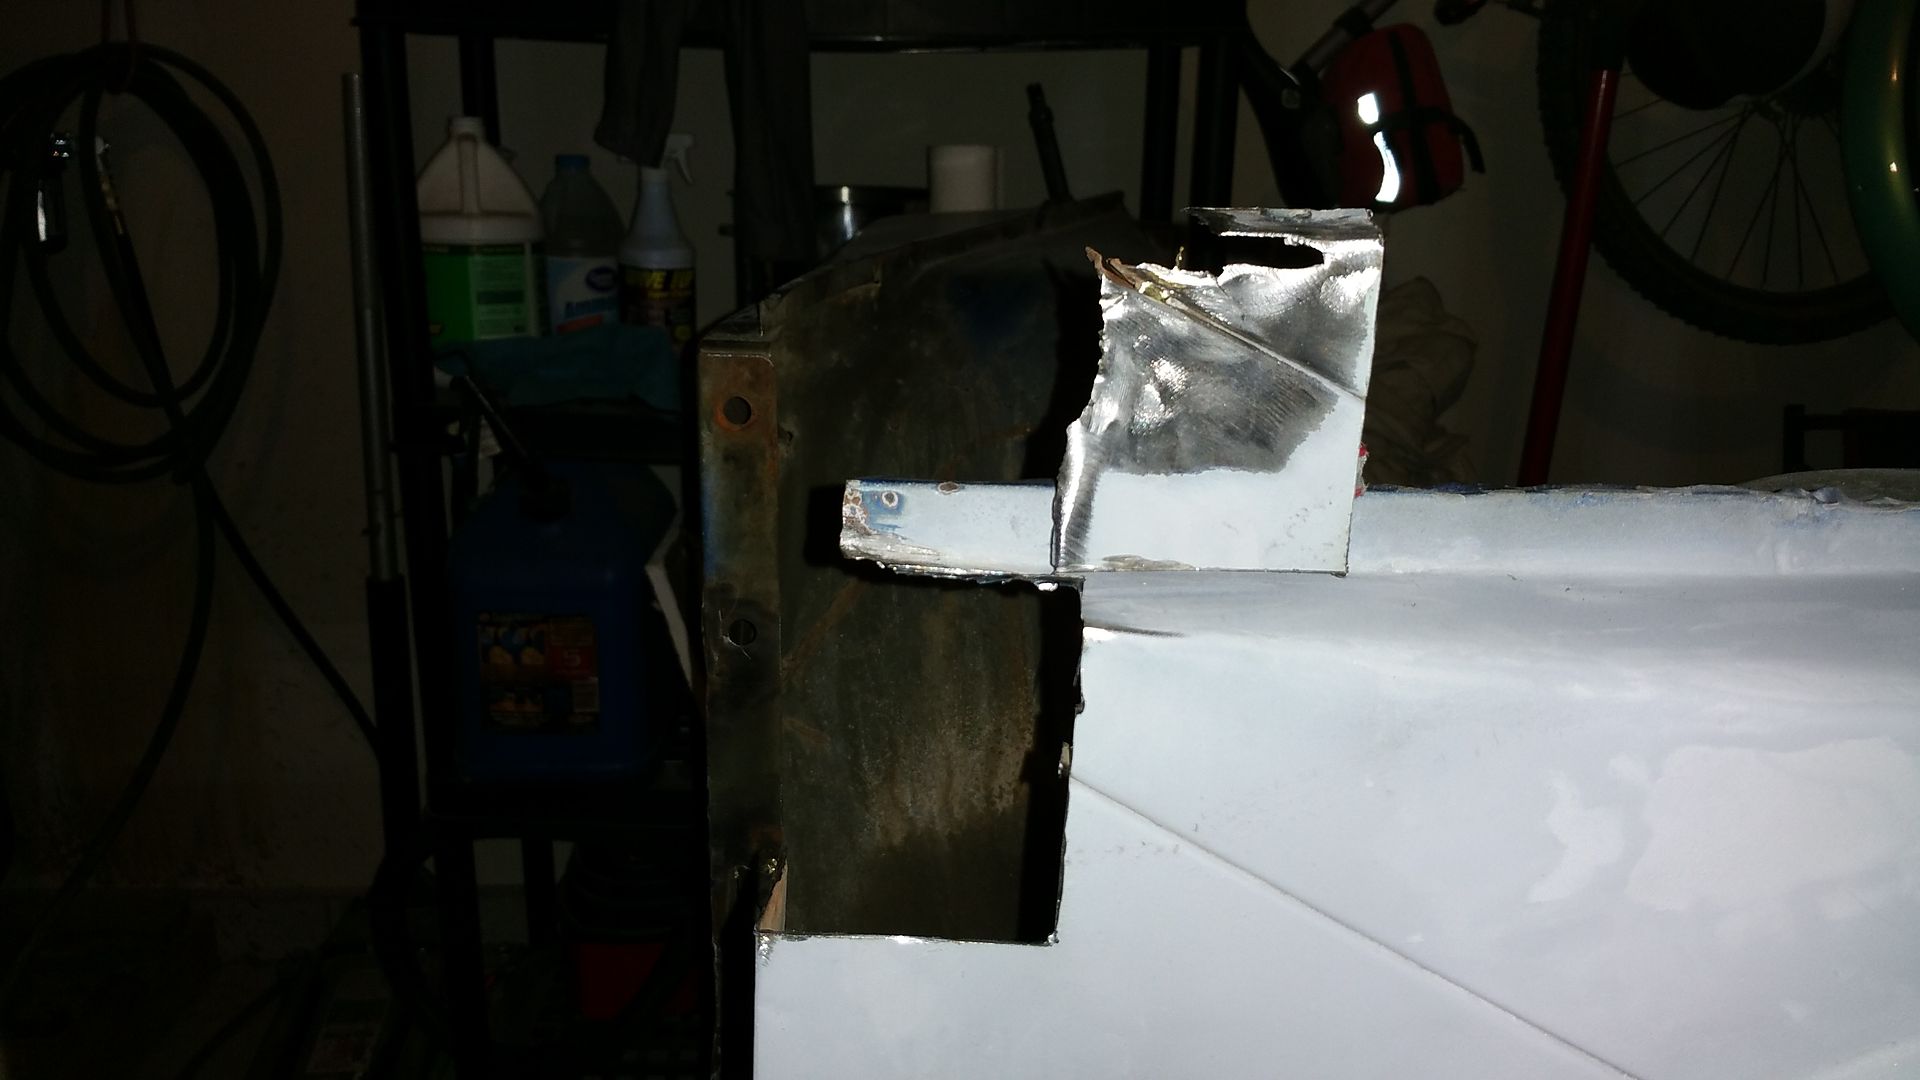
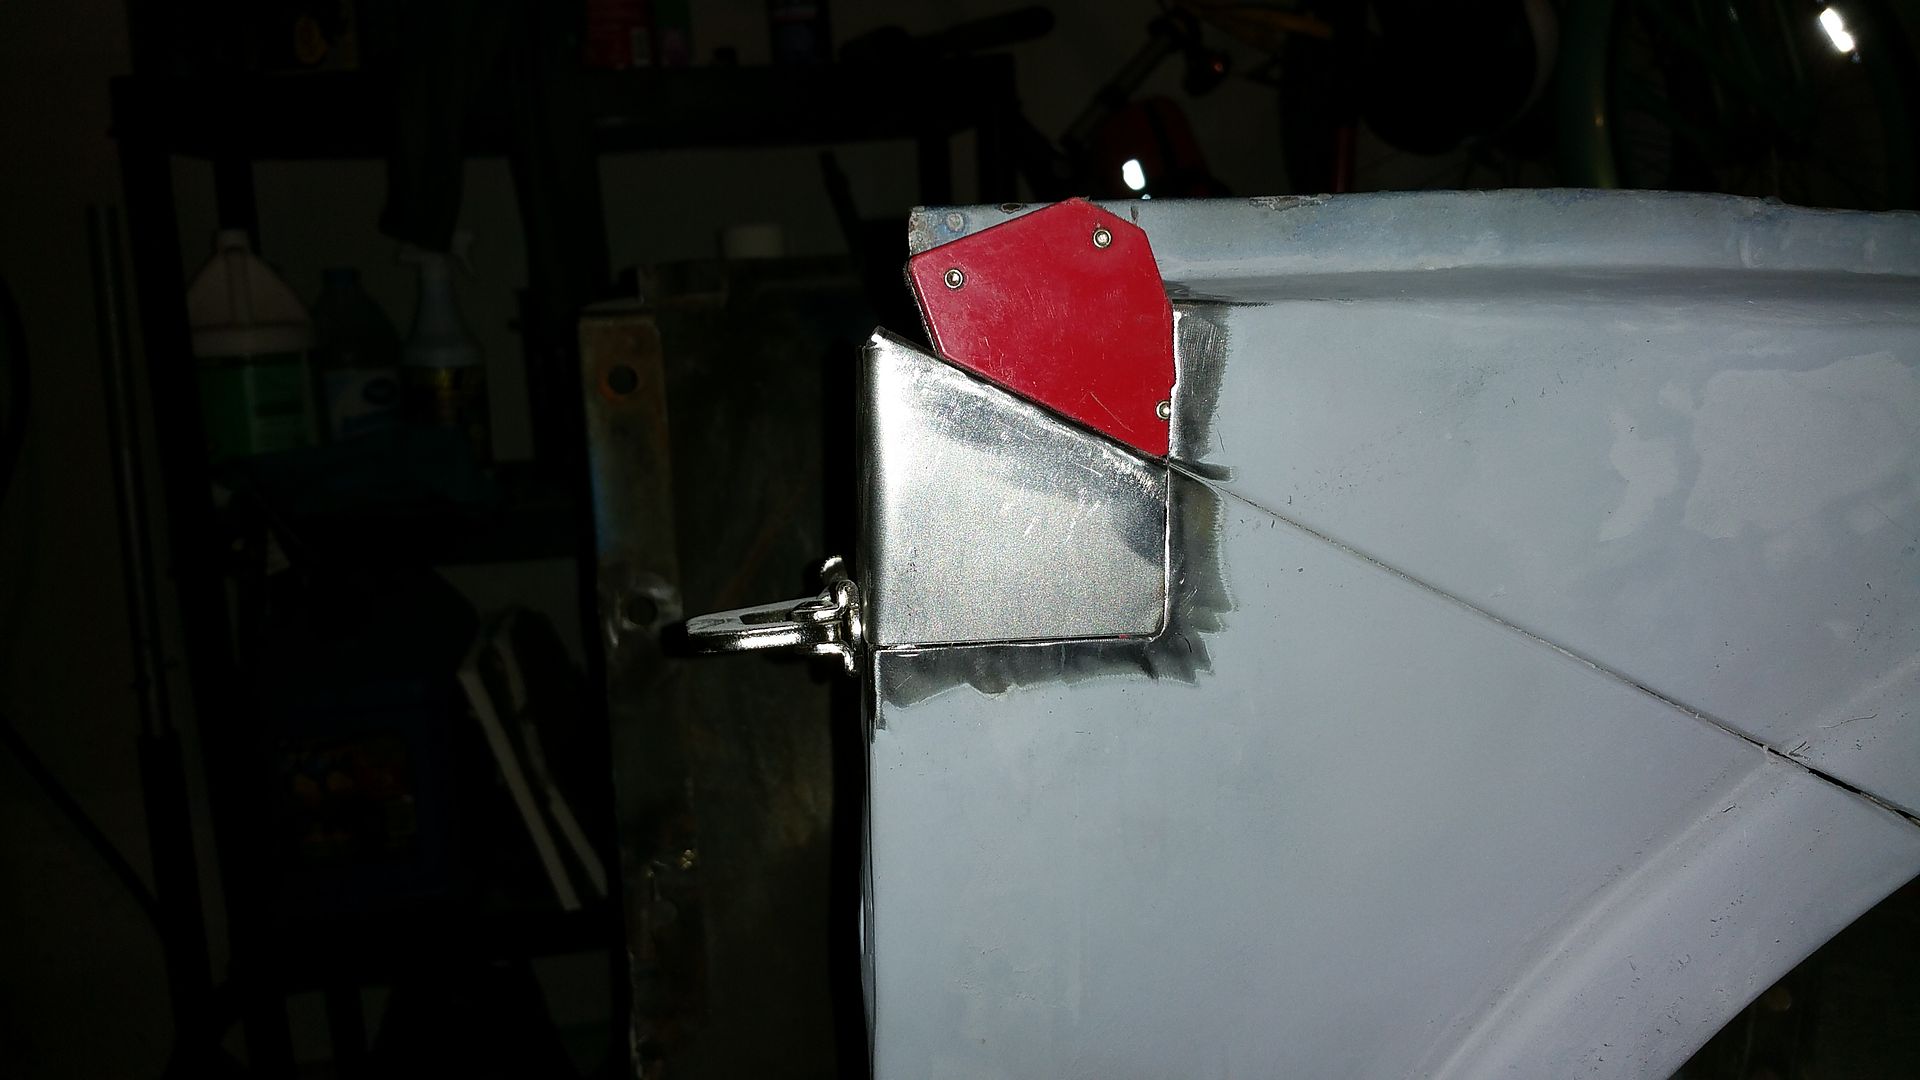
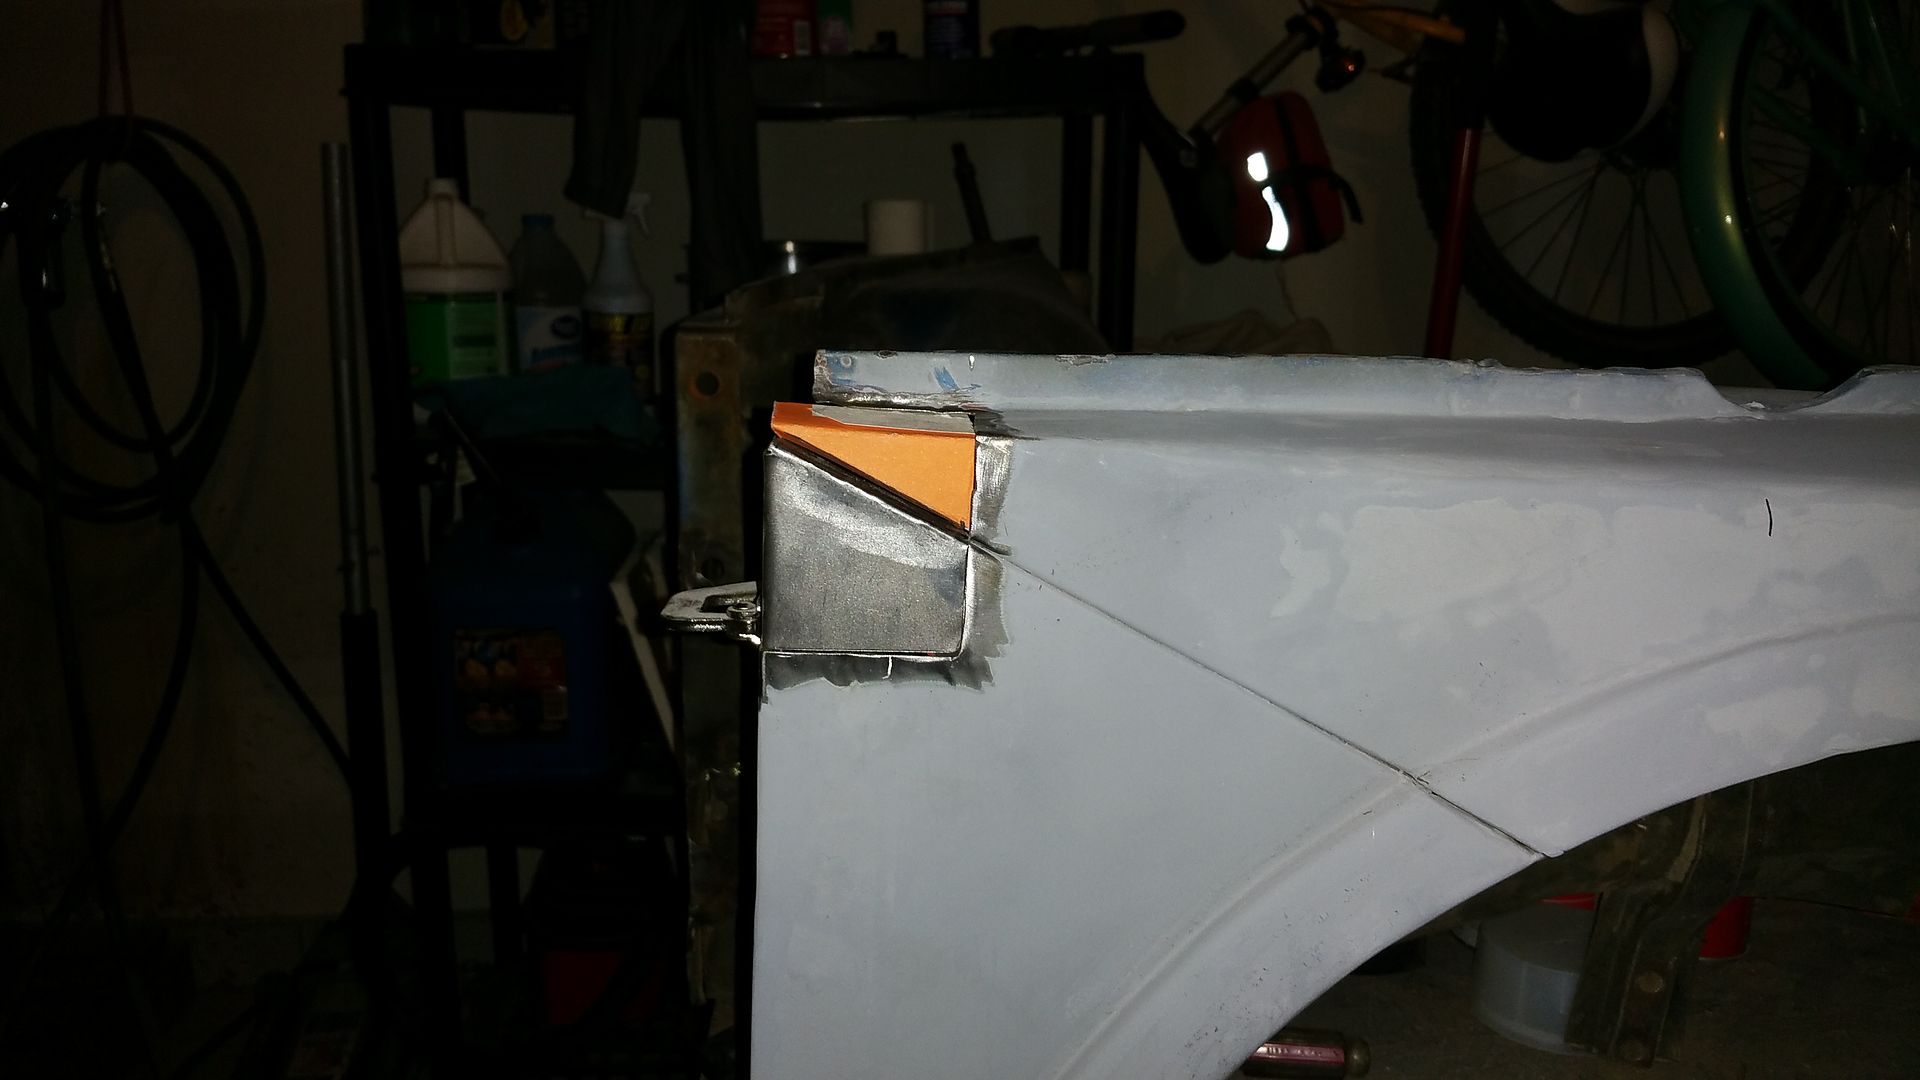
So while I research, I dealt with the bottom corner of the fender.

Image

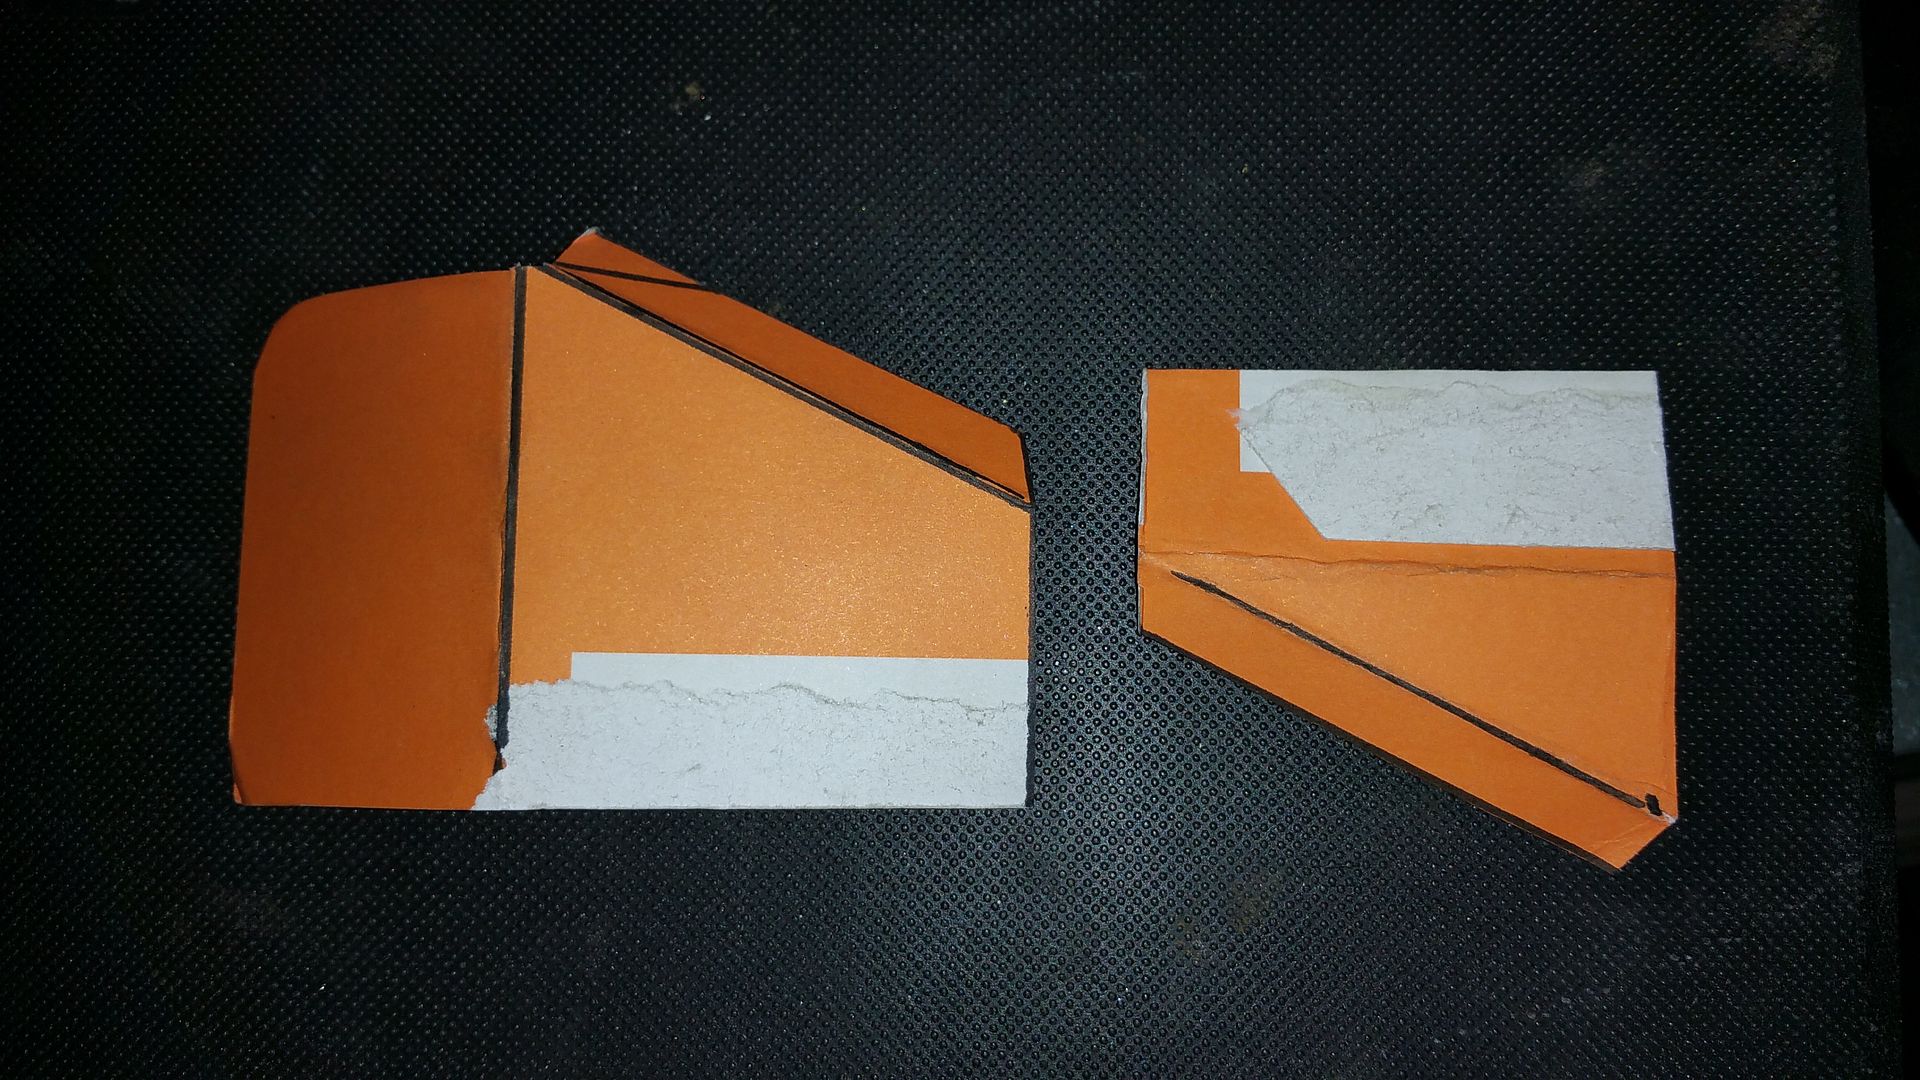
I'm not sure how this is suppose to look, but given it really won't be seen, I went with what I thought was strongest.

Image


With regard to the corner and the split seam...I think I may buy the overlay panels from Walks and cover up the corner. I suppose to do it right and not cover the seam, I would need to drill out the spot welds, separate the pieces and weld in new metal.

These fenders seem to be a rarity so I don't know which direction I want to go.
User avatar
4x4M38
Member
Posts: 3487
Joined: Thu May 29, 2014 6:00 pm
Location: Texas Hill Country

Post by 4x4M38 »

Be aware that the military tops with rope reinforcements sit
nearly level left and right at the windshield channel. There is a slight
radius in the top of the frame to allow water to run off, but that channel
spot welded to the front should be straight. Yours is rounded.

Not sure about civvy tops, but if you plan on using an M38A1
top you should look at that.
User avatar
4x4M38
Member
Posts: 3487
Joined: Thu May 29, 2014 6:00 pm
Location: Texas Hill Country

Post by 4x4M38 »

Well decided to go and look at some A1 windshields after I posted
the above. Looks like the A1 had a bow in the rope channel
as does yours.

The M38 is straight. Sorry for the confusion.

You are doing an admirable job. I have a similar mess with
my windshield. Son and I decided to refresh/learn how to
MIG on the top snap holes instead of something less obvious.

Have a mess to clean up.

The channel is rusted in a couple of spots, so will probably
replace it. What are your plans for the receptacle cutout?

Thanks for the photos. Helps the rest of us a lot.

Take care,
User avatar
Willis
Member
Posts: 26
Joined: Sun Sep 13, 2015 6:00 pm
Location: Harrisburg, PeeAy

Post by Willis »

4x4M38 wrote: The channel is rusted in a couple of spots, so will probably
replace it. What are your plans for the receptacle cutout?
My channel was pretty bad as well. I have a small piece of brass i used to fill the holes. It didn't come out perfect, but it is functional. I have to remind myself constantly that this isn't a restoration, just a face lift.

What I do with the Slave receptacle recess will depend on who decides to sell me one...and how it comes. My hope is that I will get some of the sheet metal around the recess. This braise is a booger to deal with. You pretty much have to cut it all out before you can weld. If you look at the below picture.....there's a TON of braise.

Image
User avatar
Kendall
Member
Posts: 348
Joined: Fri Feb 24, 2006 6:00 pm
Location: Wichita, KS

Post by Kendall »

Sorry for the delay in getting photos of my windshield glass. Here is what I believe to be original glass from my M38A1.
Image
Image
Good job on your jeep.
Kendall
1951 M38
1952 M38
1952 M38A1
1942 Dodge WC-55
1951 M100 trailer
1942 Ben Hur trailer
User avatar
Willis
Member
Posts: 26
Joined: Sun Sep 13, 2015 6:00 pm
Location: Harrisburg, PeeAy

Post by Willis »

Kendall - You're a kings king. Thank you much sir. I'll let you know how i make out.

I've decided to go ahead and cover up the diagonal seams on the fenders. Parts are on order.

I continued work on the passenger fender last night. Nothing truly interesting, just cutting out bad metal and welding in new.


Sorry for the blurry IMG. There are two area's that I wanted to address here - but again - the braising is tough to deal with. So I ended up leaving the left one alone.

Image


cut out and starting to fit the new piece.
Image

Image

I'm still learning the new welder and I'm blowing through a bit which is casing some frustrations. I'm sure I'll have it figured out when the jeep is done, ha.

Image

Image

Not to bad....I've already got it roughed in with filler. There is a lot less plastic in it now then what there was....so i'm calling it a win.

I'll probably start on the driver fender tonight.
User avatar
Willis
Member
Posts: 26
Joined: Sun Sep 13, 2015 6:00 pm
Location: Harrisburg, PeeAy

Post by Willis »

While waiting for the plastic to cure on the passenger fender, I pulled the driver side off. I said earlier that I had decided to cover the corners with the overlay piece from Walcks. This is what the fender looked like before the torch.

Image

I assumed the split seam would be in similar condition to the passenger side. But the drivers side looks really good. I think I may try to save the other side after all.

Image[/URL]

My wife asked that I not be in the garage all night, so not much progress, but some good news none the less
User avatar
4x4M38
Member
Posts: 3487
Joined: Thu May 29, 2014 6:00 pm
Location: Texas Hill Country

Post by 4x4M38 »

If you can get behind your sheetmetal go to the hardware store
and get a 1/2" copper pipe tee and beat it flat.

Put it behind where you are welding holes and hold or clamp it.
It will not stick to the mig and will keep you from blowing through.

Found that here and it works.
User avatar
45auto
Moderator
Moderator
Posts: 153
Joined: Tue Apr 05, 2005 6:00 pm
Location: Georgia

Post by 45auto »

This vendor has a M38A1 side port for sale. If you need more sheet medal around it, he can most likely cut one out for you from some of the many A1s he has on his yard.

http://www.ebay.com/itm/Jeep-Willys-M38 ... ~N&vxp=mtr
Harold W.
MVPA #6833
1945 GPW
1950 CJV-35/U
1951 M38 1952 M38
1962 USMC Contract M38A1
1953 Strick M100 1967 Johnson M416
1968 CJ5 4-Speed 1969 CJ5 V6
User avatar
ROBCDN3
Member
Posts: 75
Joined: Fri Mar 21, 2014 6:00 pm
Location: Simcoe Ontario Canada

Post by ROBCDN3 »

Hi. Willis. You have the pot part of the recept. just cut the patch out and grind the brass away. Cheers Rob
User avatar
Willis
Member
Posts: 26
Joined: Sun Sep 13, 2015 6:00 pm
Location: Harrisburg, PeeAy

Post by Willis »

4x4M38 wrote:If you can get behind your sheetmetal go to the hardware store
and get a 1/2" copper pipe tee and beat it flat.

Put it behind where you are welding holes and hold or clamp it.
It will not stick to the mig and will keep you from blowing through.

Found that here and it works.
Good tip. I have a piece of brass I use - never thought of using copper. I have a bunch of it laying around - i'll try it out.

45auto wrote: This vendor has a M38A1 side port for sale. If you need more sheet medal around it, he can most likely cut one out for you from some of the many A1s he has on his yard.

http://www.ebay.com/itm/Jeep-Willys-M38 ... ~N&vxp=mtr
Sweet. Thanks for the tip - I've sent him a message.

I'm planning to cut out the recess tonight to see what i'm left with.
User avatar
Willis
Member
Posts: 26
Joined: Sun Sep 13, 2015 6:00 pm
Location: Harrisburg, PeeAy

Post by Willis »

With a little action on the slave receptacle indent on ebay, I went to work on removing the old patch. Getting all the braise out is a bit tedious, but I'm glad it wasn't welded in. I was left with a fairly clean hole.

Image

With that removed, I went back to work on the passenger fender. If you have been following along this thread, you know that I've gone a couple different directions. I've decided to attempt to fix the corner and see how it comes out. If I don't like it, i can always put on the overlay patch from Walkcks.

Here's what it looked like after getting all the braise out:

Image

I started by building cardboard templates so I could get my head wrapped around the shapes I would need to manipulate.

Image

and then cut out the old corner

Image

I then cut and formed the bottom piece of the patch. I need to build some sort of brake - it would have came in handy a couple times now.

Image

And that's where I got to last night. Tonight I hope to have the top piece built

Image

I got something in my eye last night...driving me nuts today.
User avatar
Xamon
Member
Posts: 593
Joined: Mon Sep 17, 2012 6:00 pm
Location: South East Saskatchewan

Post by Xamon »

okay this may sound weird but if it is a piece of metal hold your eye open and put a strong magnet near it, I have some small neodymium magnets and have used them for that once. I usually wear a full face shield but sometimes things ricochet.
User avatar
4x4M38
Member
Posts: 3487
Joined: Thu May 29, 2014 6:00 pm
Location: Texas Hill Country

Post by 4x4M38 »

That's yeoman work right there.

Be careful with those eyes. Metal flakes can get in there
from grinding and cause real damage. Many years ago
had the same problem. Drove me nuts until I drove myself to the
emergency room. They put a liquid in my eyes and used a fluorescent
light to spot the flakes. They managed to get them out and
I didn't do any serious damage.

The doc says,"Who drove you here?"

"I did."

"Well you need to call someone because we are going to bandage
your eyes for three days....."

Managing without eyesight for three days was scary.

Protect your eyes.
User avatar
Willis
Member
Posts: 26
Joined: Sun Sep 13, 2015 6:00 pm
Location: Harrisburg, PeeAy

Post by Willis »

So, I ended up repeating your story Bryan.

Yesterday I woke up and the eye was no better. I flushed it 2 times to no avail. I made an appointment with my optometrist and drove myself to his office.

The doc took one long look and I had a flake of metal embedded in my left eye. Out comes the drops and what looked like dentist tools. He ended up having to make a small incision to get it out but it had already started rusting. He got a small drill out and drilled out all the rust. Thankfully he didn't use any bondo to smooth out the rust he removed.....

What he did didn't hurt, it just wasn't pleasant and I have to apply a cream for a few days which makes everything fuzzy.

I'm really good about wearing full face protection when I'm grinding. But I know exactly when I got the piece in my eye. It was when i reached for my grinder to make a quick touch up and didn't put the mask on.

dumb move...and it's costing me some progress...not to mention a few death stares from my wife. I'll just make sure she is on my left side for the next couple of days so i don't see her.
Post Reply