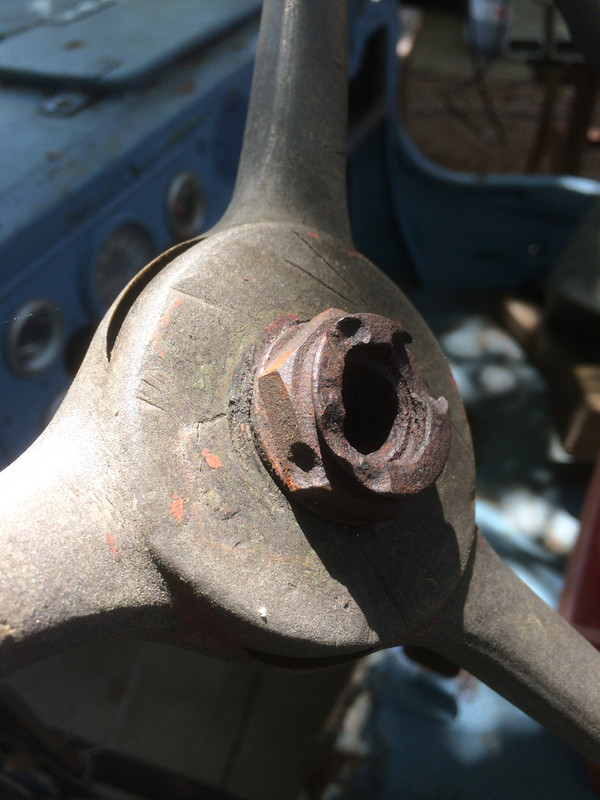
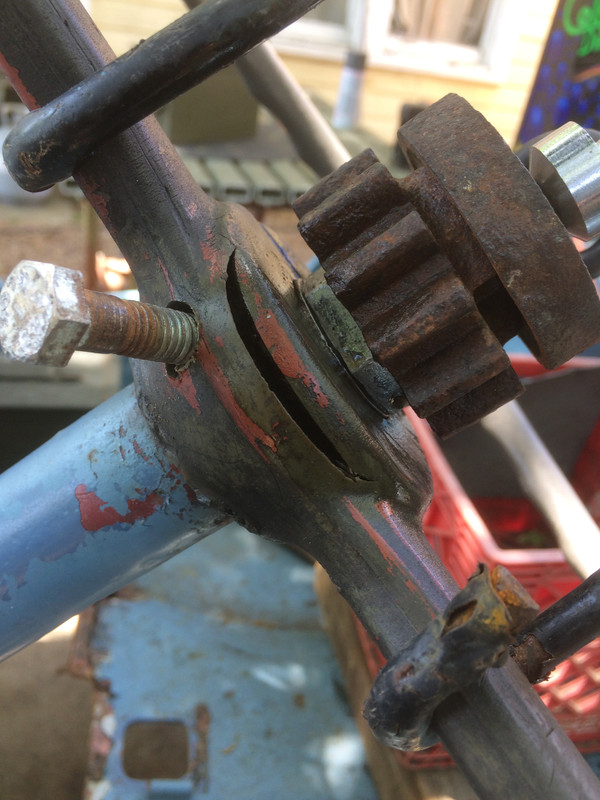
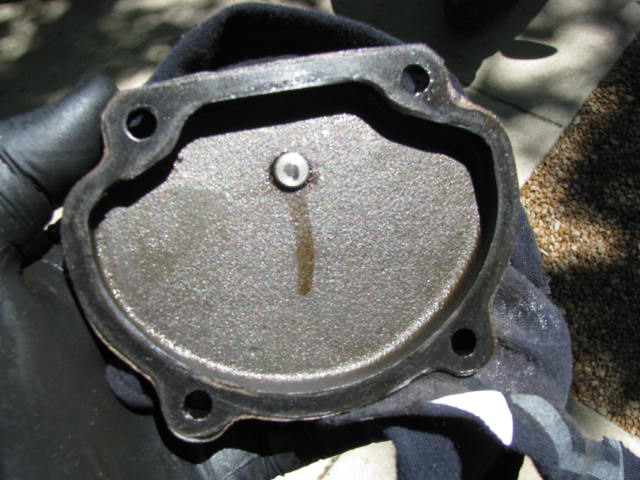
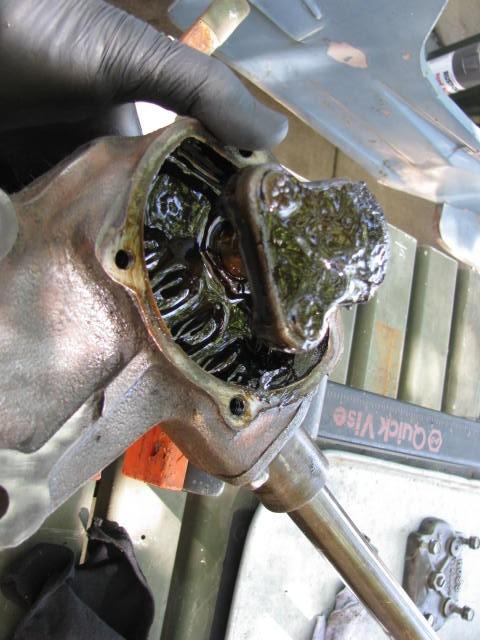
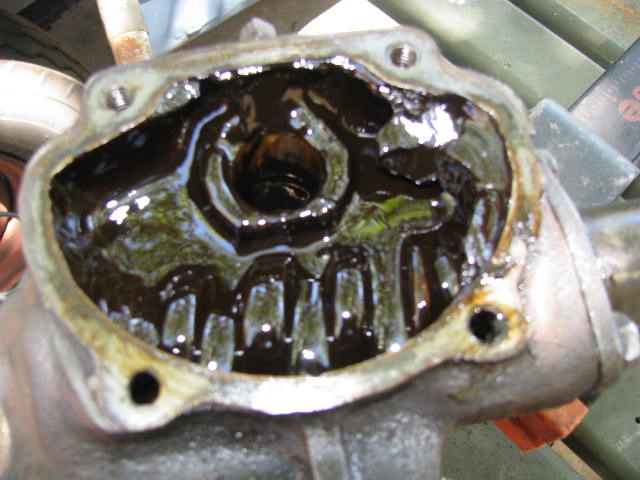
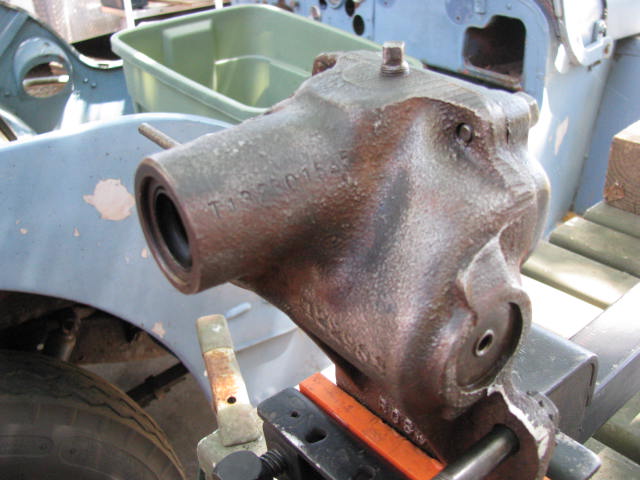
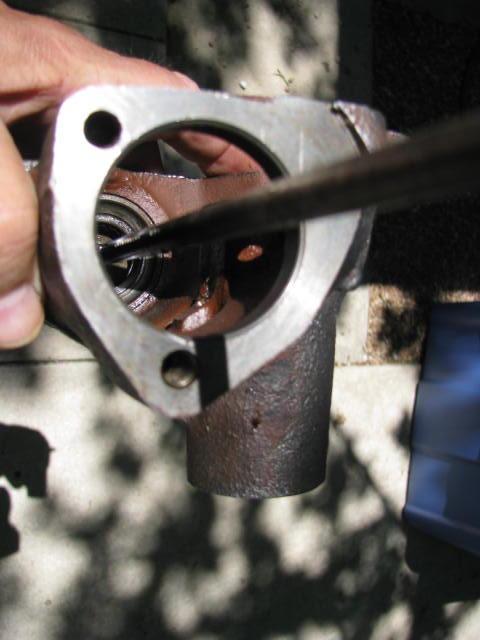
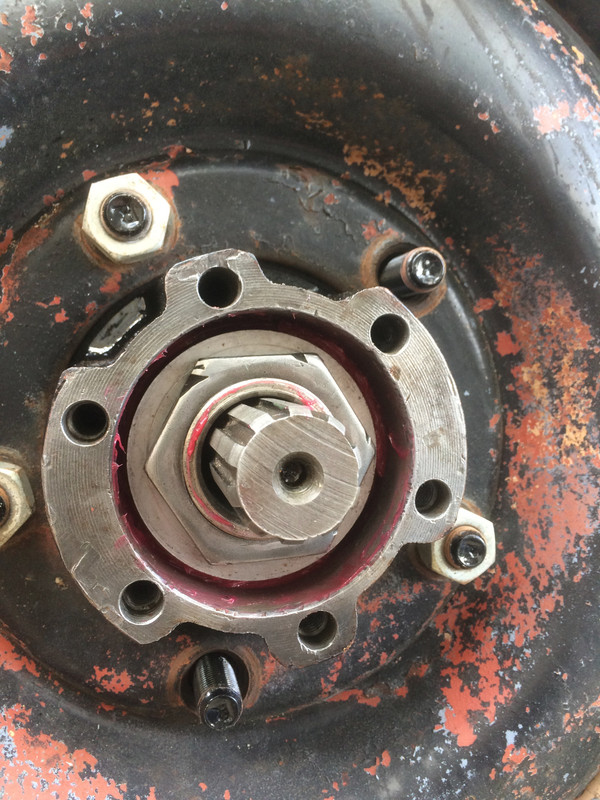
So, I found that I had a bolt hole that was FUBAR and this required a heli-coil insert to sort it out. This meant that I had to remove the freshly installed hub drive flange in order to sort it out but I left the hub on the truck. Taking it all the way off just for this seems completely unnecessary.
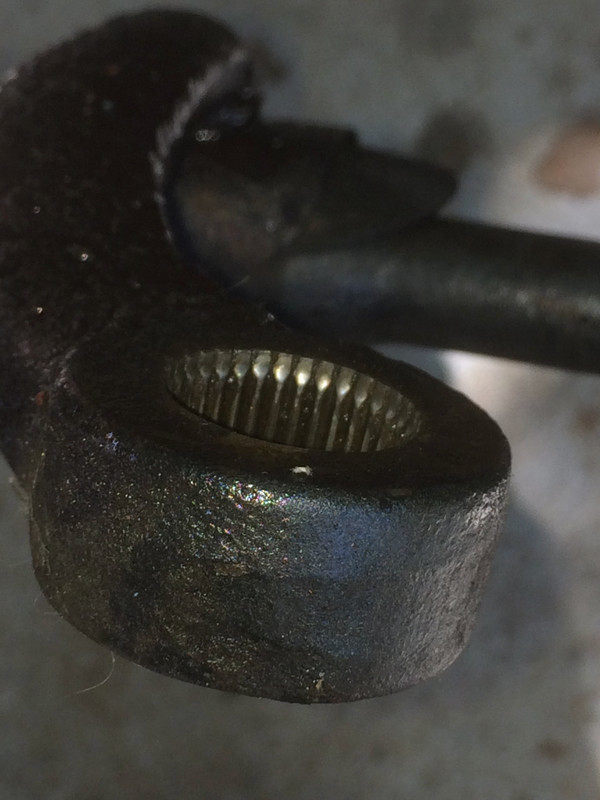
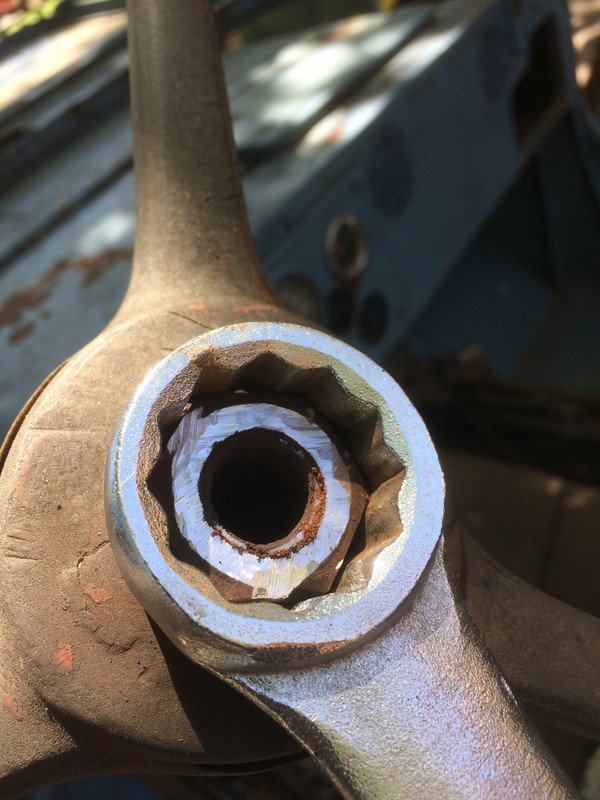
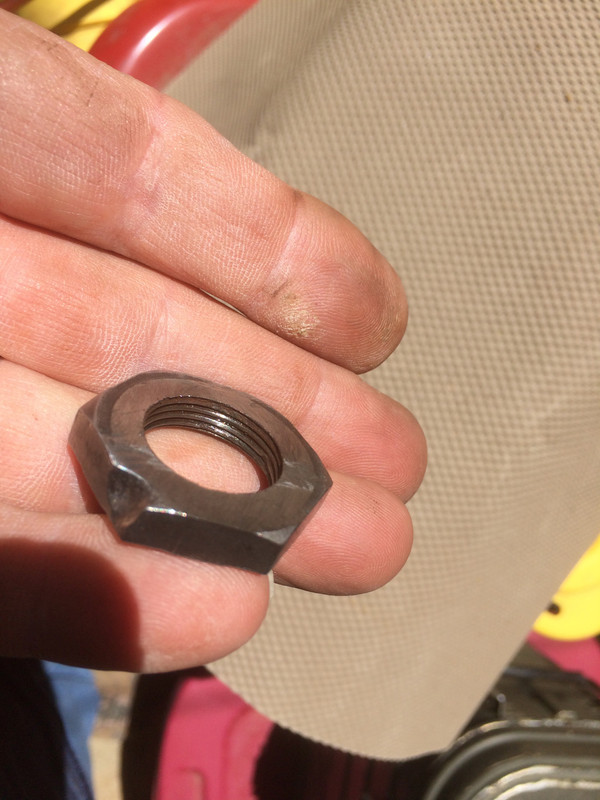
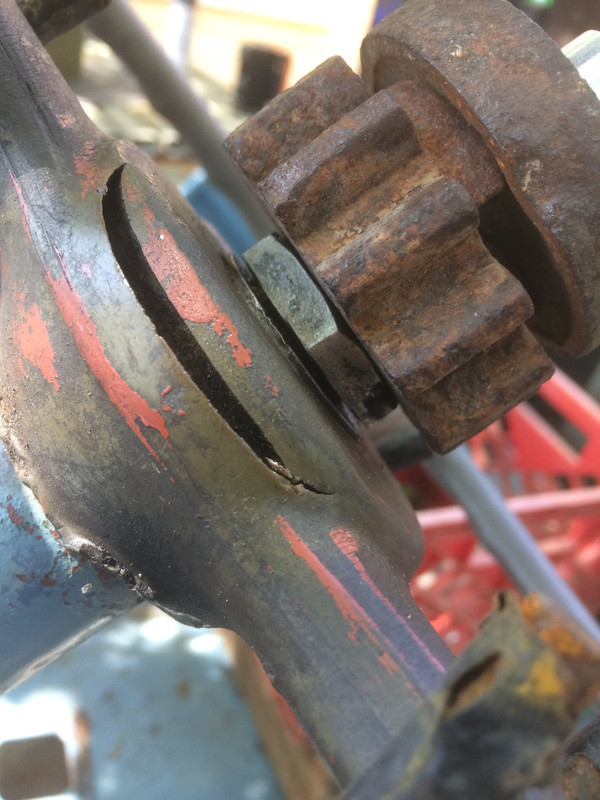
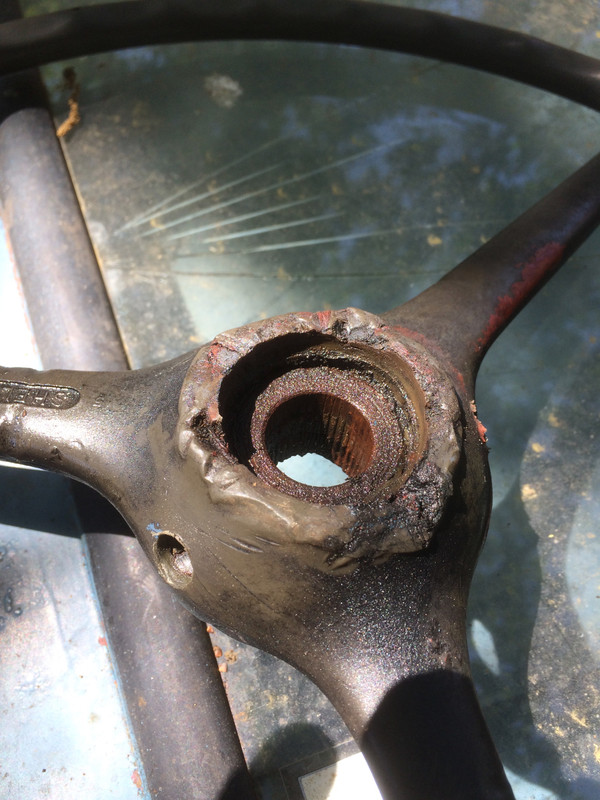
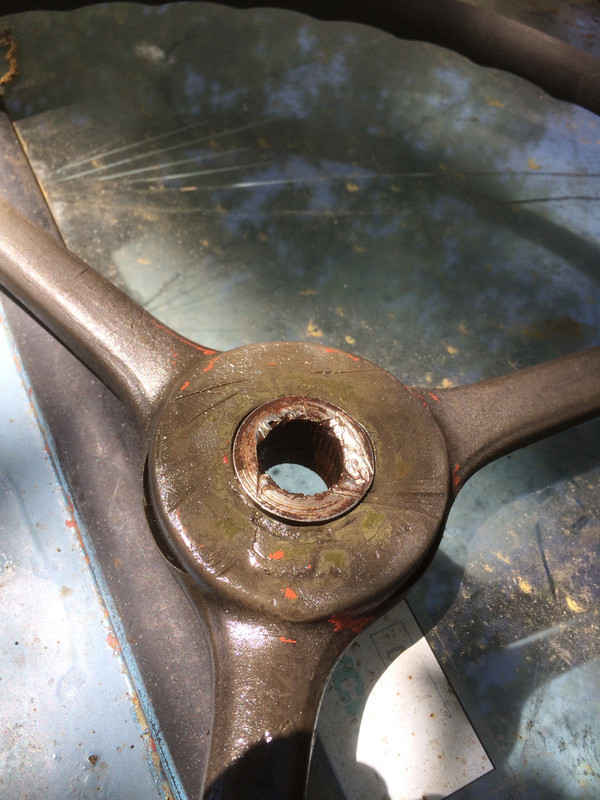
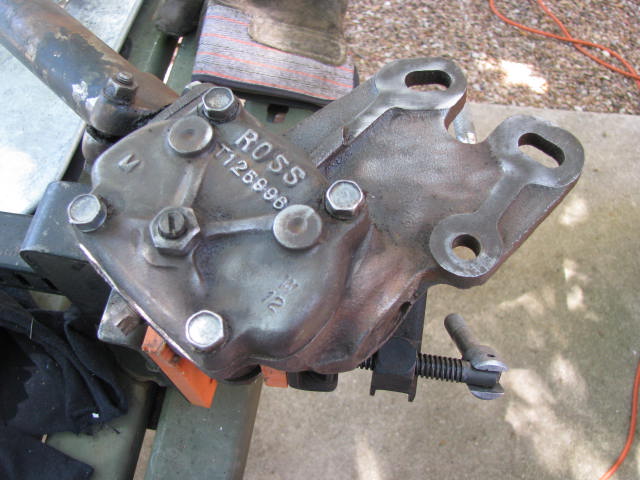
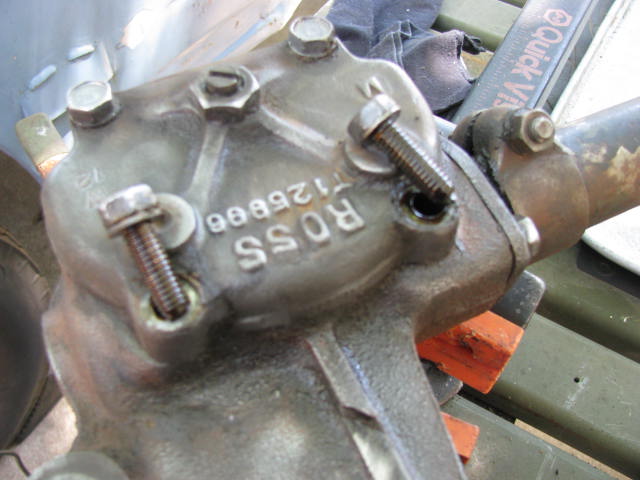
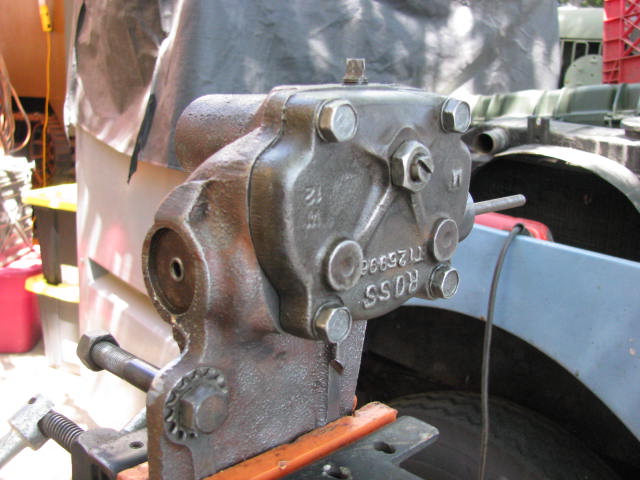
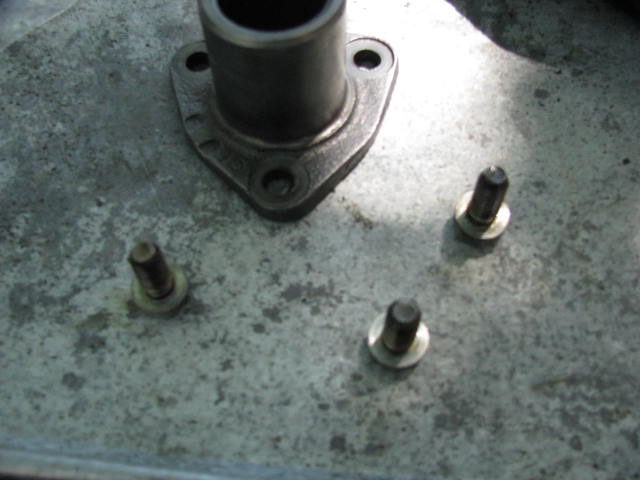
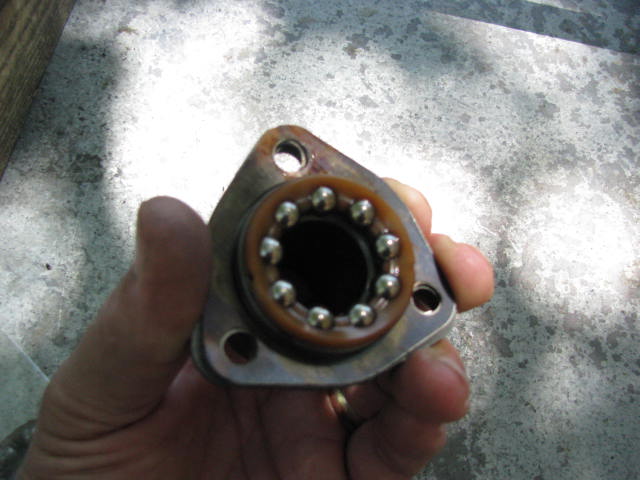
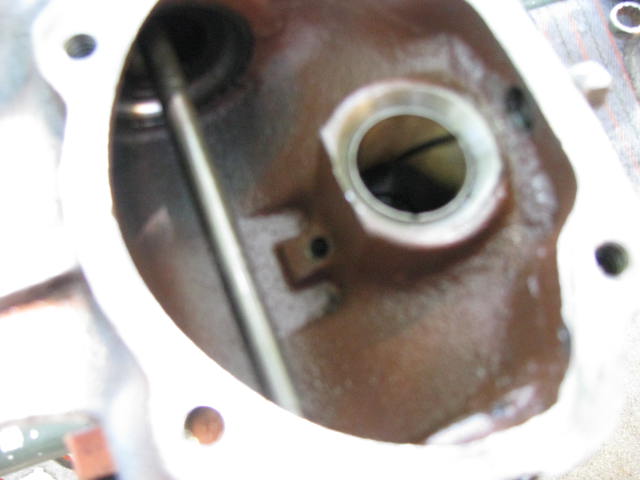
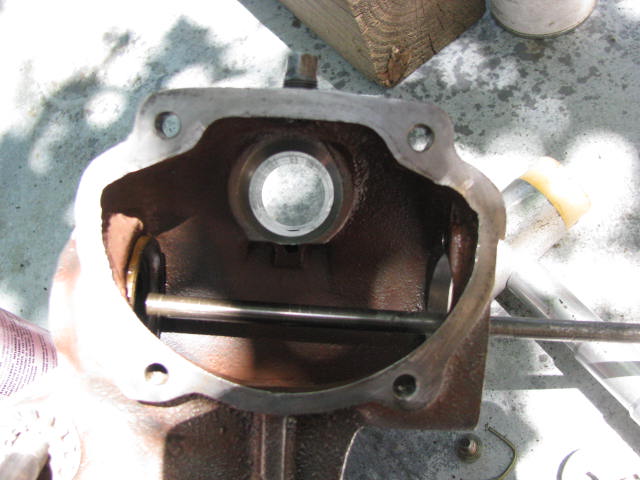
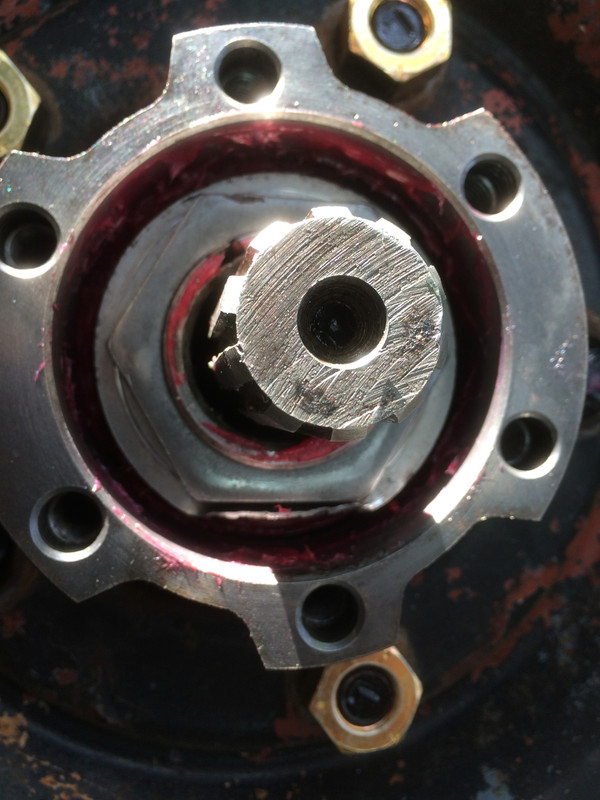
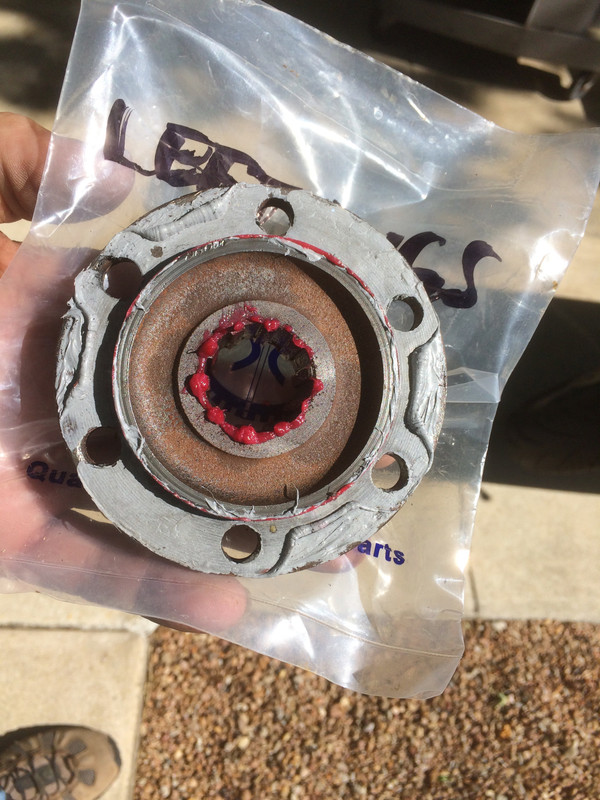
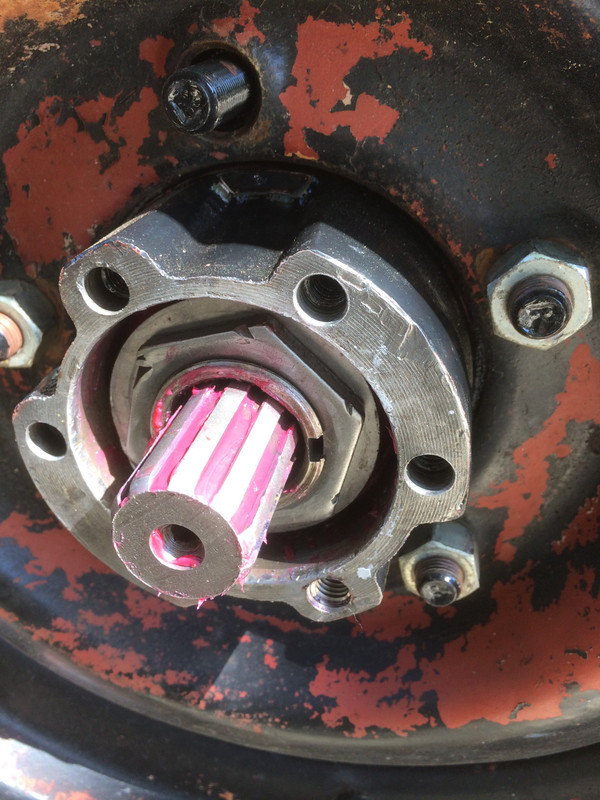
Can you identify the bolt hole that needs attention? You guessed it....at the 11 o-clock position in this photo. The original left hub also had a bad bolt hole (and you have to ask, why does something this easy get screwed up with such amazing frequency?) but it was rather wallowed out so it still may not be repairable.
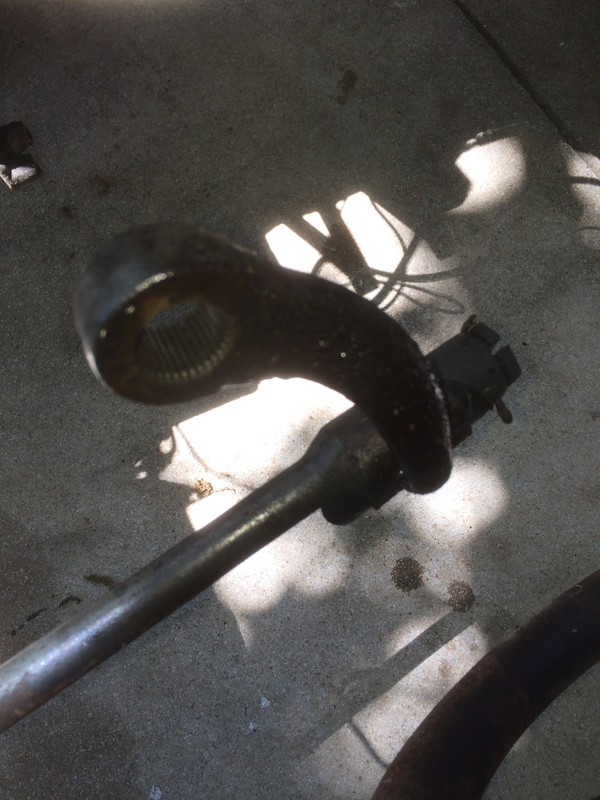
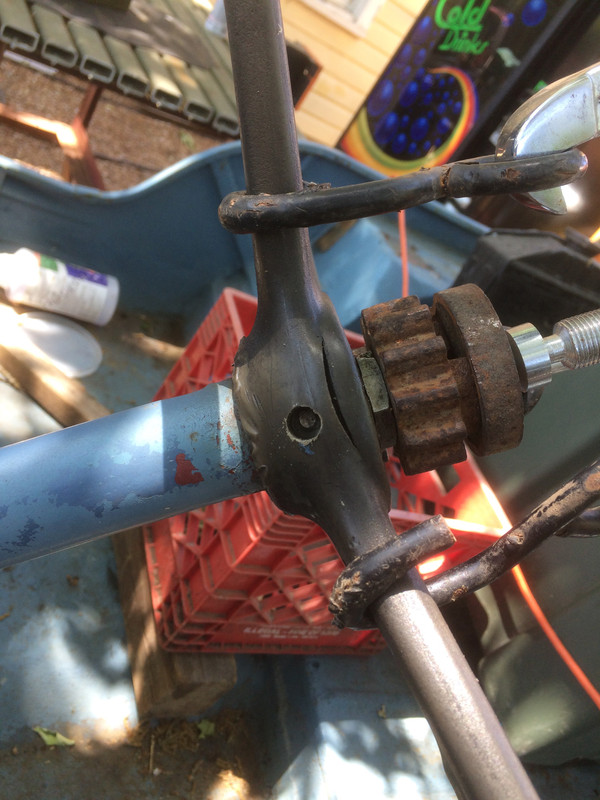
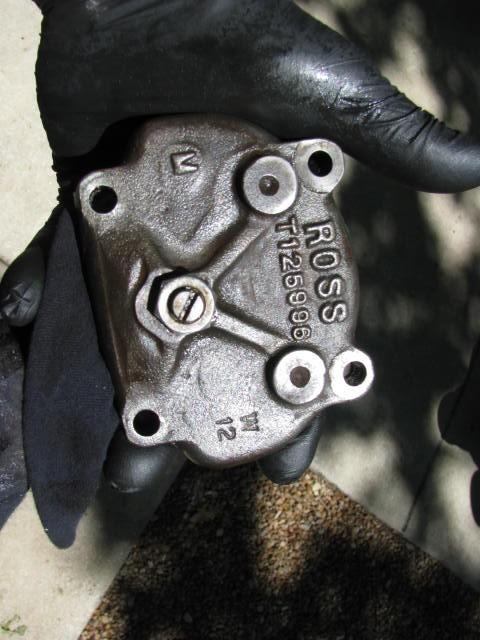
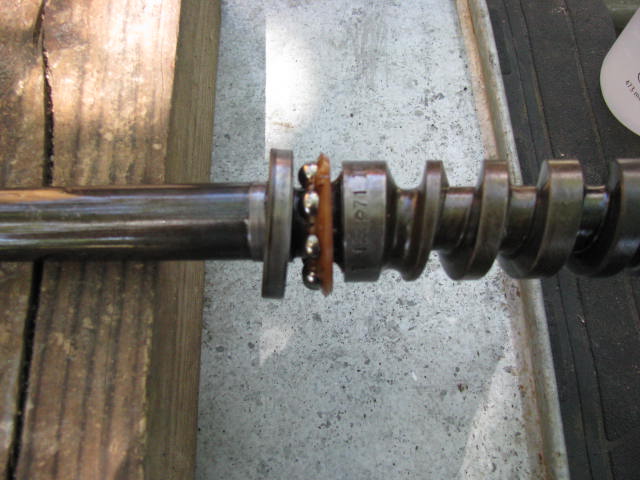
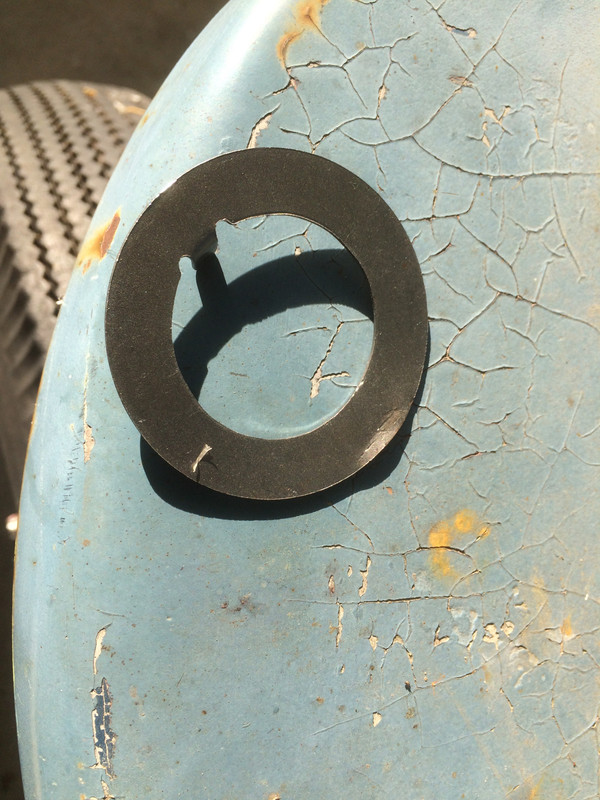
But first, I need to install the left hub's drive flange and get that side wrapped up. Here we have that hub's lock washer. Notice the tab sticking up? That rides in the keyway of the spindle and on installation, the tab points inward toward the centerline of the vehicle.
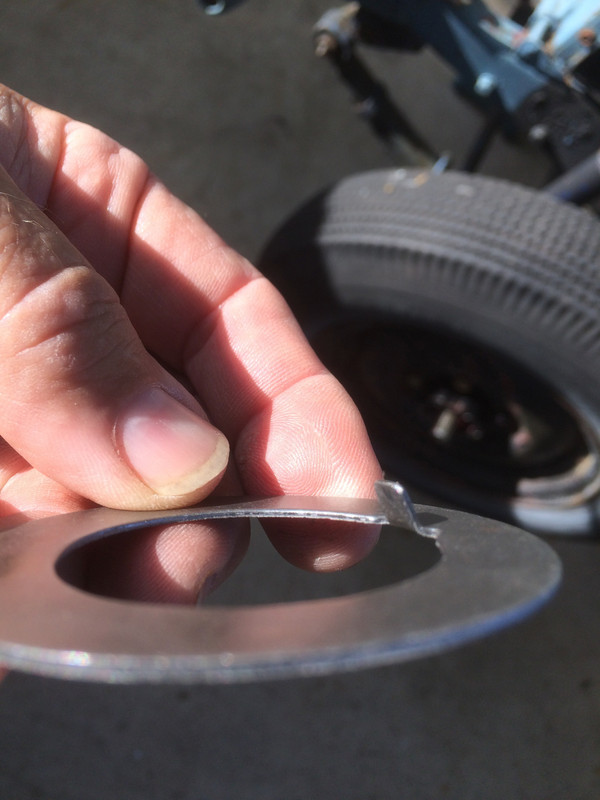
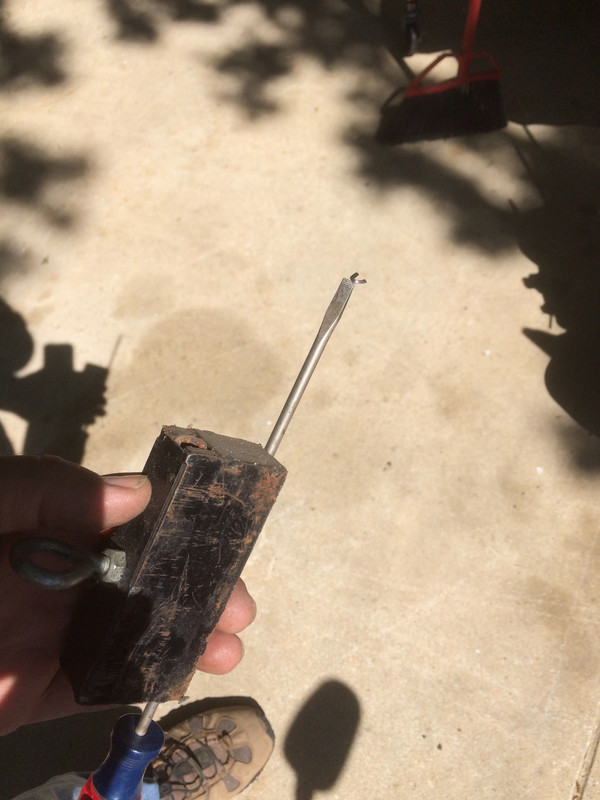
The purpose of the lock washer is to secure the outer jamb nut and keep it from backing off while it's hidden away down in there. This lock washer gets bent over against the nut and that's all there is to it. It can be reused several times but after a while, it'll be time for a new one. The hard part is getting the bend started and it can be tricky chiefly because it is situated rather deep within the hub. The solution is to start just a small bend before installation. Just pick a spot and put a very modest bend in it. In doing so, the little bend create a place to get a flathead screwdriver behind it. Just remember - Keyway tab goes inward...little bend goes outward.
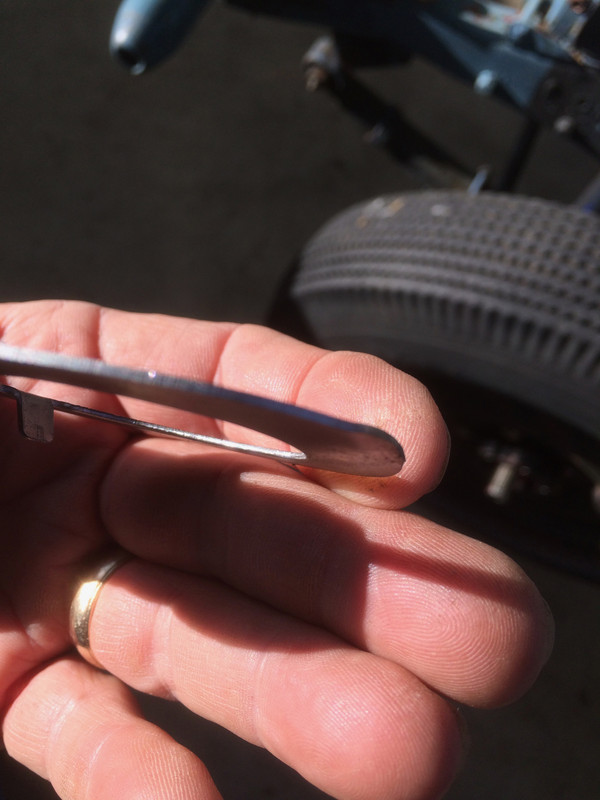
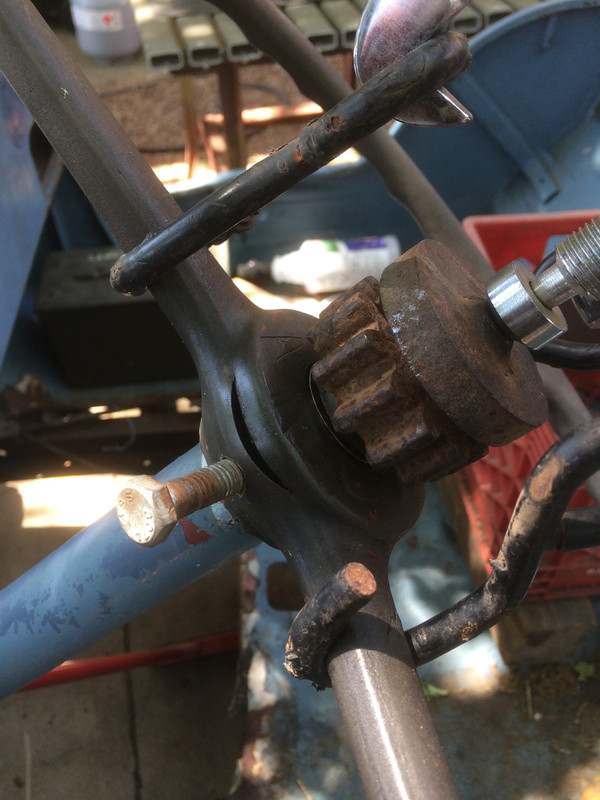
Judging from this photo, my bends are gross overkill.
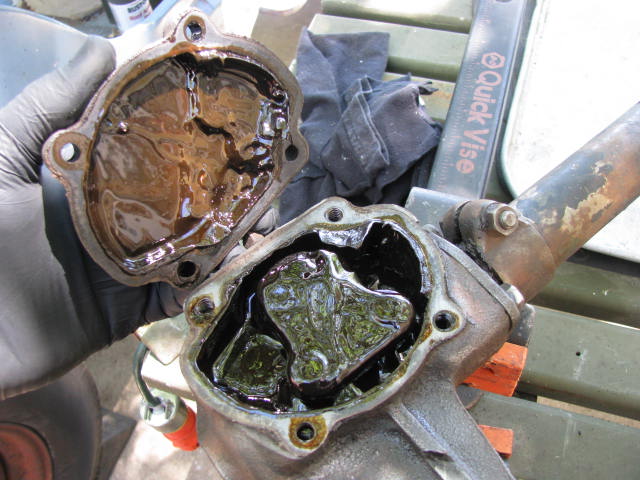
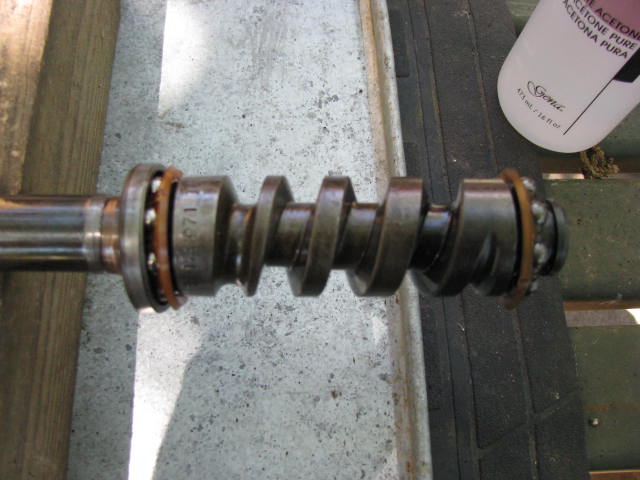
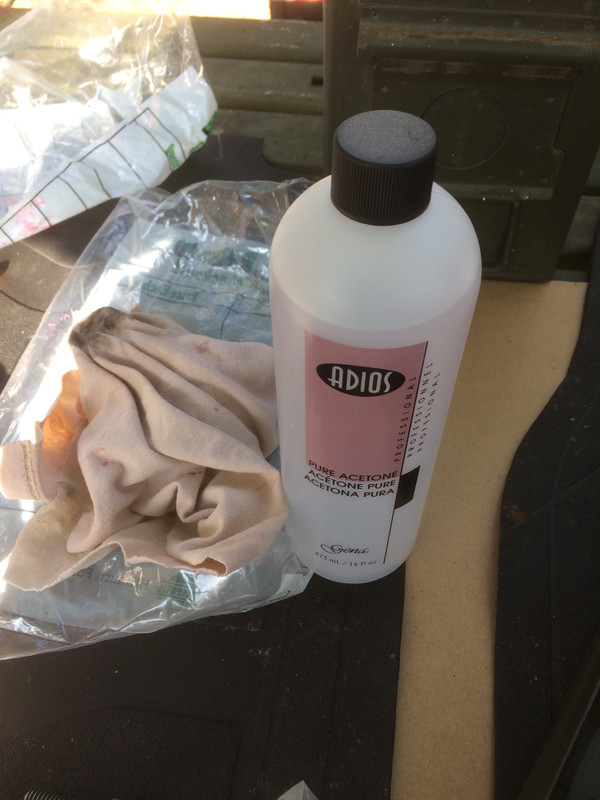
Acetone makes a great chemical for cleaning up those surfaces that are getting RTV put on them. Any other time I run out, I'd get a big ol can of this stuff at Home Depot but I happened to be at the grocery store and Acetone just happens to also be used as nail polish remover, so adios oil, dirt and grime!
RTV made for gear oil was my selection for sealing this and I'll spread it around with the Q-Tip but beware if you use a Q-Tip because by the time I'm done spreading this stuff around, there will be a tail of cotton hanging off the swab and that is something you really don't want in your RTV seal. a Q-Tip is clearly not the best choice for the job but it was the closest thing at hand.
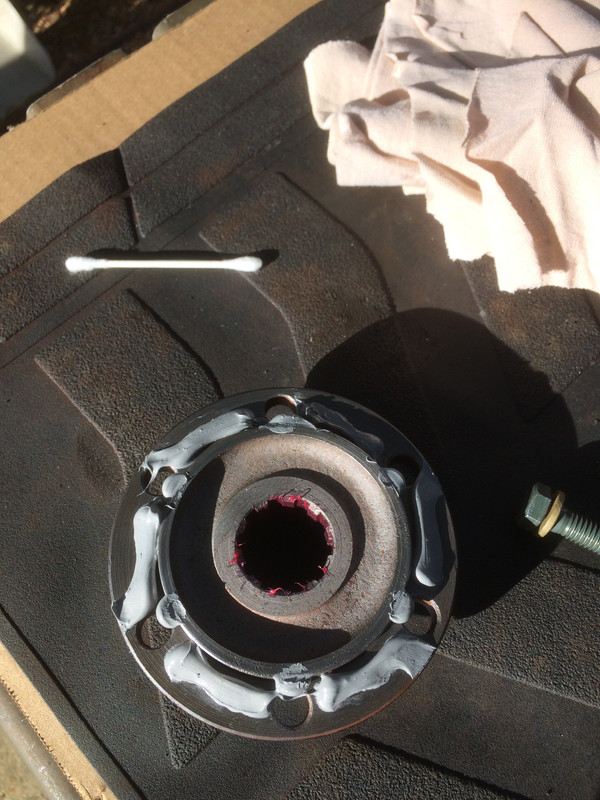
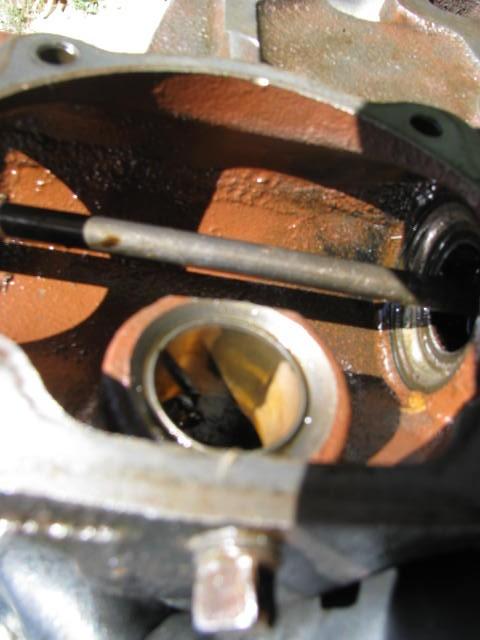
This is what your RTV seal looks like after you just barely tighten the bolts down on the hub drive flange. Do that, let it cure and then come back later and torque things down to your satisfaction. That's a pretty good looking seal. All the little irregularities in the face of the mating surfaces have RTV in them. Some RTV will squirt out when you first put the hub drive flange on. Let it cure (if you can afford to leave it alone for awhile) and then peel off the overflow.
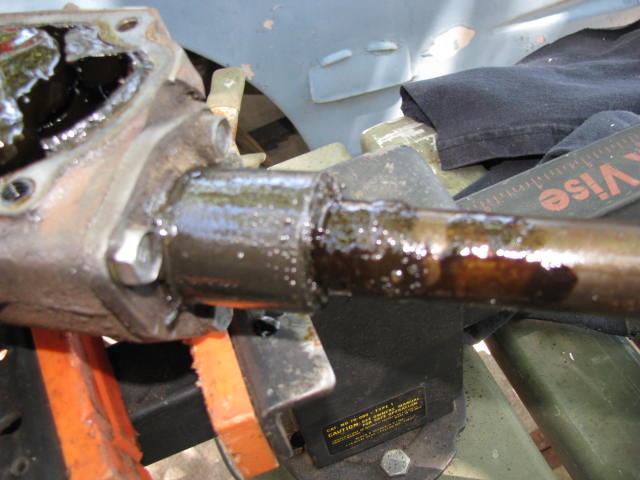
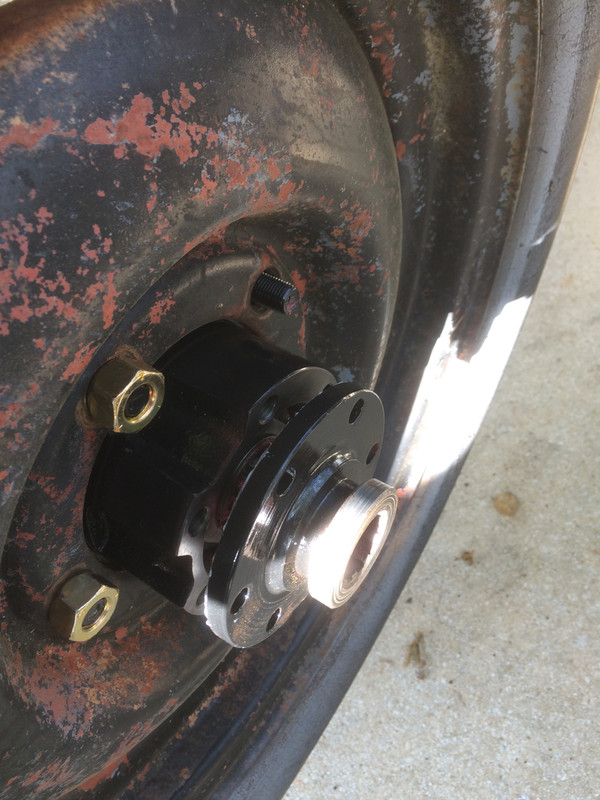
Well, I'll be darned! The holes don't line up! (just kidding) The truck is up on jack stands and I'll just rotate the hub and wheel a few degrees until the holes do line up. If you rotate the drive flange you'll be moving the axle and the gears and all the little bits inside.
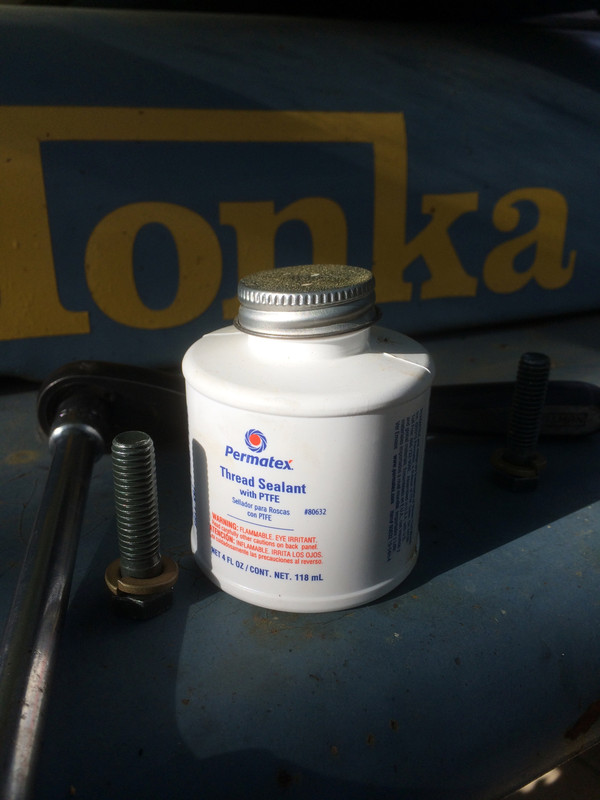
This stuff is fabulous. Out of the jar, it's the exact opposite of Permatex Aviation sealer. It's thick, white and clingy instead of thin, black and sticky. When it cures it becomes very rubbery. Permatex makes good products. However, in the business of putting everything together, I would like to suggest that you dope up one bolt at a time, just before you put each bolt in rather than coat all the bolts and then start putting them in....just in case you run into trouble. In this way, if something does go wrong you'll have fewer bolts to wipe down. This sealer creates a very good bond to the bolts and believe me, it isn't something you want to have to wipe off.
Do these bolts need to be sealed? After all, the bolt holes are blind (closed off). Well, I've seen hub drive flanges leak and I've seen that leakage migrate into the retaining bolt holes making an awful mess so I'm sealing mine so the next fellow doesn't have to go through all this again.
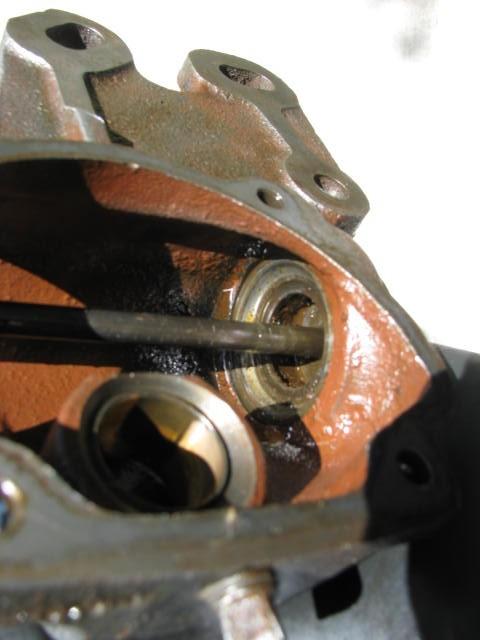
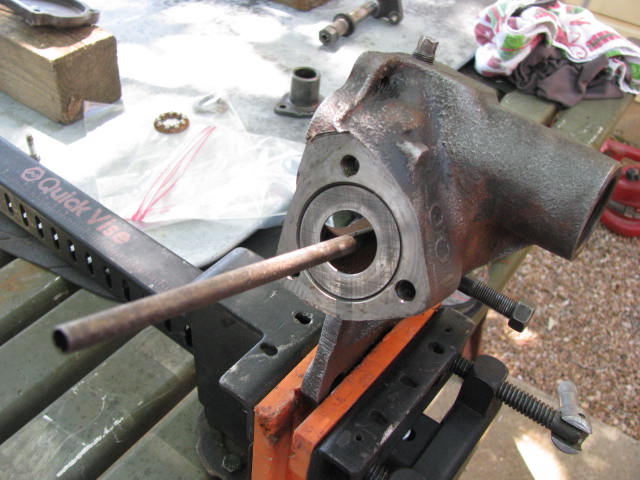
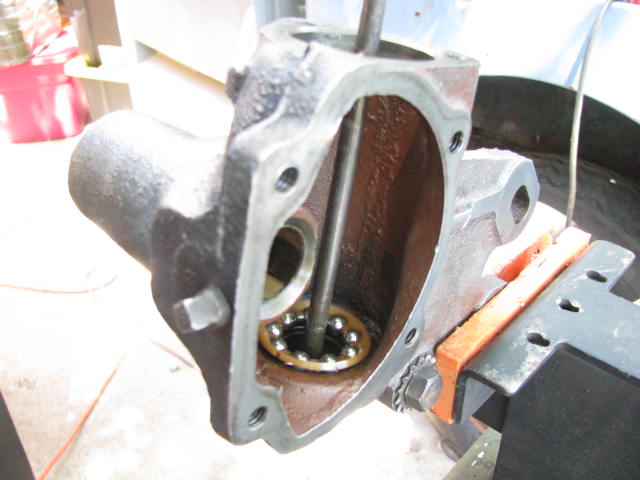
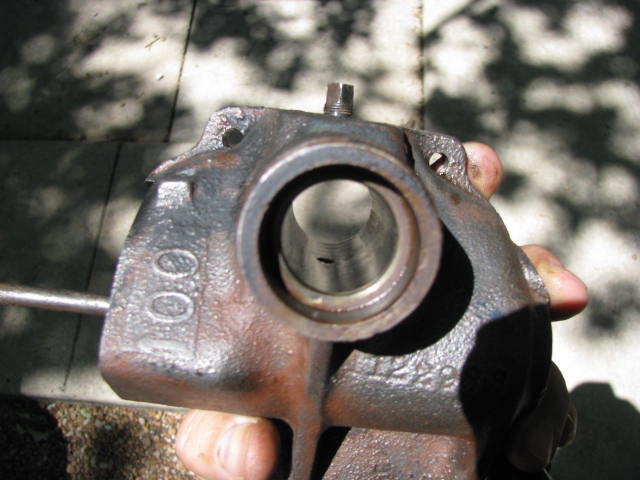
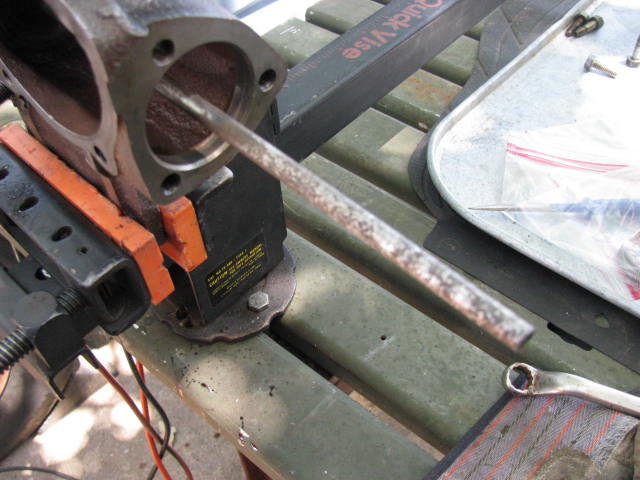
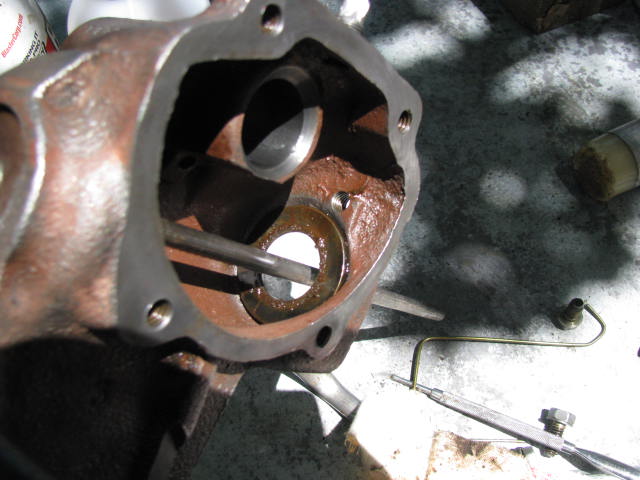
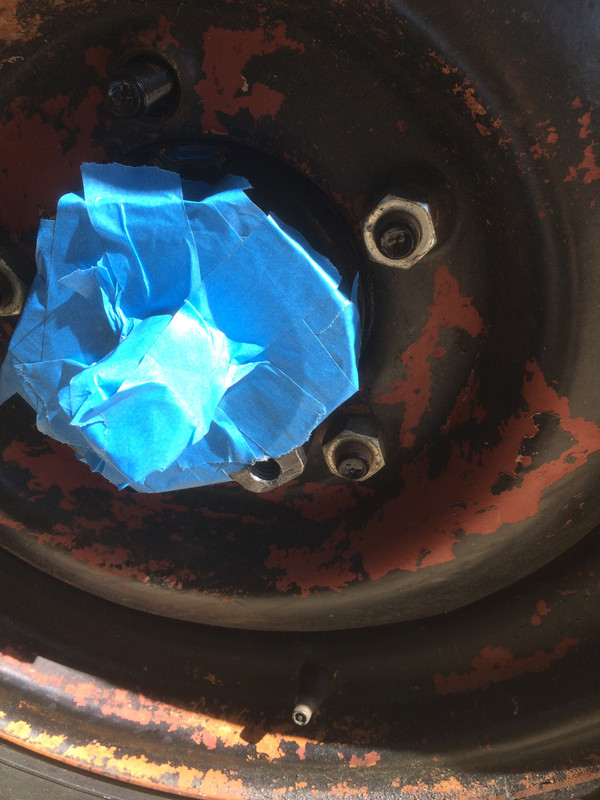
Ok, I've got the left flange installed and now it's time to sort out the right side. In preparation for installing the heli-coil, I've removed the right hub drive flange and masked off the places where I really don't want little metal shavings to end up.
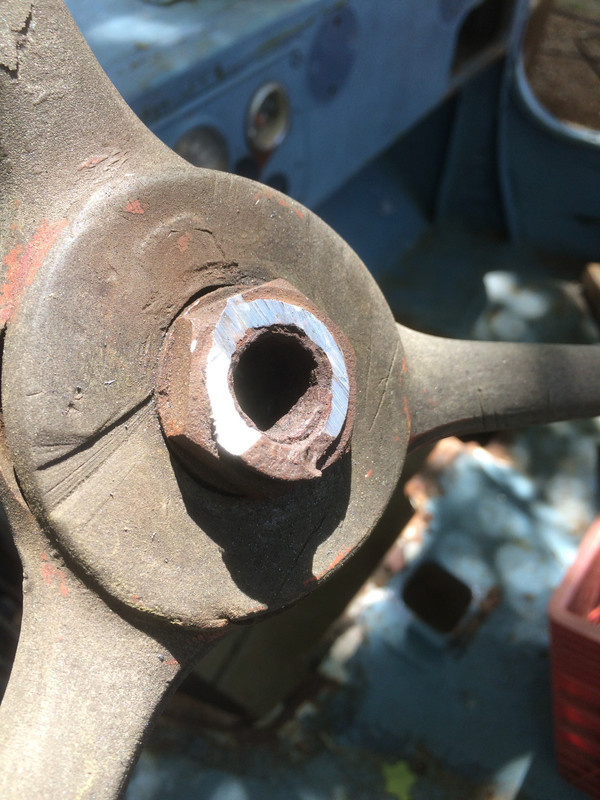
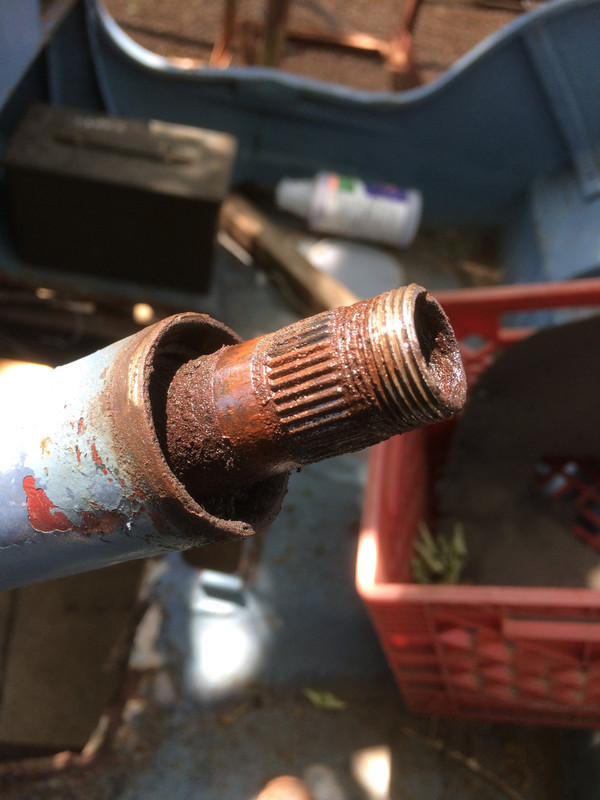
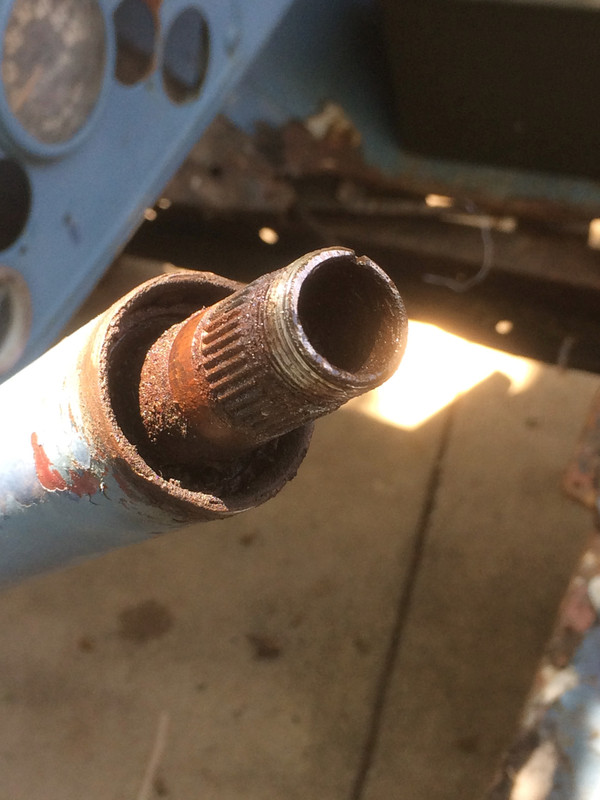
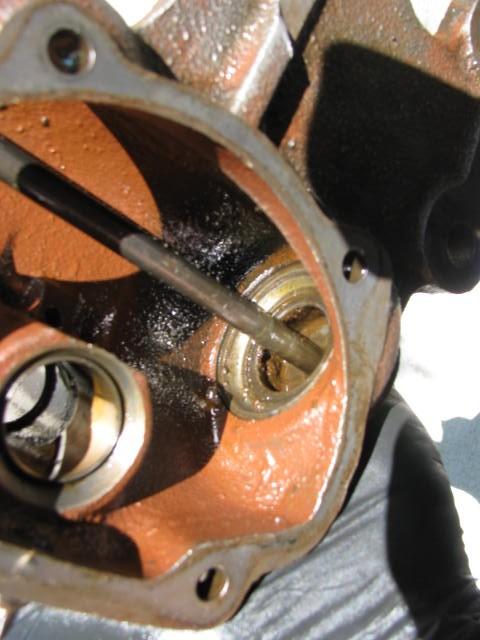
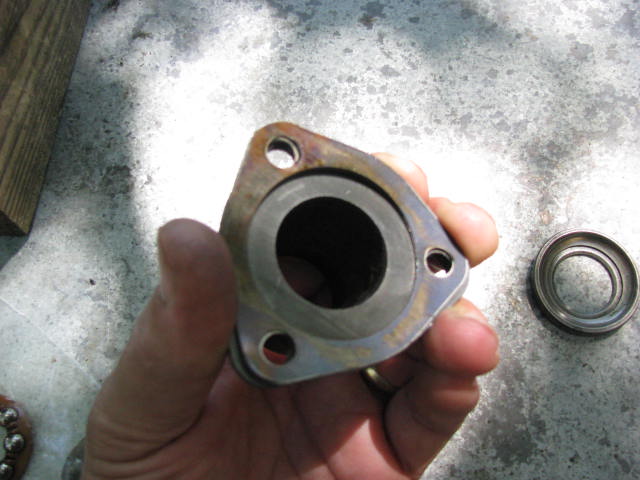
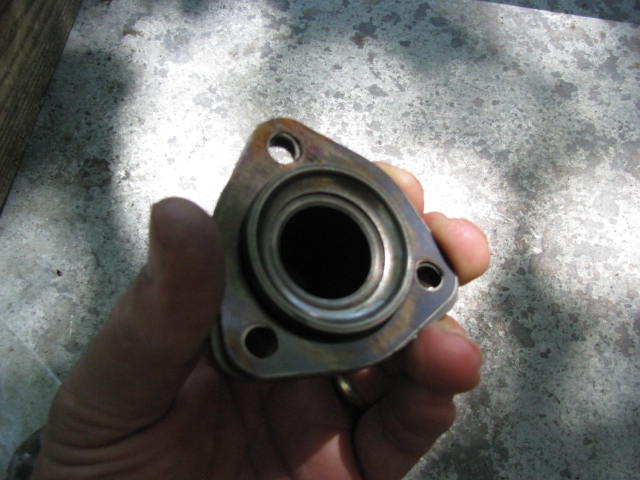
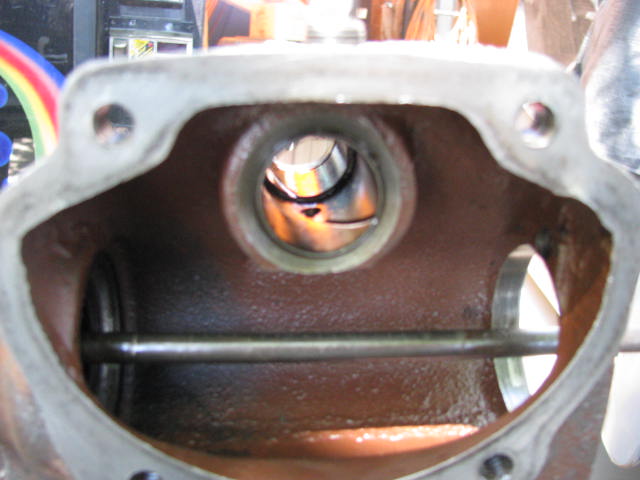
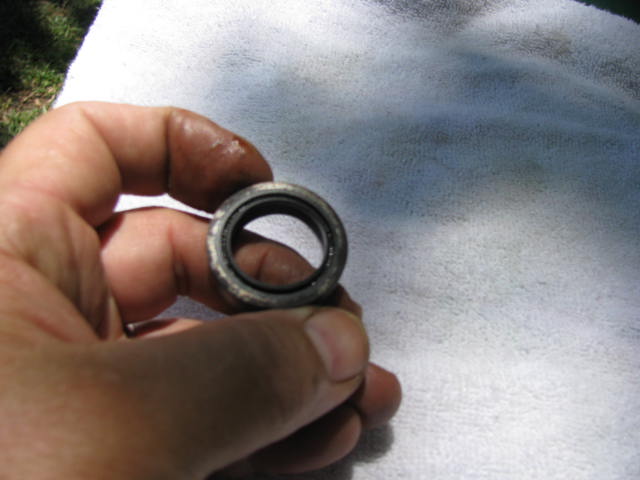
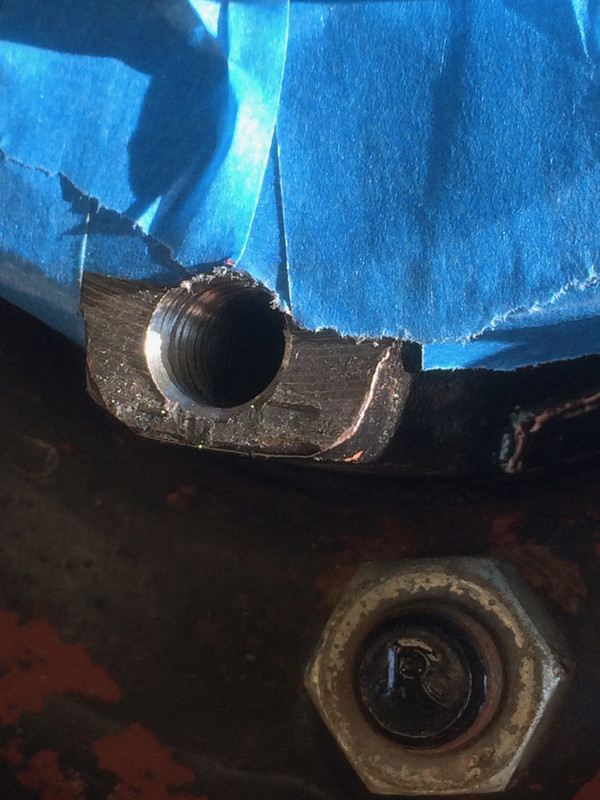
Here are the results from drilling the hole out to 25/64 and tapping the hole with the special tap provided in the Heli-coil kit. By the way, this is a special tap created especially for the Heli-coil and is not interchangeable with other, regular taps. So, if you use one of these, when you're done, keep it separated from other taps!
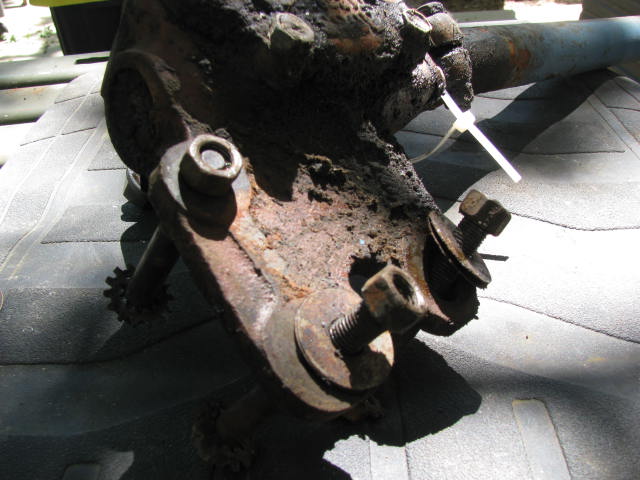
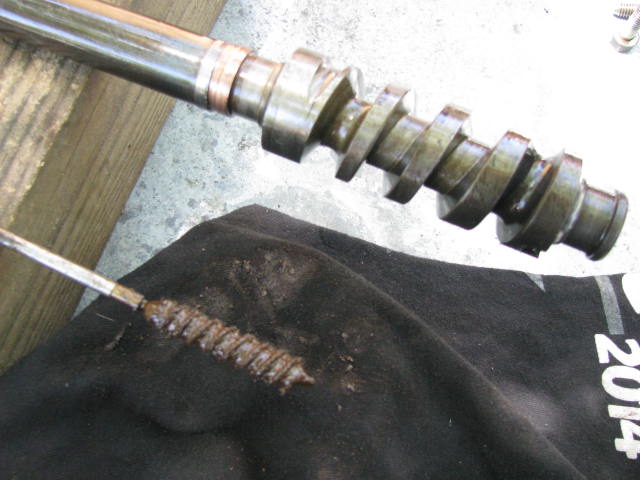
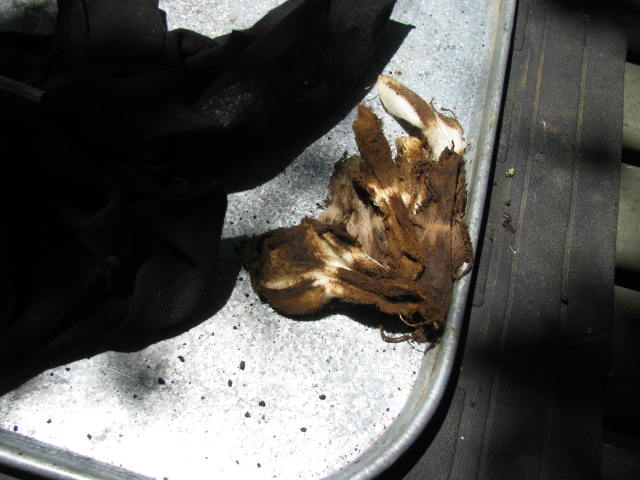
25/64 is just barely larger than the original hole and I found the drilling to be especially easy because the drill is taking out only what is left of the original threads plus just a tiny bit more. In the business of drilling this out, I discovered why this bolt hole was all screwed up. As it turns out, an earlier bolt had broken off deep in the hole. Someone center-drilled it but couldn't get it out with an easy-out and so, abandoned it in there and yes, it was still in there! Anyway, they switched to a shorter bolt but apparently that bolt was just a bit too long and when they tightened it down against the remnants of the first bolt, it stripped the threads.
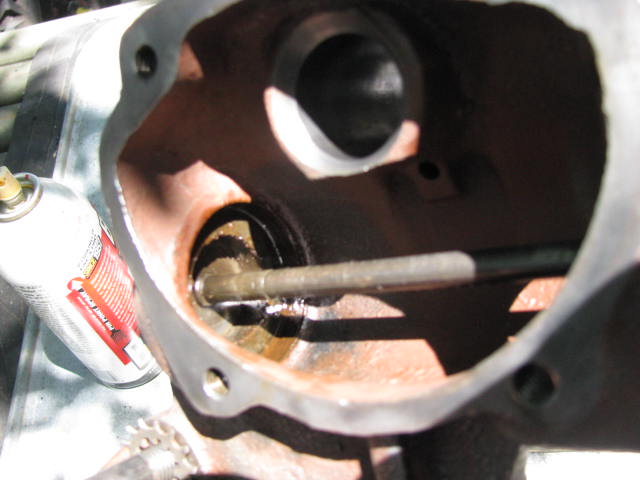
After tapping the new hole to full depth (which also went easily) I blew out the hole with a breath and (pay attention) the following is the most important thing I have to say in this posting. USE COMPRESSED AIR because a puff from your mouth simply ain't going to cut it. When I switched to my air hose a ton of shavings came out. Yikes! Glad I did that!
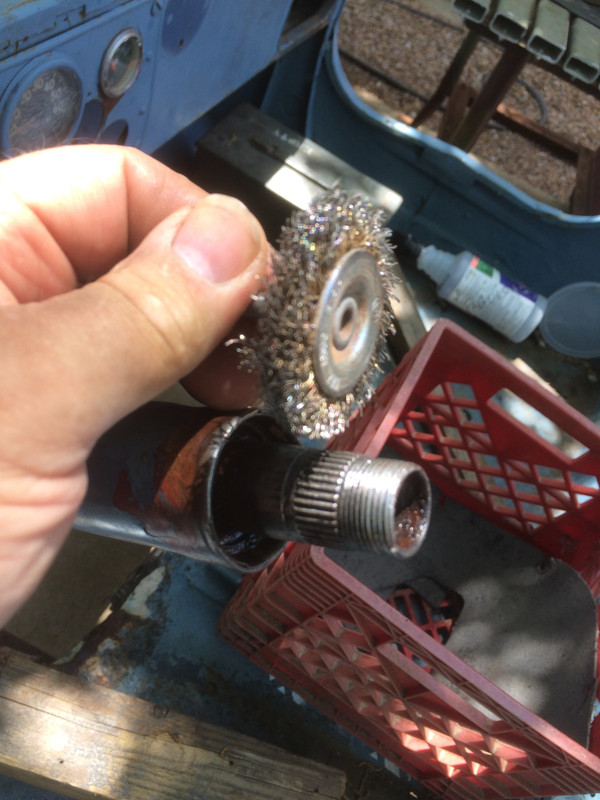
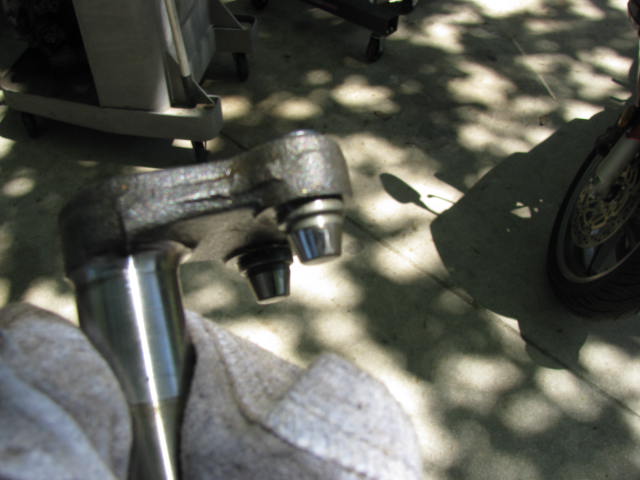
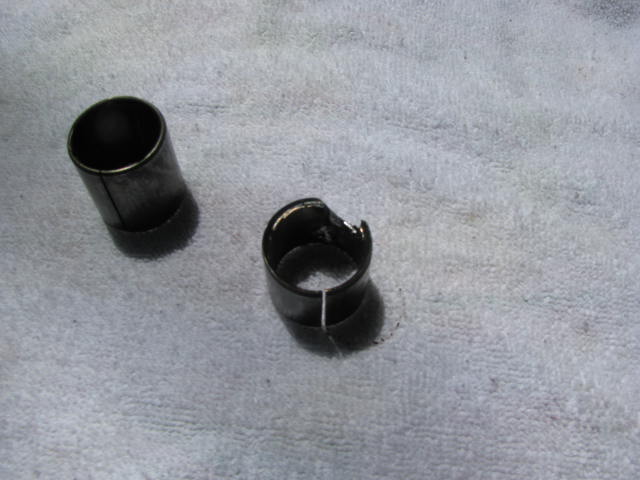
Here's the heli-coil and the driver.
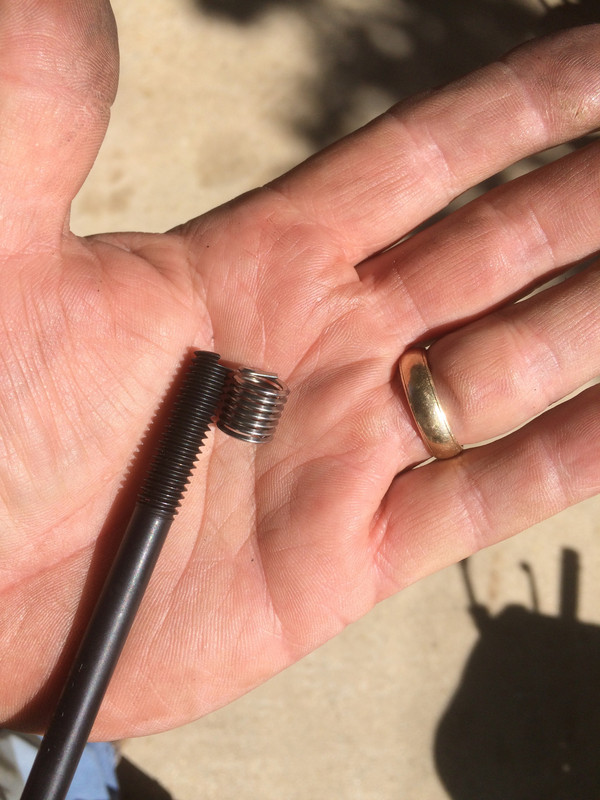
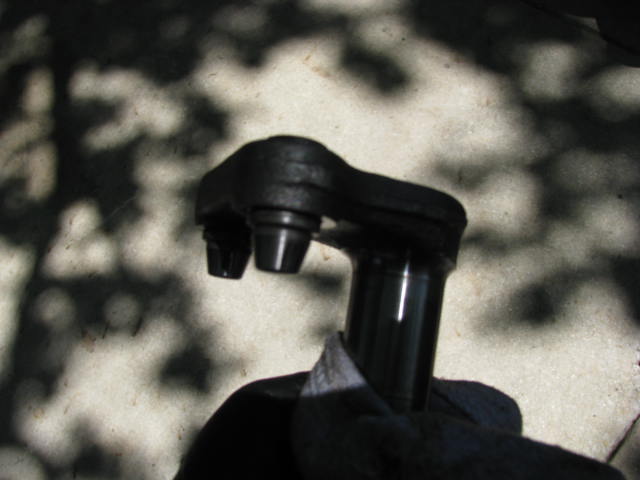
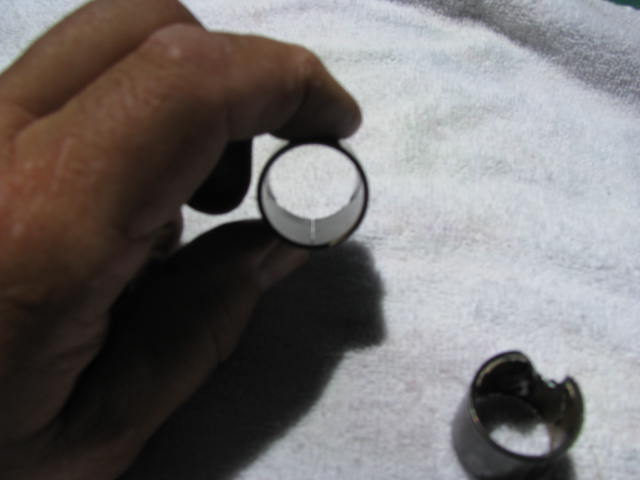
Here's the heli-coil ON the driver and you can see how the driver engages the coil; far different from earlier kits that use a rod with a slot in it.
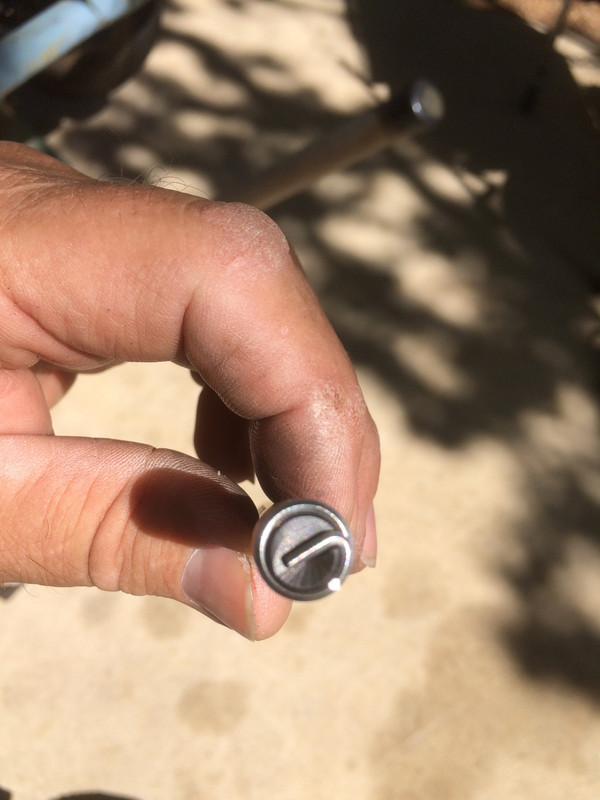
Looking at this you can see why it's important to have your freshly tapped hole clean, dry and free of all debris. It almost looks like jewelry. Heck, I may give a set of these to my wife for Christmas and tell her they're earrings!
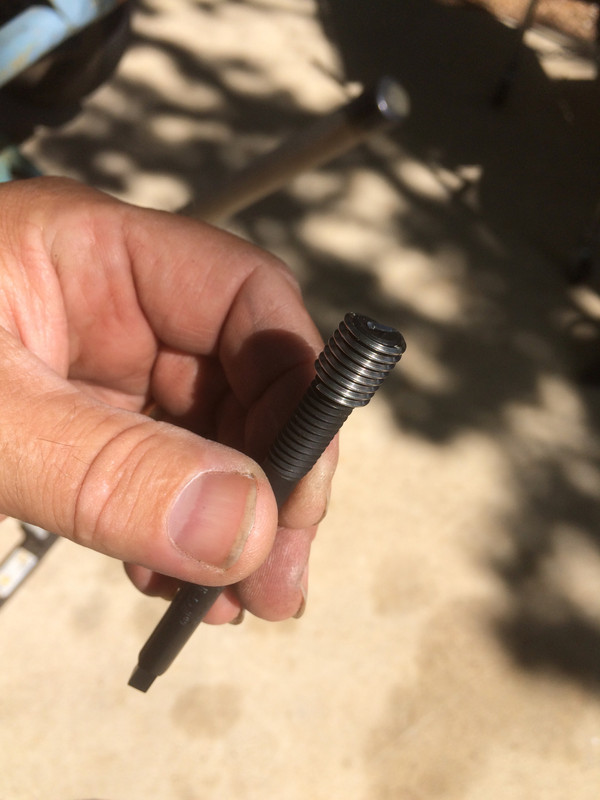
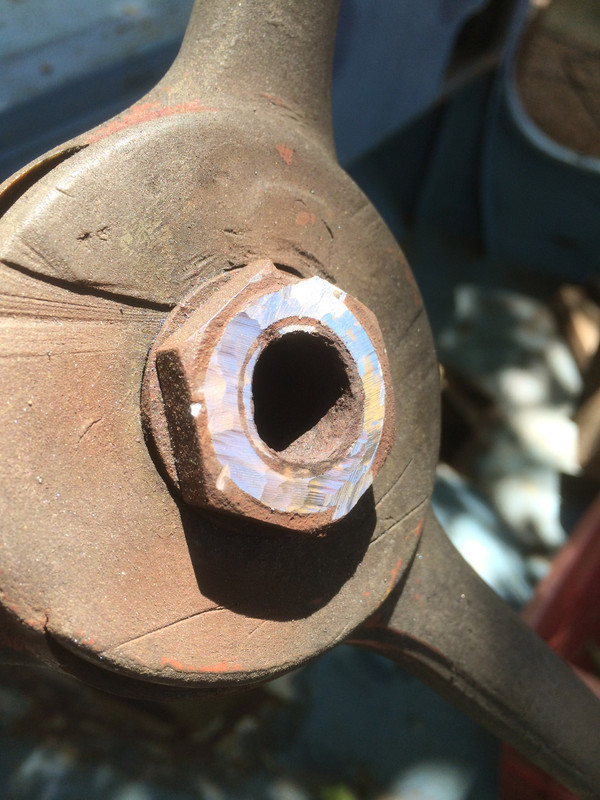
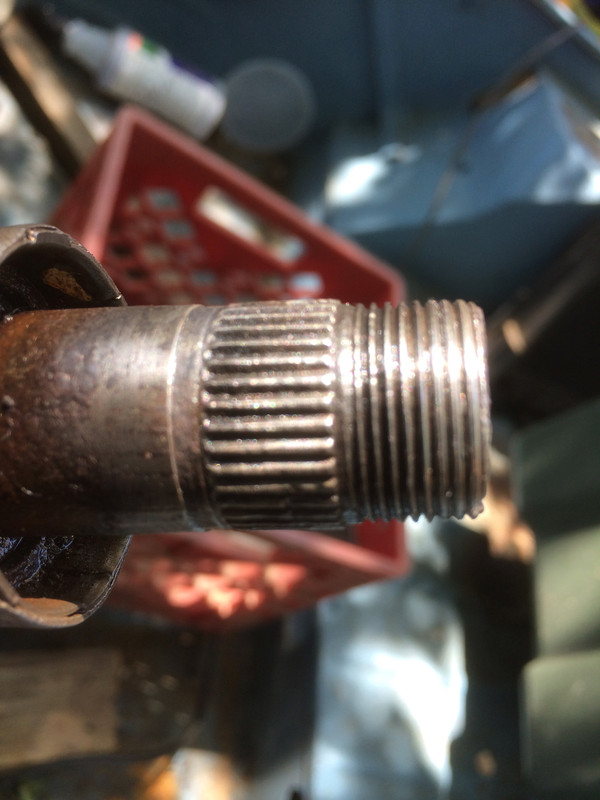
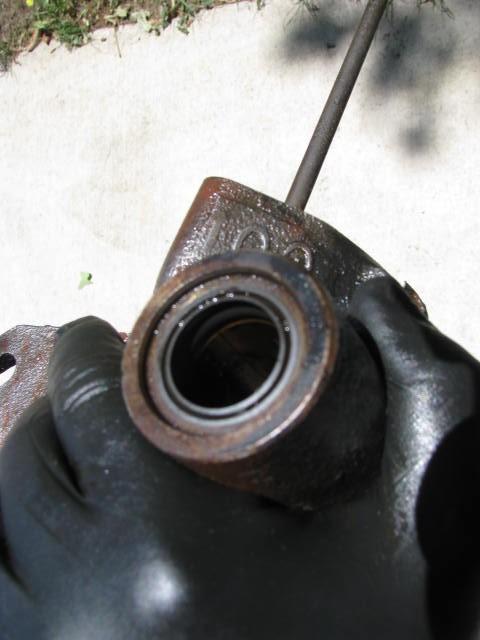
And here is the heli-coil installed. As recommended, 1-1/2 turns below the face of the hub. I put four little dots of red (high strength) thread-locker on the outside of the coil as I screwed it in. It penetrated the coil and it also ended up on my driving tool. Having thread-locker on the inside face of the coil is something we don't want, so, I swabbed the inside of the coil with a dry Q-Tip and then cleaned off the driver with acetone. I did not stack the coils as I might have and if I had I would have achieved far more turns for the bolt to grab on to. I was satisfied with one coil because as I said, having six bolts on this flange is far more than is really needed, particularly at this stage of this truck's life.
I reached inside the installed coil with some long needle-nose pliers, grabbed the tang and pushed inwards sharply. Off came the tang, just as designed, but I dropped it.
And, everything went back together smoothly, just as it should have in the first place. I did use a grade 3 lock washer on the bolt in the heli-coiled hole (all the rest are grade 5) so as to ensure that I know which hole is heli-coiled in the future.
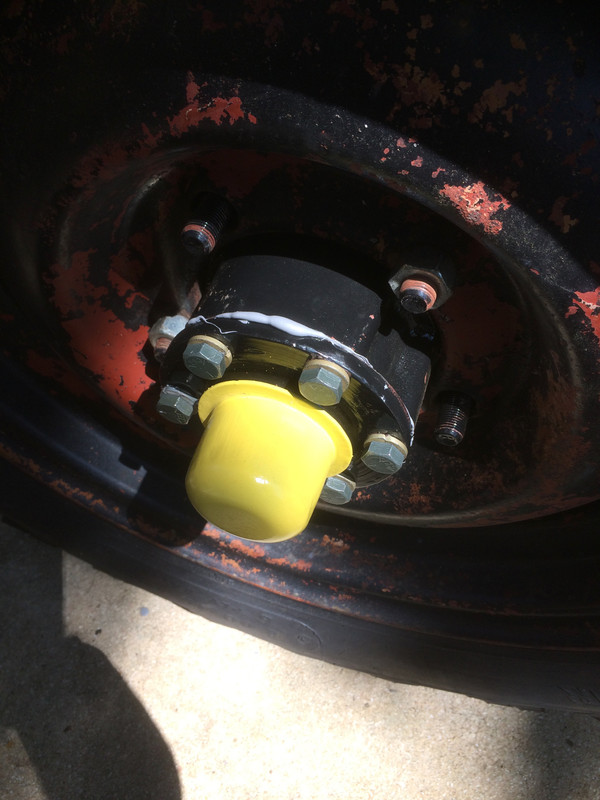
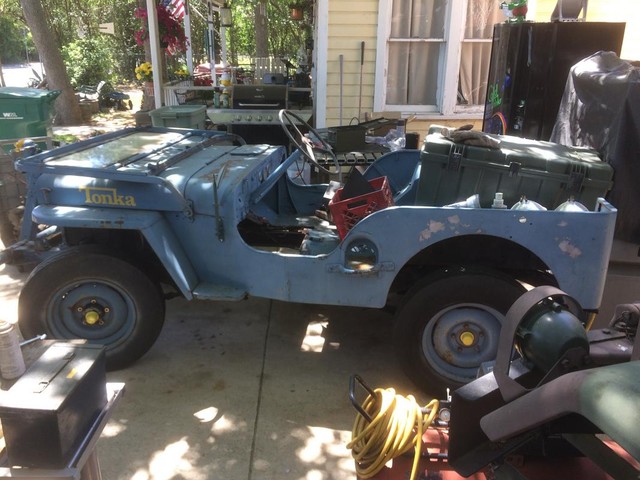
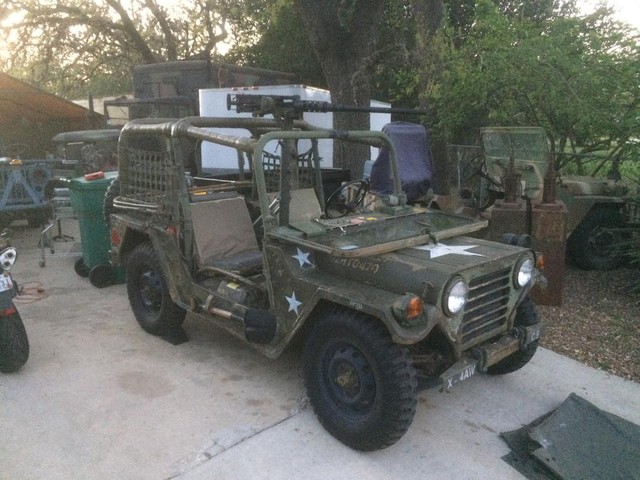
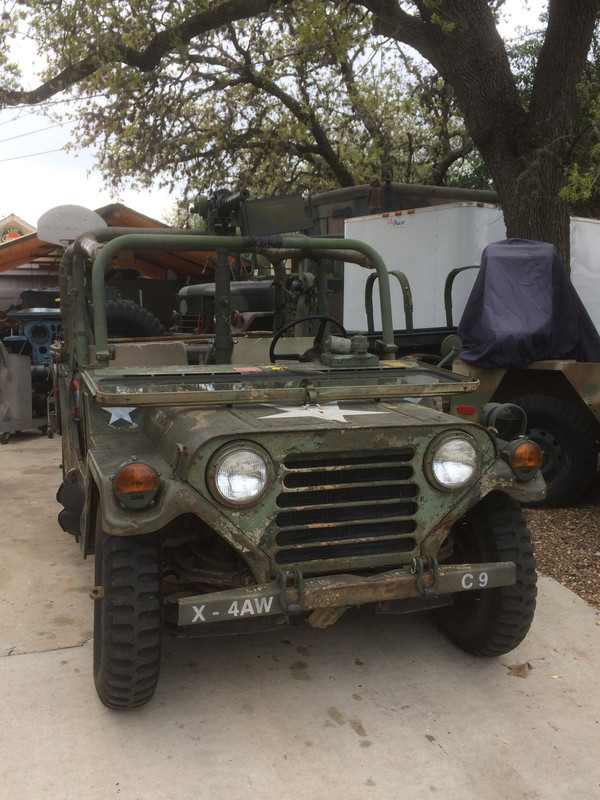
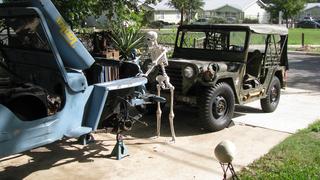
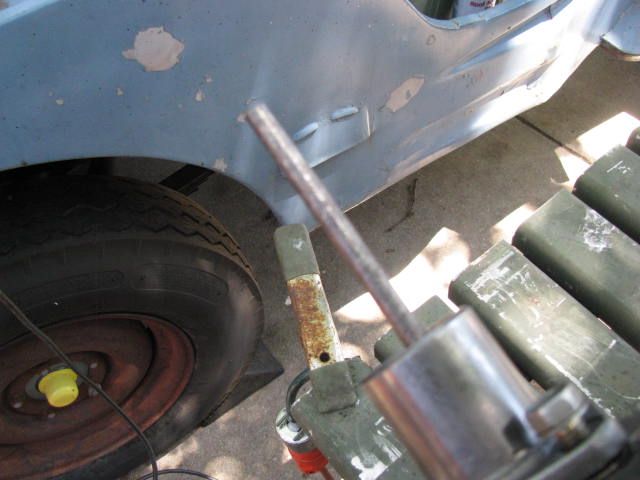
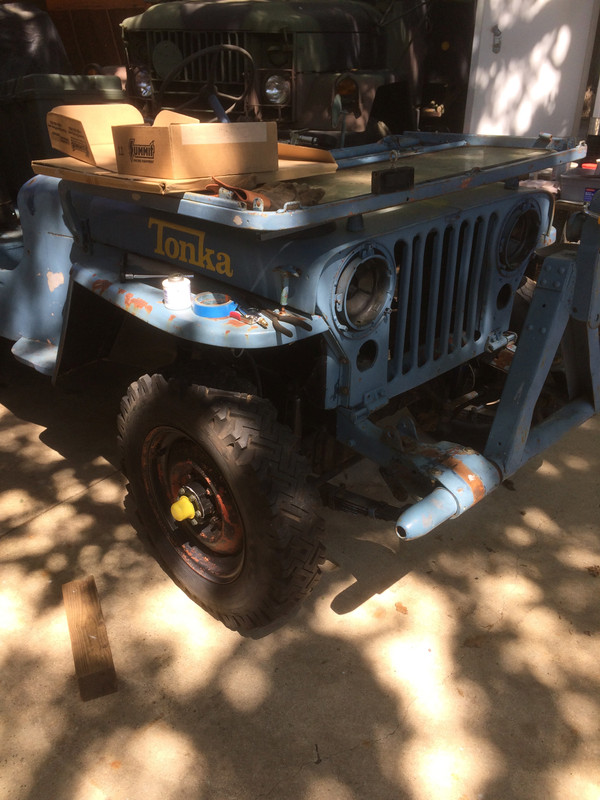
At long last! Back on its wheels!!! Like my yellow hubcaps? Obviously, we don't take anything too seriously around here.
I thought this photo of my son is appropriate. So long ago I brought my first GPW home and then took it apart; something my young son was clearly NOT happy about! I figure I owe him at least ONE jeep and today, we are just a little bit closer.

Cheers,
TJ