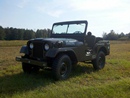
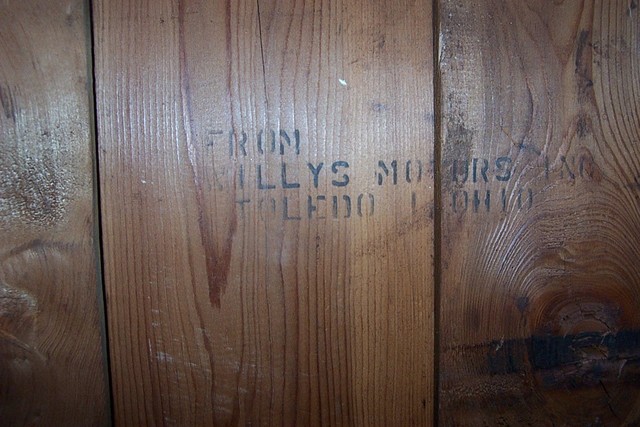
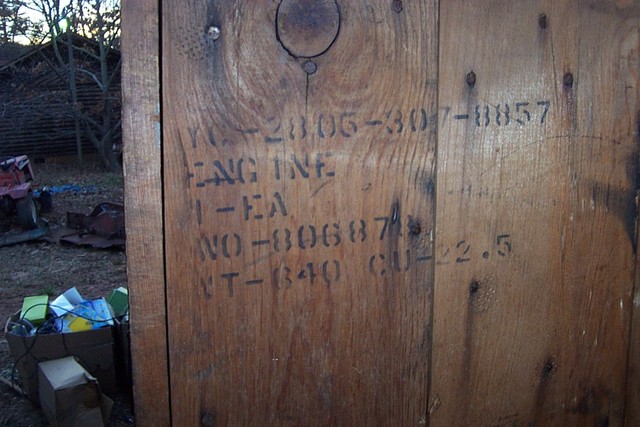
I have been working on the Jeep off and on for the last few months. So this is an update on my progress. I had a little downtime at work, so I thought I would share what I have accomplished since August. I don't have the time to upload pics right now, but they are on my blog if you want to check that out. Hopefully I can get them uploaded here the next time I'm off.
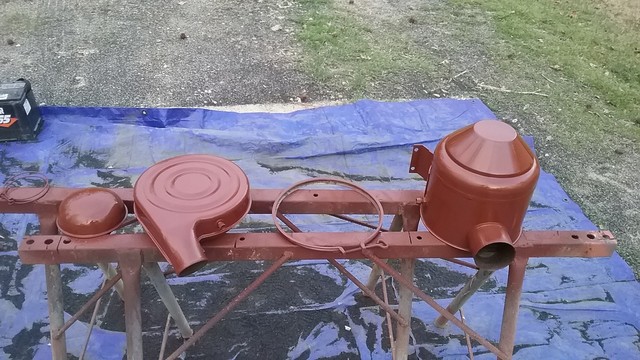
I got the exhaust studs (all of them) replaced, the manifold machined (it had a pretty bad warp and I wanted to use the factory one instead of my spare) and engine put back together.
Last month I pulled the front brakes apart to find a mess of dried mud, brake fluid soaked mud, corroded up, stuck wheel cylinders, worn out shoes and drums that couldn't be turned. I pulled the hubs and found the outer bearings on both sides pretty much trashed. So, I cleaned, replaced and repacked the bearings and replaced the hub seal. Then I cleaned the backing plate and installed new shoes, wheel cylinders and drums.
While working on the front end, I went ahead and pulled the front springs off, disassembled, cleaned and repainted them. I replaced the top leaf that was broken on both sides with the replacements that I bought earlier this year. Then I reinstalled them on the Jeep.
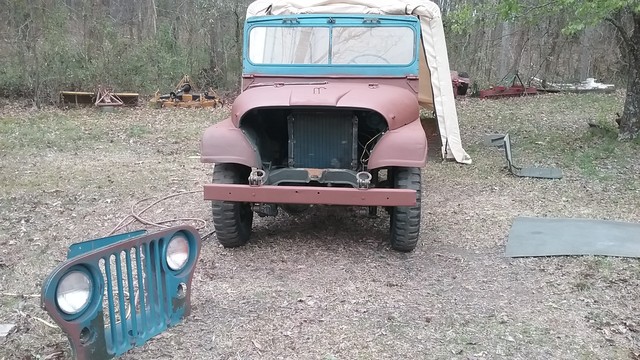
I ordered a repair panel for the rear panel (the lower part below the floor level) from Classic Enterprises, then cut out the bent up part on my reap panel and welded in a piece from the repair panel. It doesn't look perfect, but a LOT better than it was! I also cut out the rusted out part under the passenger side door opening, the small section that was rusted in the floor there as well as the bottom of the cowl support. I bent and formed a new support piece and welded it in and used some of the left over rear patch panel to make a patch for the floor. This turned out pretty good considering I am a total amateur at metal work! I still need to buy some 18ga metal to patch the outside skin.
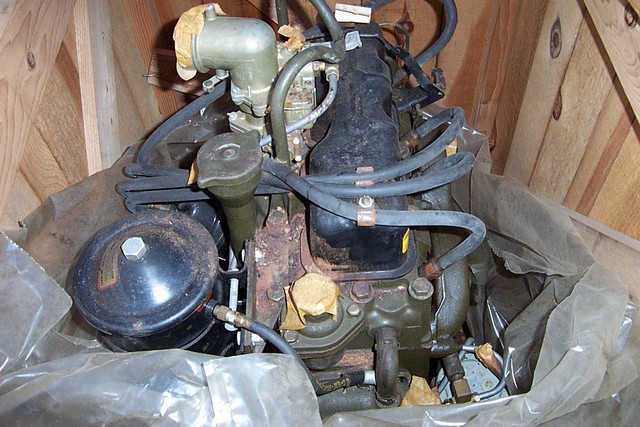
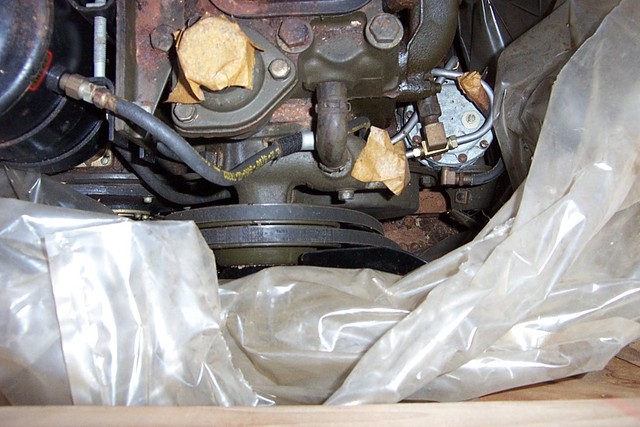
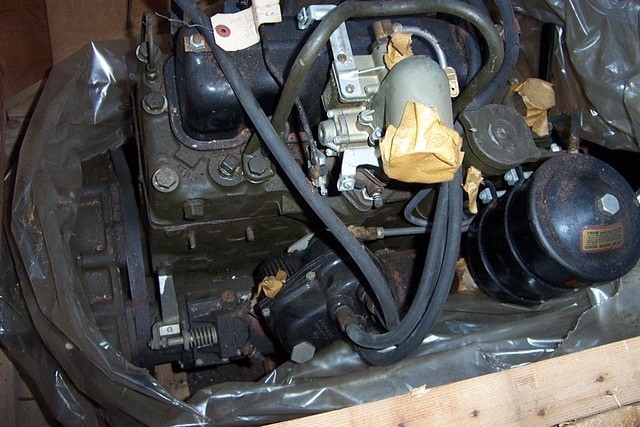
I bought new batteries a few weeks back and tried to get the motor running again. It was a no go. Last week, I was determined to get her going. After a few days of trying everything, she still wouldn't hit a lick, so I started over with the basics. I checked for voltage drop to the distributor - I had over .6v drop! I ended up cleaning all of the terminals and grounds and replacing the #12 wire to the distributor (part of it) because the insulation was gone and it was arcing on the connector. After this, I re indexed the oil pump/distributor to get the #1 tower to about the 7 o'clock position with room to adjust the timing. Still wouldn't spark. Last thing I could think of was the pointless ignition module. So I pulled the distributor out and replaced it with my spare distributor (with points). Turned her over with choke for about 5 seconds and BAM! - she fired up! Ran pretty smooth too! After a little tinkering and adjusting timing and carb, she was running like a sewing machine - about as quiet as one too. Here's a link to my blog video (if it will work):
https://m38a1usmc.files.wordpress.com/2 ... 153403.mp4
I buttoned the engine back up and added water to the radiator and let her idle for a while to check for leaks. Good to go!
I will be off work again in a couple of days, so I hope to get the brakes finished up, bled and working so that I can moved her (safely) into the shop. Right now, she is being worked on in a temporary "tent" portable carport in the yard beside the shop. If I can get her into the shop I can roll around on a creeper on concrete in the heat and things will go a little more quickly. The countdown timer is on for the Denton rally in April - 6 months!