Yesterday, Christmas Day
Got a fair amount done. Fixed both body-frame mounting points and some other stuff.
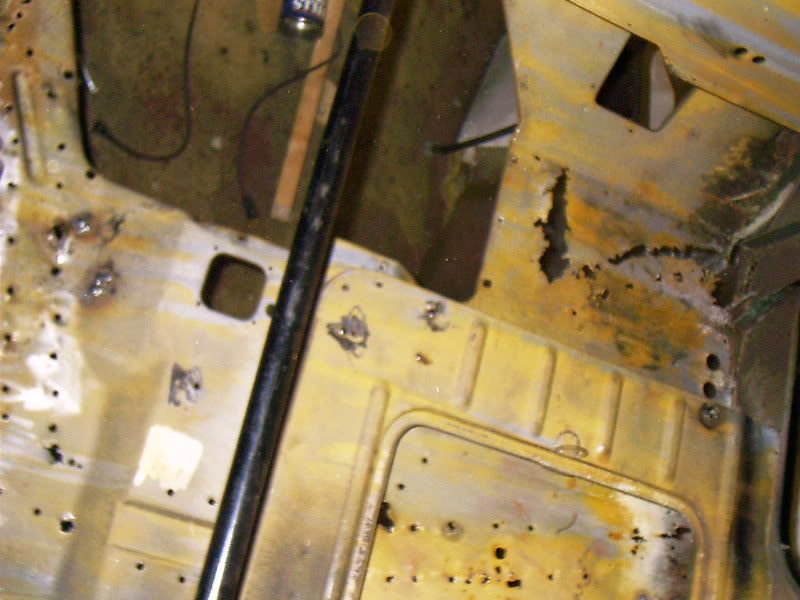
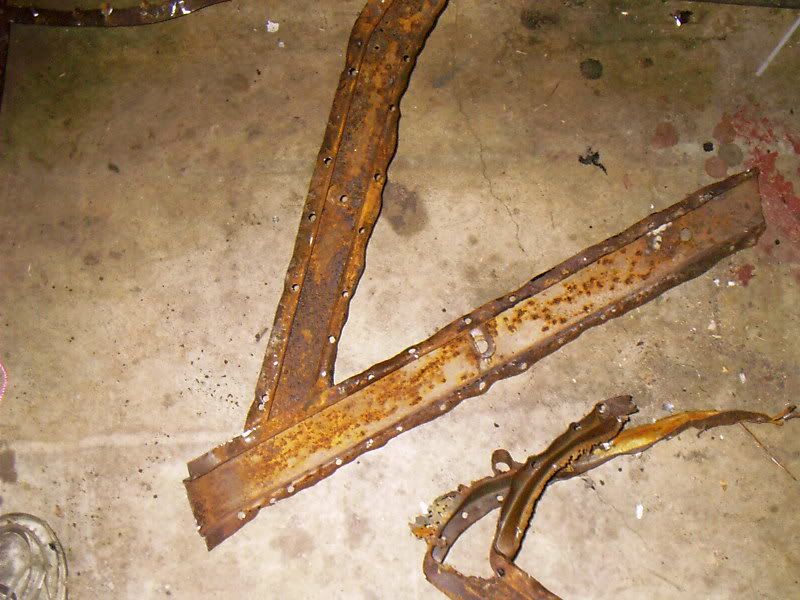
Some before pictures:
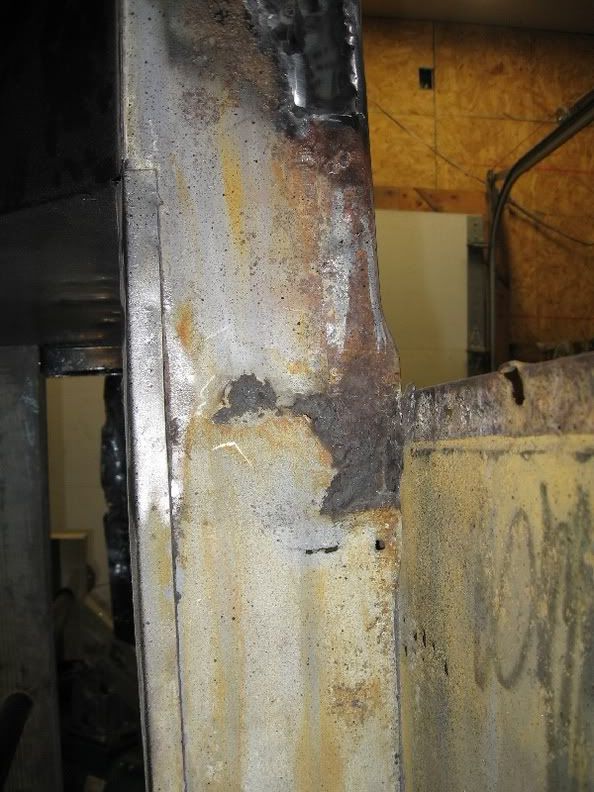
All Driver Side
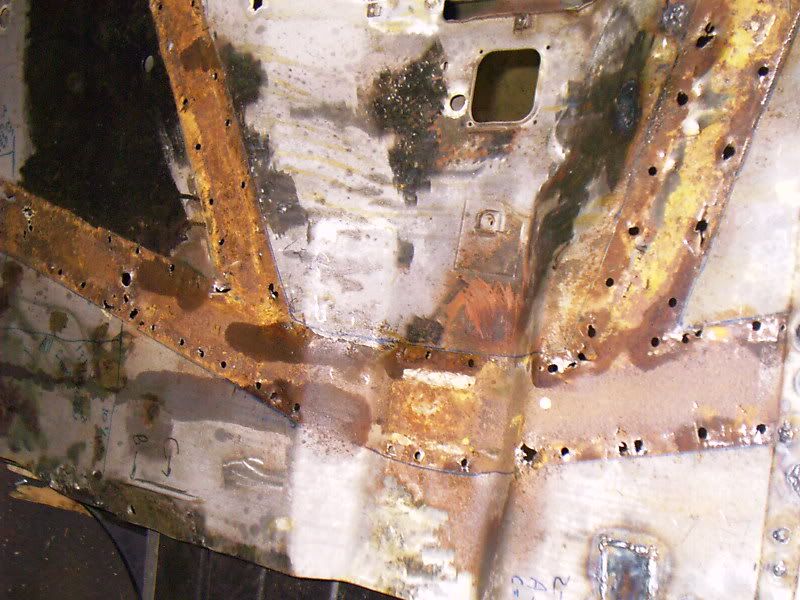
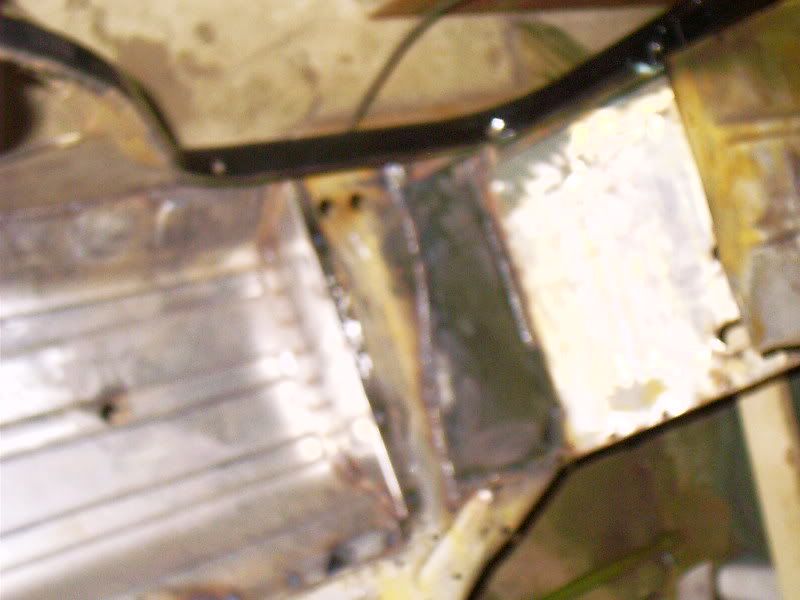
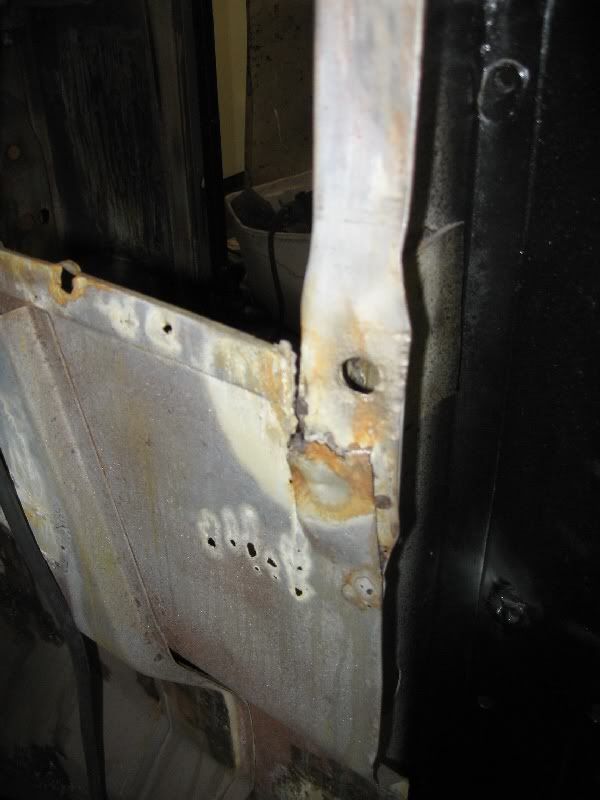
Now, Afterwards:

Passanger Side. Sorry, no before pict! But it did look pretty hideous.
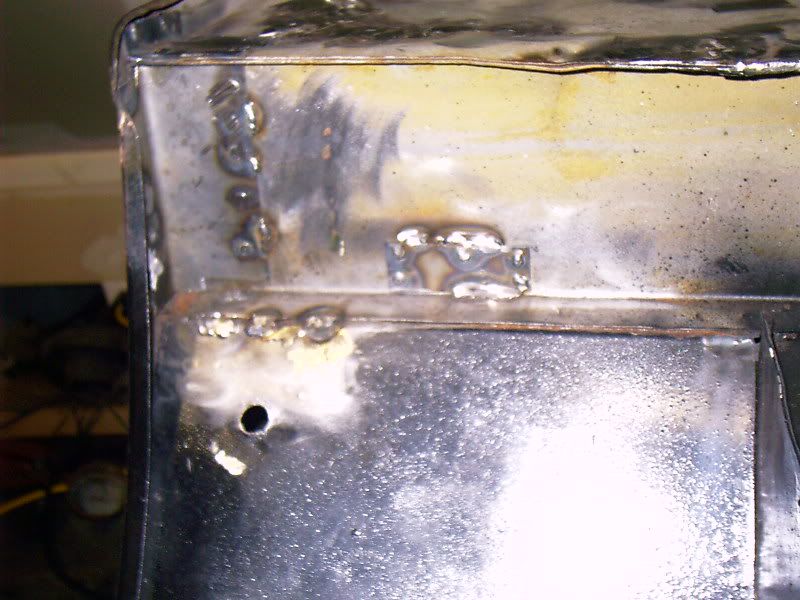
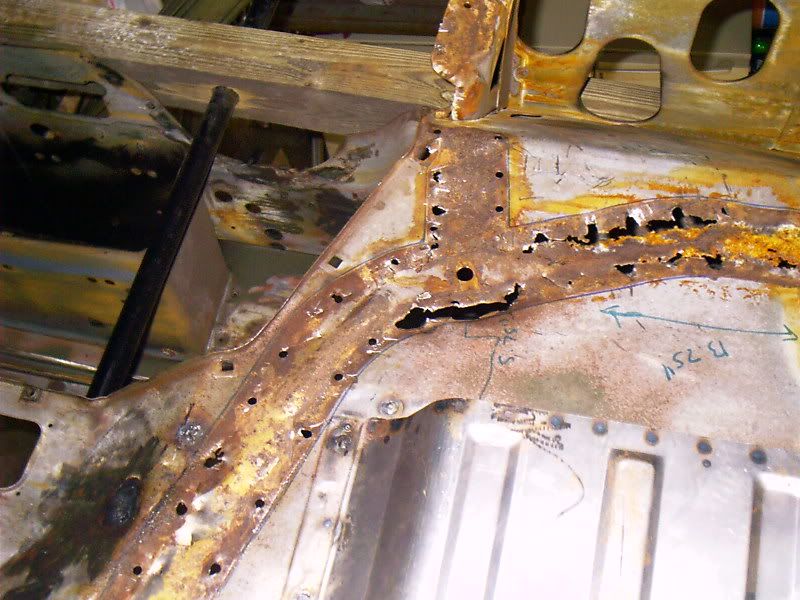
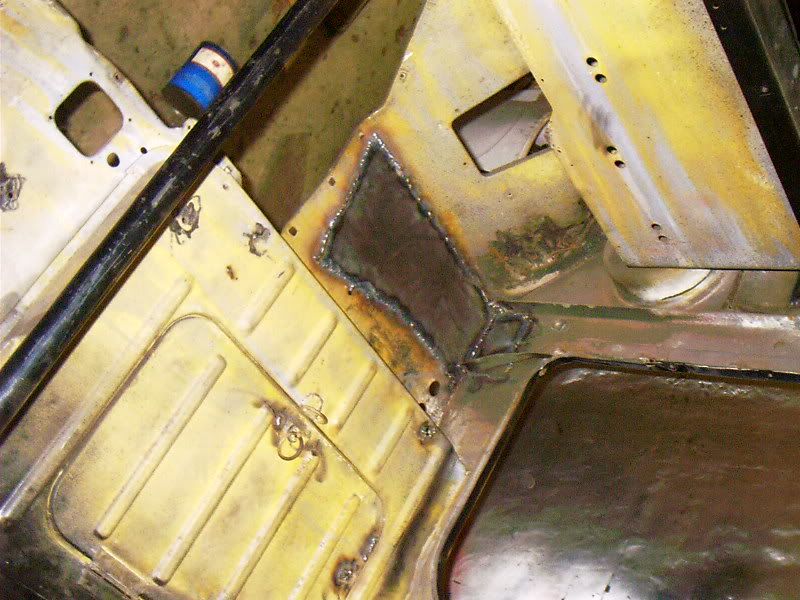
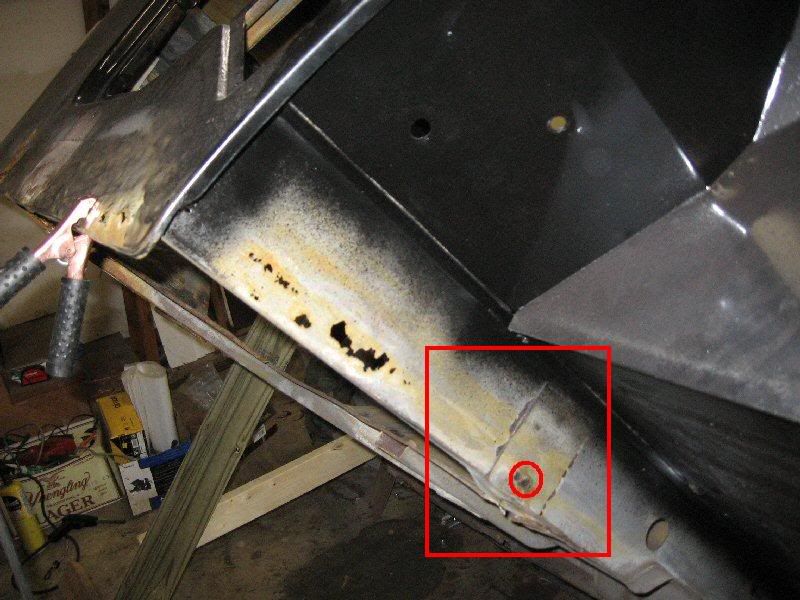
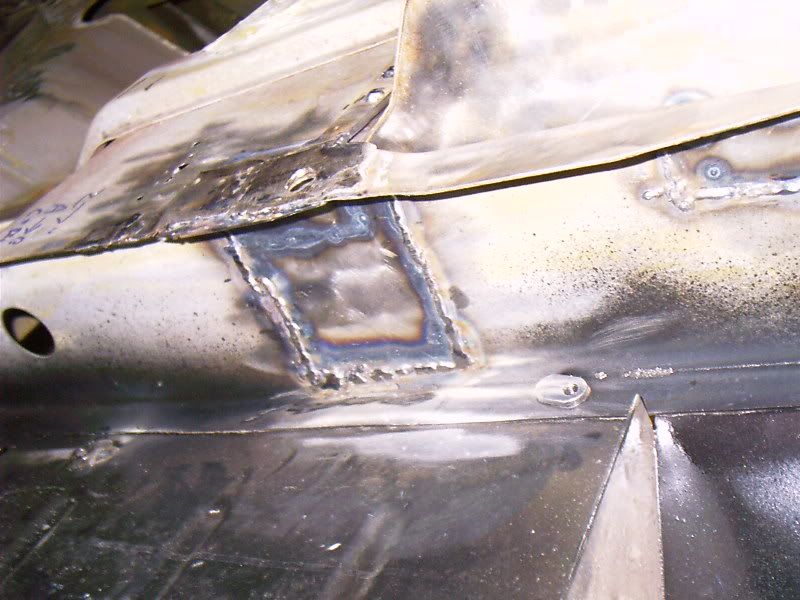
This is what I call "character corner." This is where my jeep has unique character.
Here too is another place where my jeep has character. Again, small little corrosion holes. Not worth it to tear apart that hat channel and fit it exactly as originally. Plug welded a patch, and its as good as new!
Now today...
Driver Side
And I got my gas tank sump installed!!!
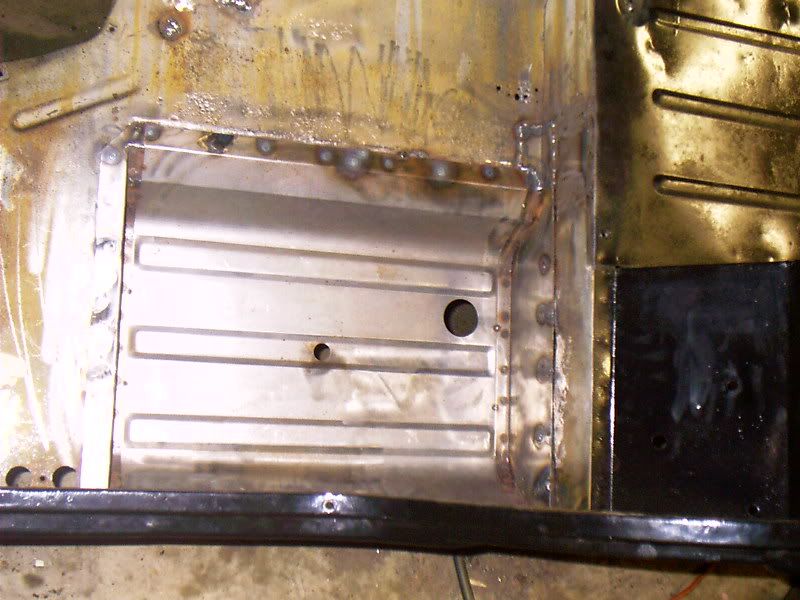
Test fitted the tank, fits great.
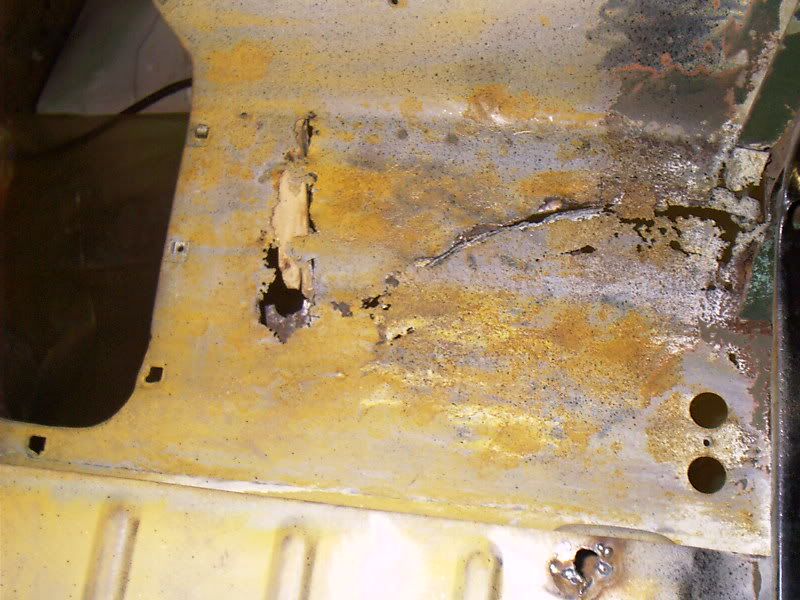
Dont know if any of you guys remember, but mine used to look like:
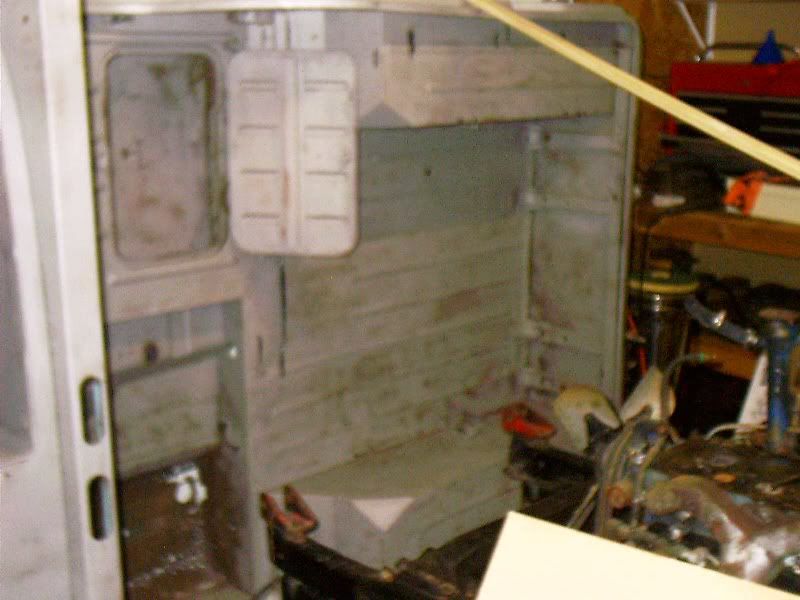
Down at the bottom corner of the body, you can see it. Trust me, there wasnt much left of it. It was totally trashed. Needless to say, when I paint it, Im going to pour some POR-15 on this thing. There is no way itll rust ever again.
Now for some questions
I hope to pull the hatchannels tommorrow, and possibly begin repair of the floorboards. Does anyone have any good methods for making sure my repro ones go back in the original spots? These body mounting holes Im sure are critical.
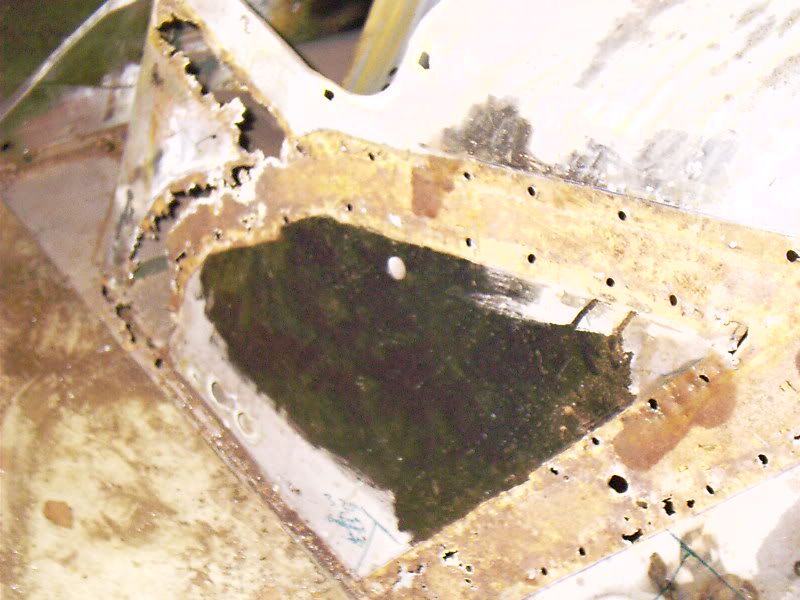
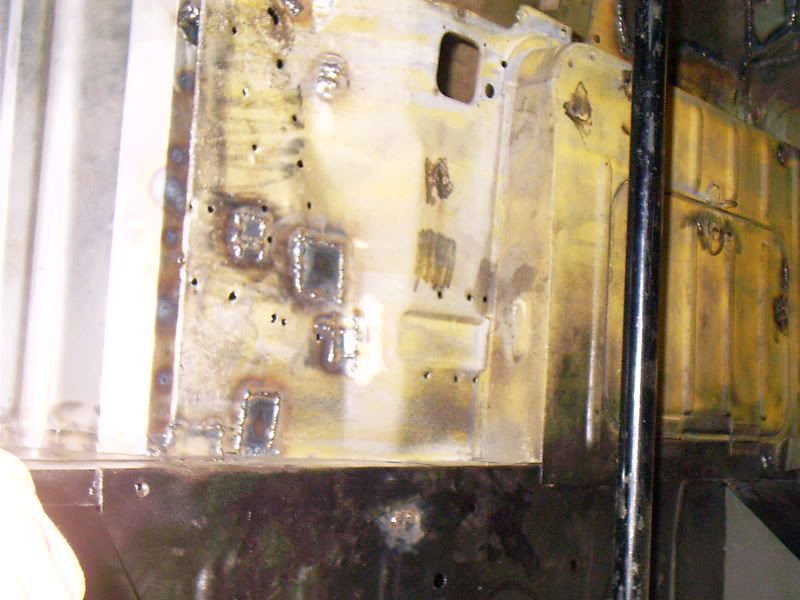
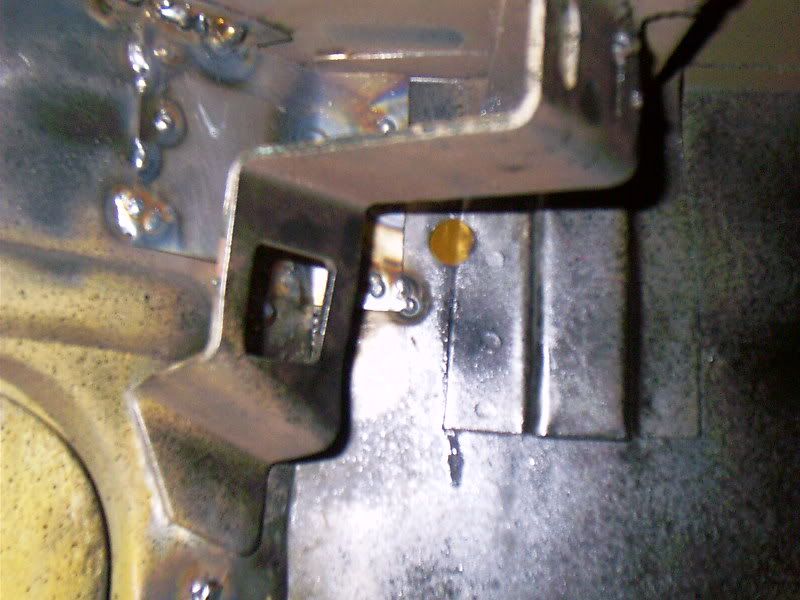
Also...
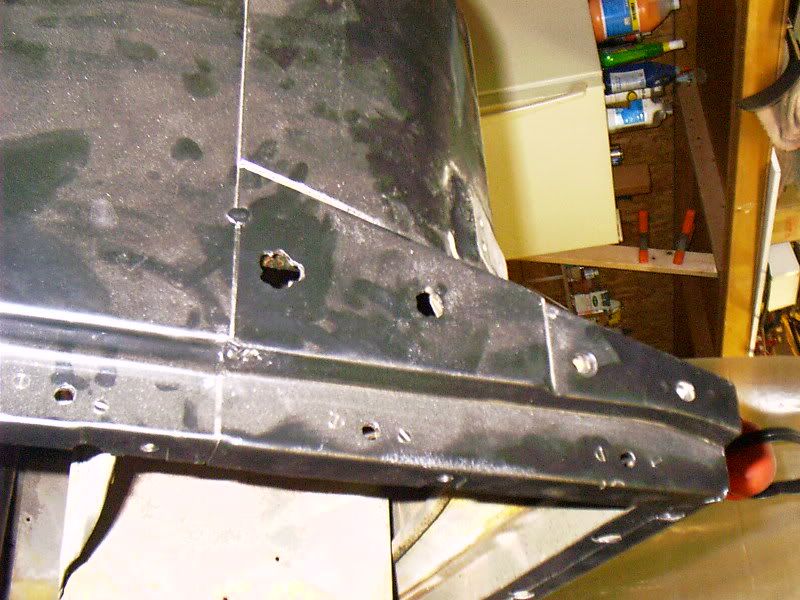
The heck are those two lower holes for? Looks like someone drilled them out several times. Honestly, they look like crap. I cant imagine they were there originally. Can anyone confirm my thoughts?