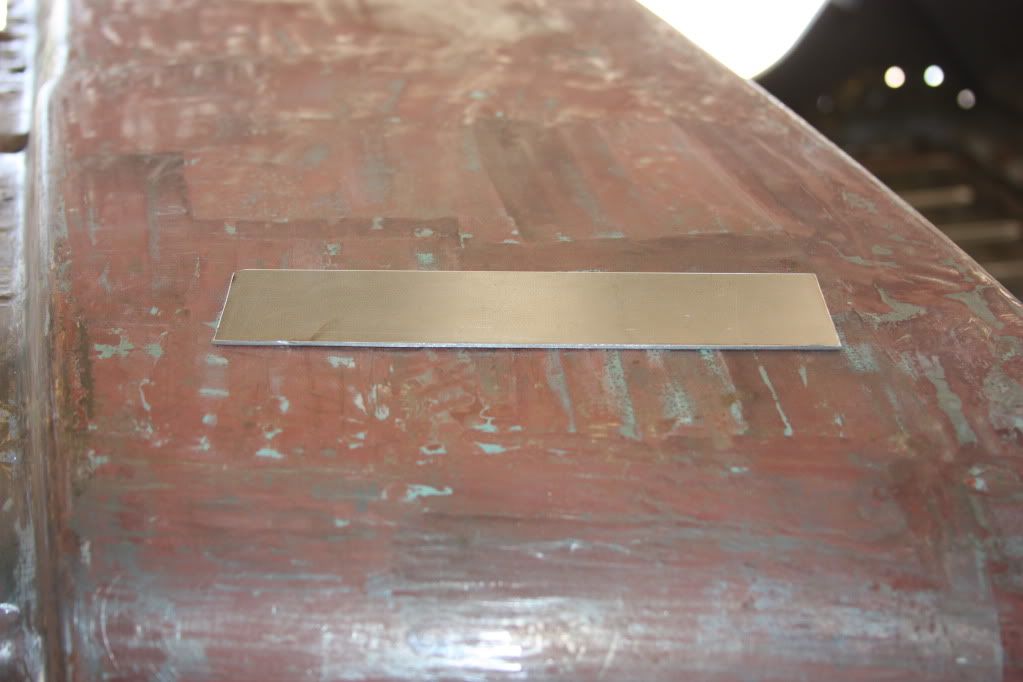
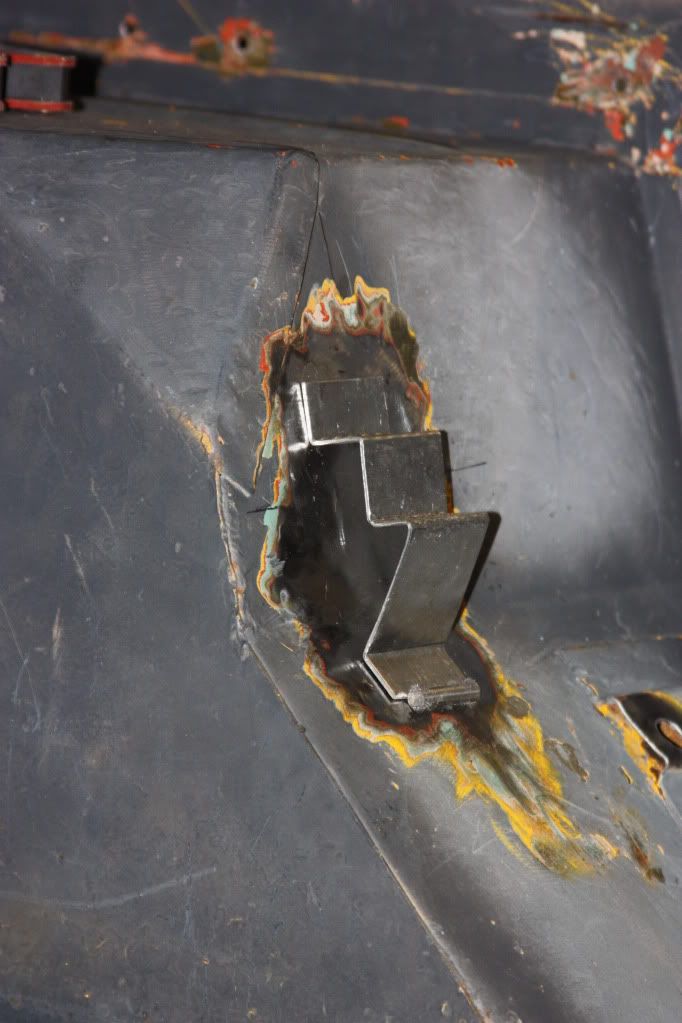
as for the hole in the bracket i think it best to mount your seat
frame and let the position of your existing weld nut determine
the location of the hole-agreed?? post a pic of your finished
bracket for all to critique
keep 'em rollin'
RICKG MC 51986 DOD 01-52, '50 CJ3a
Ya, that was my plan somewhat. I am going to mount the finished bracket to the seat frame then let that determine where I will weld it to the tub after some tweaking of the angles.
If I'd have to guess by eyeballin, the angles roughly are from top to bottom:
90*
90*
90*
45*
135*
This should be failry simple. I also have to patch in a new piece there on the well wall. Its all weak from the holes where the bracket as ripped off and where the prev owner attached his seat belt.
Bretto wrote:If I'd have to guess by eyeballin, the angles roughly are from top to bottom:
90*
90*
90*
45*
135*
This should be failry simple. I also have to patch in a new piece there on the well wall. Its all weak from the holes where the bracket as ripped off and where the prev owner attached his seat belt.
More like:
90°
90°
115°
70°
123°
The upright leg isn't vertical - it pitches back quite a bit from top to bottom. The little shelf appears to be horizontal, thus the 115° bend to account for the angle of the wheel well.
The stiffener on the back side is not the full width of the bracket. It's symmetrical about the bolt hole - nearly flush with the bracket edge on the driver's side and inset about 5/8" on the passenger side. U-shaped piece with top of U facing forward, bottom of U against wheel well, with a bolt hole through it.
Jim M.
1952 M38 son-father project
Discovering more worn out parts, one assembly at a time
Thanks Jim. I tried to make this last night and found bending the angles more difficult than anticipated. Im not good at thinking ahead. I was trying to think of the order of which angles should be bent 1st in order to not hinder bending the remaining ones. It didn't go too smoothly but I think that I have it close enough to work with a little hammer shaping persuasion. I now have to replace the small piece of sheetmetal on the face of the wheelwell then repair the seat frame before I can mate everything up.





 but I think that I have it close enough to work with a little hammer shaping persuasion. I now have to replace the small piece of sheetmetal on the face of the wheelwell then repair the seat frame before I can mate everything up.