Finally started working on my M38
-
ocwd
- Jeep Enthusiast

- Posts: 721
- Joined: Sun May 13, 2007 6:00 pm
- Location: Placentia, CA
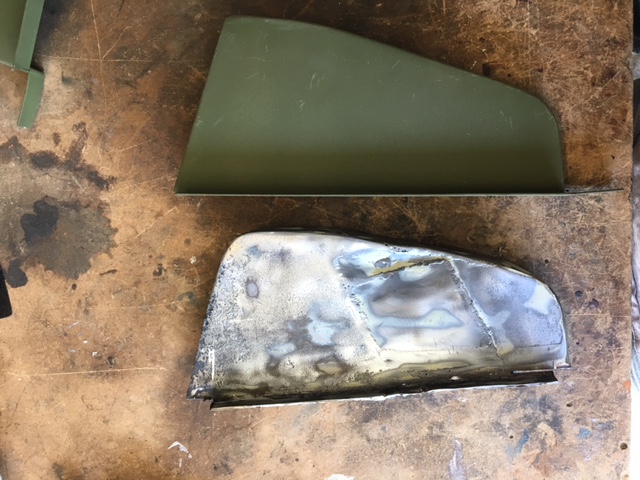
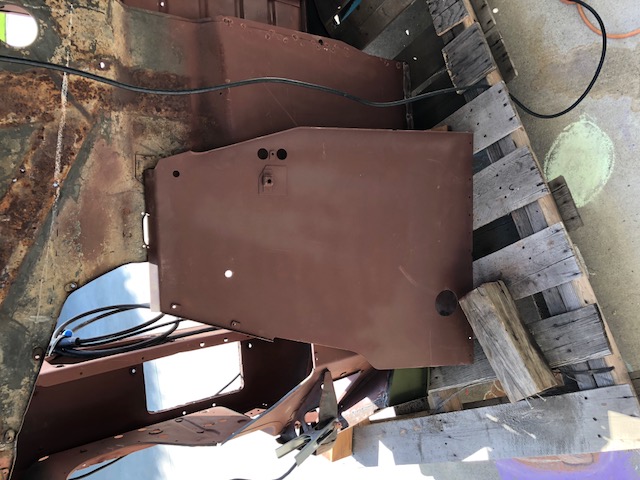
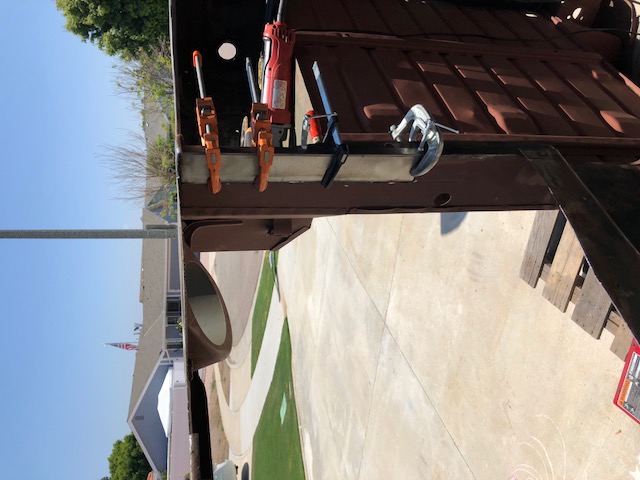
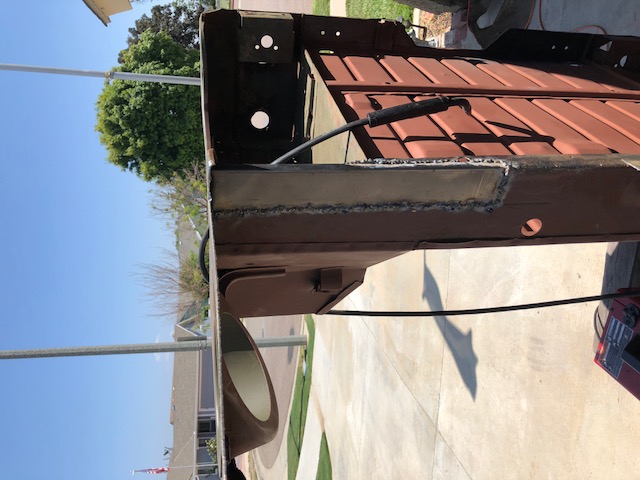
Passenger Step
It made sense to me too. I got the step from Peter Debella since the G503 steps that Ron sells don't quite look the same as original M38 steps that I've seen. As you can see below, the original on my Jeep was in pretty bad shape.

-
4x4M38

- Jeep Legend

- Posts: 3487
- Joined: Thu May 29, 2014 6:00 pm
- Location: Texas Hill Country
-
ocwd
- Jeep Enthusiast
- Posts: 721
- Joined: Sun May 13, 2007 6:00 pm
- Location: Placentia, CA
-
4x4M38
- Jeep Legend
- Posts: 3487
- Joined: Thu May 29, 2014 6:00 pm
- Location: Texas Hill Country
-
ocwd
- Jeep Enthusiast
- Posts: 721
- Joined: Sun May 13, 2007 6:00 pm
- Location: Placentia, CA
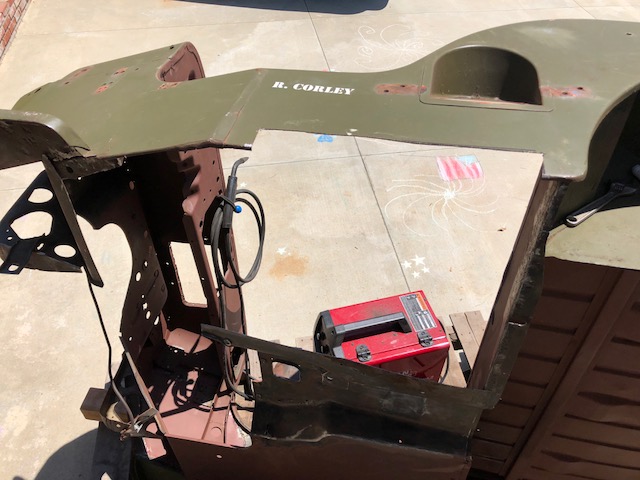
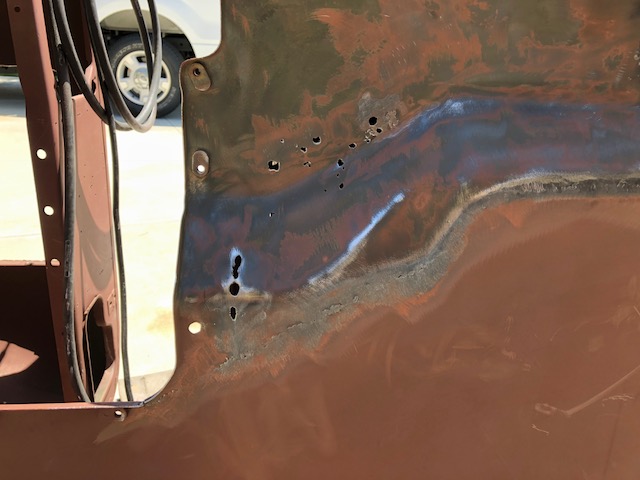
More Progress
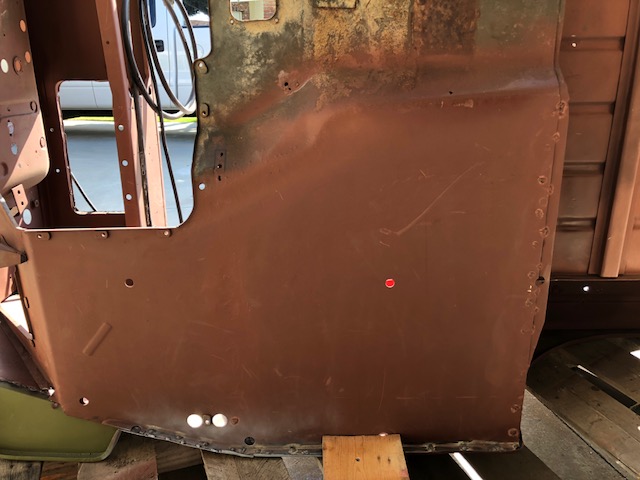
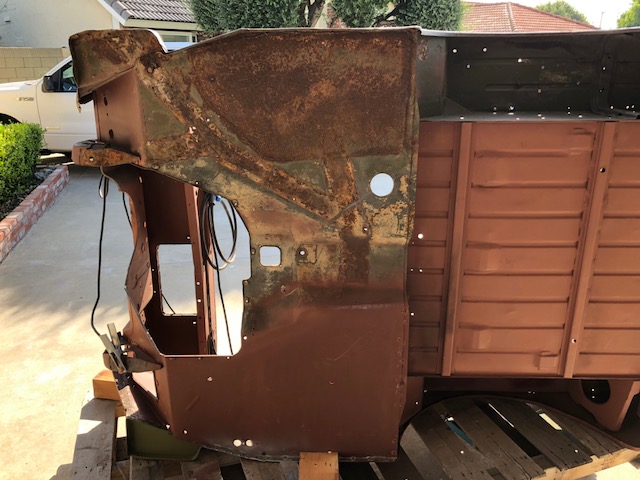
I made some progress this past weekend. I replaced the passenger side floor a few months back. This weekend I flipped my tub over and started working on the driver side floor.
-
ocwd
- Jeep Enthusiast
- Posts: 721
- Joined: Sun May 13, 2007 6:00 pm
- Location: Placentia, CA
-
ocwd
- Jeep Enthusiast
- Posts: 721
- Joined: Sun May 13, 2007 6:00 pm
- Location: Placentia, CA
-
ocwd
- Jeep Enthusiast
- Posts: 721
- Joined: Sun May 13, 2007 6:00 pm
- Location: Placentia, CA
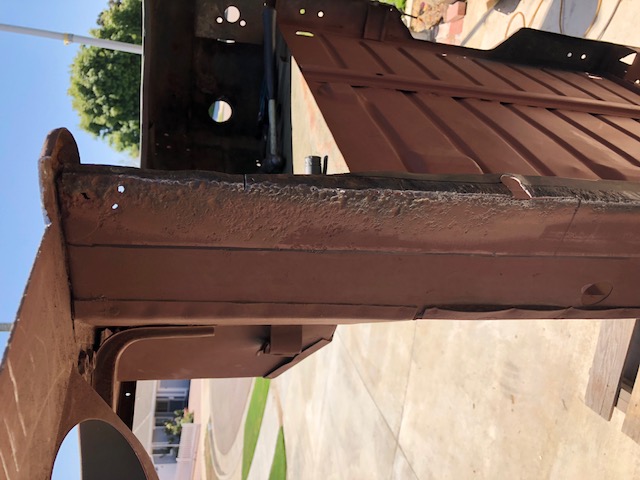
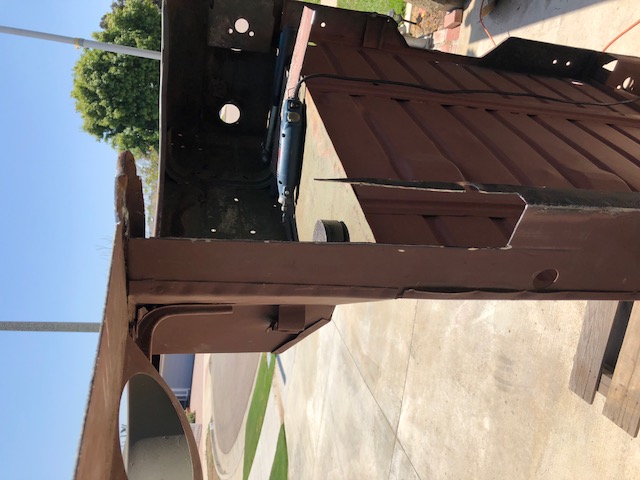
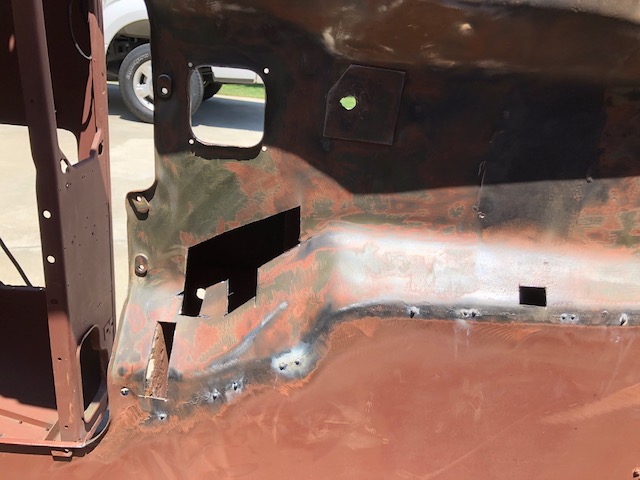
More Progress
Still lots of work left on the drivers floor. I recommend the floor panels that Midwest Military sells. They fit nicely.
-
ocwd
- Jeep Enthusiast
- Posts: 721
- Joined: Sun May 13, 2007 6:00 pm
- Location: Placentia, CA
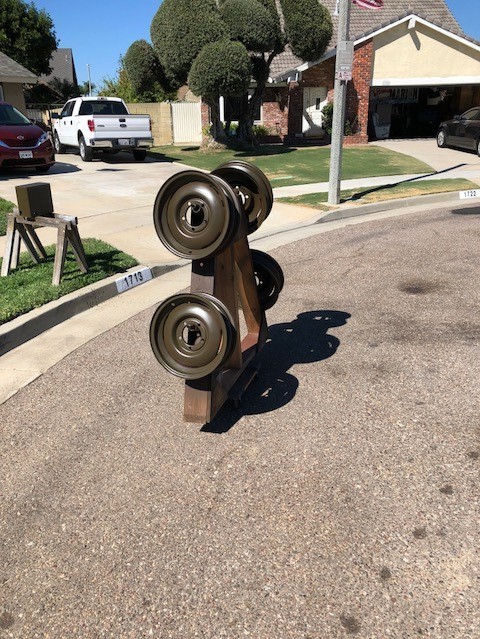
More Progress
I picked up my wheels from the sandblaster last weekend. I got two coats of primer and one coat of paint on them. Should take a few more coats of paint to cover the primer. I have NDCC tires waiting and tubes coming in the mail. I just need to get the driver side floor in then I can start fitting the new hat channels.
-
pacho
- Contributor

- Posts: 61
- Joined: Fri Oct 31, 2008 6:00 pm
-
Ryan_Miller

- Site Administrator

- Posts: 1682
- Joined: Sat Apr 02, 2005 6:00 pm
- Location: Kansas
-
wesk

- Site Administrator
- Posts: 16461
- Joined: Sun Apr 03, 2005 6:00 pm
- Location: Wisconsin
- Contact:
I hope it is a wheel drying rack and he painted them in an enclosed area. I can see some unhappy neighbors if he paints them out there!
Wes K
45 MB, 51 M38, 54 M37, 66 M101A1, 60 CJ5, 76 DJ5D, 47Bantam T3-C & 5? M100
Mjeeps photo album: http://www.willysmjeeps.com/v2/modules. ... _album.php
45 MB, 51 M38, 54 M37, 66 M101A1, 60 CJ5, 76 DJ5D, 47Bantam T3-C & 5? M100
Mjeeps photo album: http://www.willysmjeeps.com/v2/modules. ... _album.php
-
ocwd
- Jeep Enthusiast
- Posts: 721
- Joined: Sun May 13, 2007 6:00 pm
- Location: Placentia, CA
More Progress
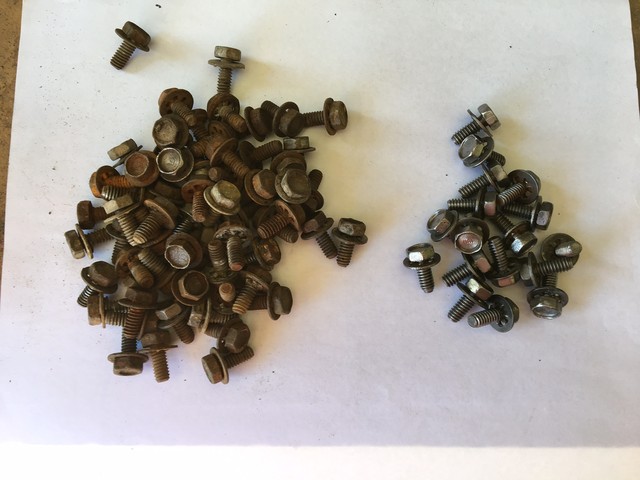
I use the wire wheel on my bench grinder to clean bolts. Hold them real good with vice grips or pliers. Shot many bolts across my garage. I also use "long nuts" to thread the bolts into so I can get a better grip. Then, I poke them into a piece of cardboard and hit them with rattle-can primer.
The drying rack was suppose to be one side on the rotisserie that I was going to build. Never built it so I have two sides waiting for the fire pit sometime on a future camping trip.
I'm painting outside. Sorry neighbors.
I see the end of body work in the near future. 10 year project, pretty crazy. Just never have time to work on it.