Folks,
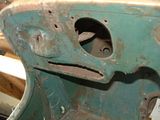
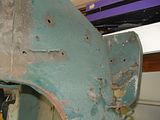
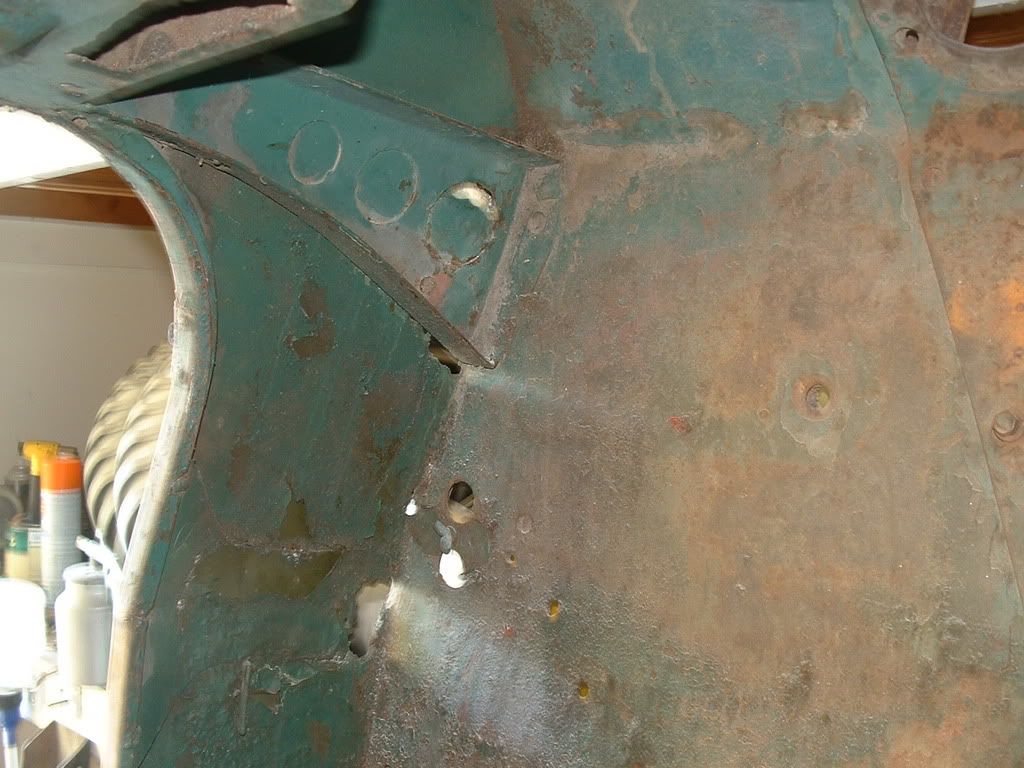
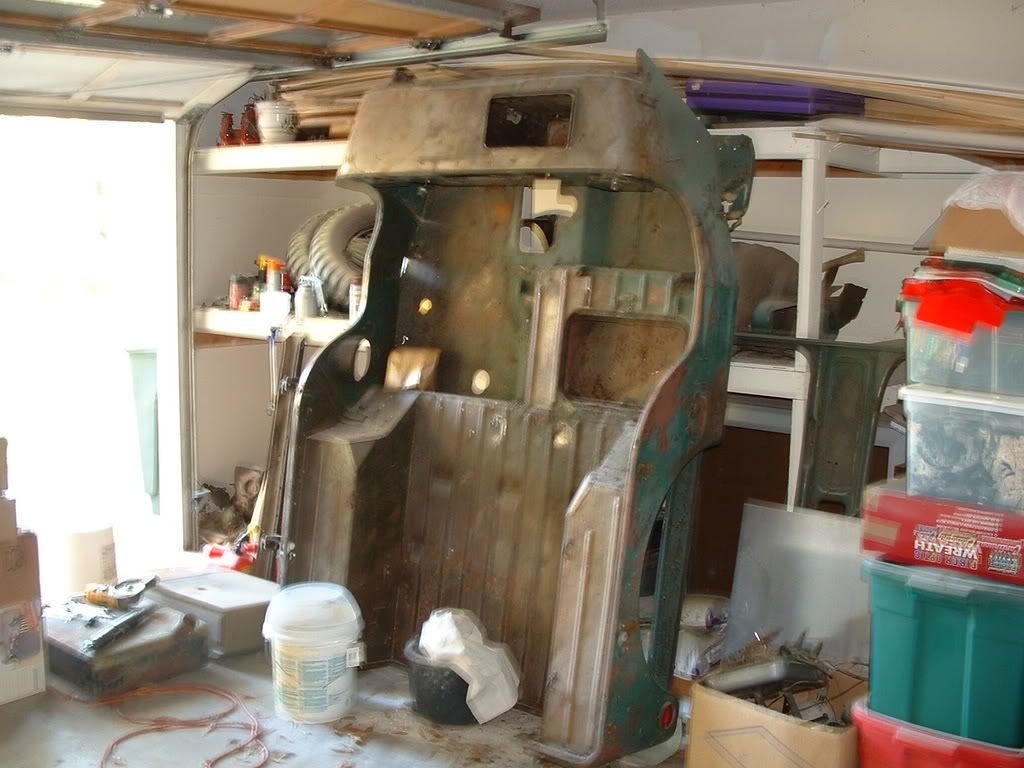
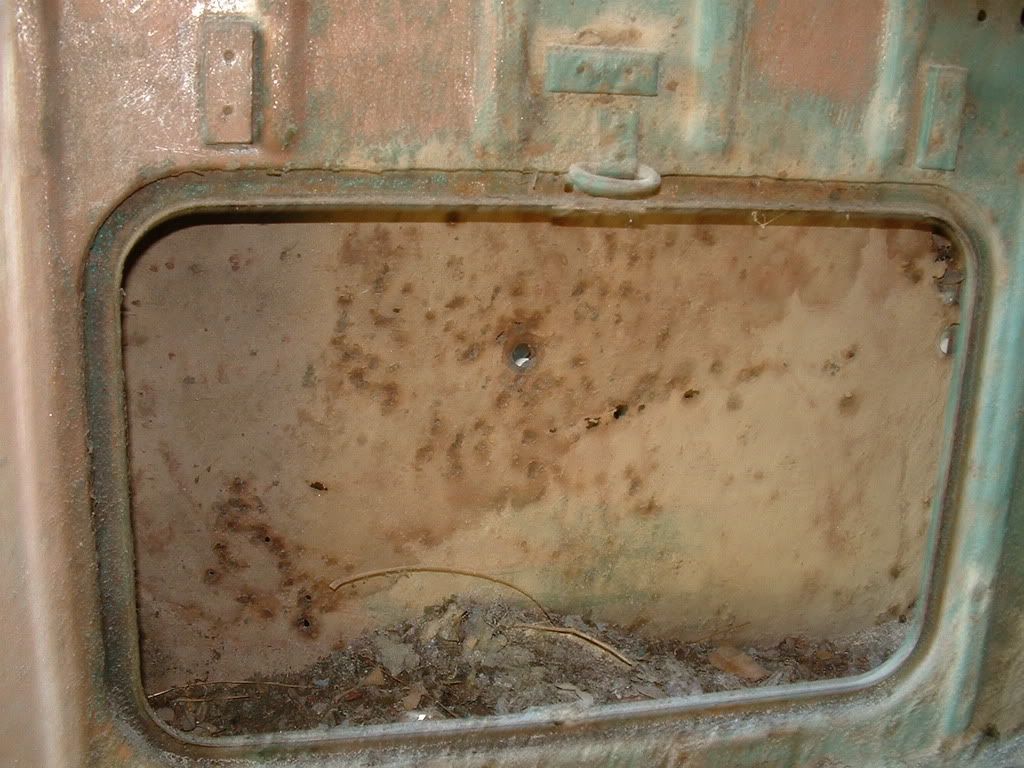
I need some expert advise concerning the right sequence of body work. I have sand blasted the tub of my Jeep, replaced all rusted areas with new sheet metal and just got done grinding the welds down.
Now I need to know the correct order of the next steps:
- Should I use body filler next to even out the grinding over the welds?
- Do I use the body filler before the primer?
- Can I use glazing putty after I apply the primer (since the imperfections become more visible after primer is applied and dries) or does it have to be applied directly onto the body filler?
- After all this work I am concerned that there might be some bleed-through where body filler will be applied so: Is 'Rust-Oleum Primer for Heavily Rusted Metal' (the brownish/grey stuff) sufficient as a sealer over the body filler?
I searched several posts on several forums but ended up with some contradicting answers. Seems to me that different people prefer a different order. That is fine by me but I am no body repair man so I need some advise from the people that already done this job.
Thanks for the help!
Advise on Body Work
-
thomasarnold
- Member
- Posts: 28
- Joined: Wed Jan 25, 2006 6:00 pm
- Location: Evans, Georgia
- Contact:
-
DMCarpenter

- Contributor

- Posts: 97
- Joined: Sun May 27, 2007 6:00 pm
- Location: Denver, NC
I am about to make a suggestion that I should follow myself, but hey...
You might want to look into a body repair course at your local community college. Fall is coming and those courses are typically cheap, very hands on, and you can generally get some work done free/on the cheap. Welding courses can also be useful as well.
To answer at least one question, filler goes on bare metal, and less is usually more.
Just a thought
-
GregS
- Active Member

- Posts: 174
- Joined: Tue Apr 12, 2005 6:00 pm
In the body shop world it is a wide debate if filler should go on bare metal or not. I have done both with excellent results. If you spray the body with epoxy primer, the filler will adhere just fine and should moisture get underneath your filler, the epoxy primer will protect the metal underneath. When you often see filler bubbling, it is because moisture has gotten underneath the filler and is rusting the metal away.
My favorite procedure is:
1. epoxy primer over prepped bare metal
2. filler
3. spray sandable primer
4. block sand
5. After block sanding you will be able to see your high and low spots and determine if you need more filler or two-part glazing. Use the two part glazing. All other glazing is junk and will shrink.
6. Spray primer and block sand
7. Spray epoxy primer
8. Top coat X3
Do not use Rust Oleum, it is not very compatible with auto paint. Epoxy primer is execellent stuff and will stick to anything.
The key is to spray primer, block sand, and fill repeadily until you have a flat surface that blends perfectly into the surrounding area. If it doesn't it will stick out horribly when you spray the top coat. Patients is a must.
-
thomasarnold
- Member
- Posts: 28
- Joined: Wed Jan 25, 2006 6:00 pm
- Location: Evans, Georgia
- Contact:
-
GregS
- Active Member
- Posts: 174
- Joined: Tue Apr 12, 2005 6:00 pm
Below is an excellent forum for autobody. Do a search or read old pages and you will find excellent resource material.
There are some real pros on here.
http://www.hotrodders.com/forum/body-exterior/
There are some real pros on here.
http://www.hotrodders.com/forum/body-exterior/
-
BEAR

- Member
- Posts: 19
- Joined: Fri Jul 06, 2007 6:00 pm
- Location: "SUNNY" WESTERN AUSTRALIA
Hi, I know I 'm a bit late to put my bit in here, but Ive been in the panel & paint game for 38 yrs now, and I just wanted to say how we do it. The body filler is put in after you have ground to bare metal, it is then filed & sanded flat before being sprayed with a 2 pak hi-build primer, the primer is only to fill any small imperfections & scratches left from sanding the filler. (not to fill dents etc) the primer is then blocked flat before your colour coat is applied. Hope this is of some help to you if it is & you want any more info please let me know. Good luck Bear
-
thomasarnold
- Member
- Posts: 28
- Joined: Wed Jan 25, 2006 6:00 pm
- Location: Evans, Georgia
- Contact:
Thanks!
Just wanted to thank everybody for the infos. I will get started with it this weekend!
Greetings,
Greetings,
-
BEAR
- Member
- Posts: 19
- Joined: Fri Jul 06, 2007 6:00 pm
- Location: "SUNNY" WESTERN AUSTRALIA
-
thomasarnold
- Member
- Posts: 28
- Joined: Wed Jan 25, 2006 6:00 pm
- Location: Evans, Georgia
- Contact:
Got The Tub Back On...
Hello everybody.
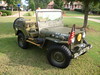
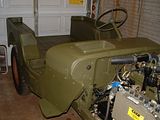
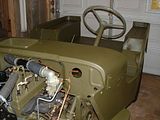
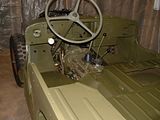
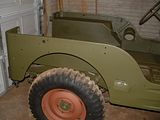
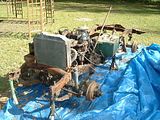
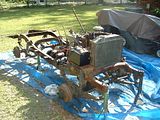
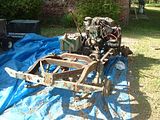
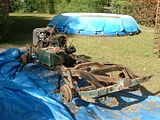
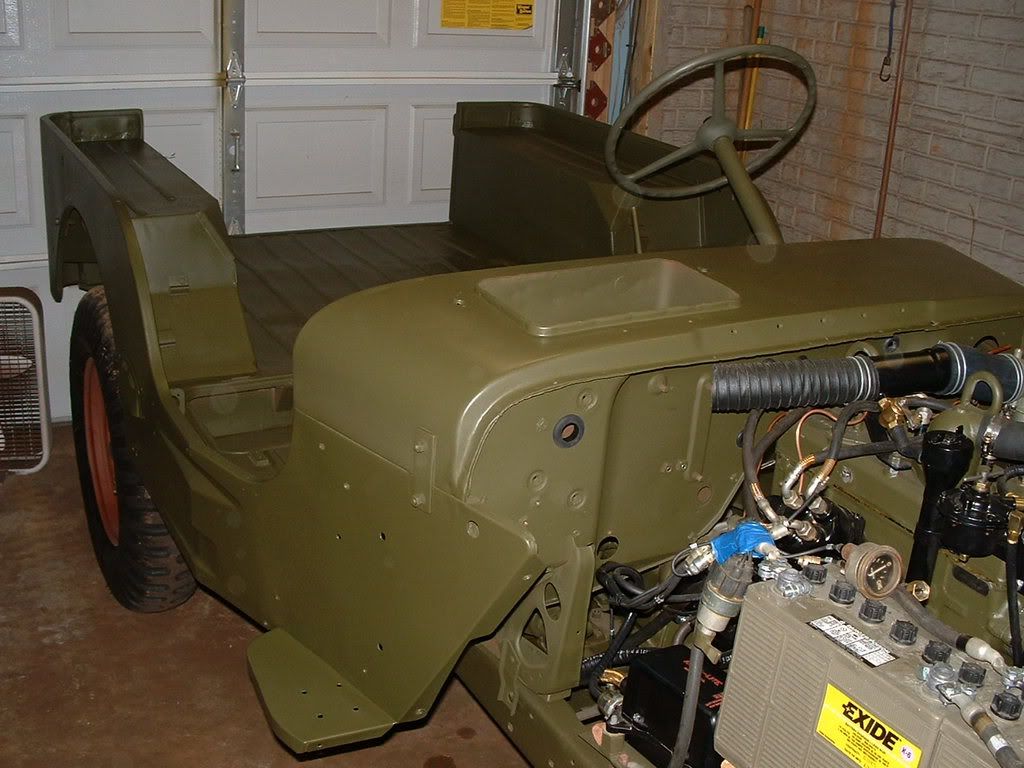
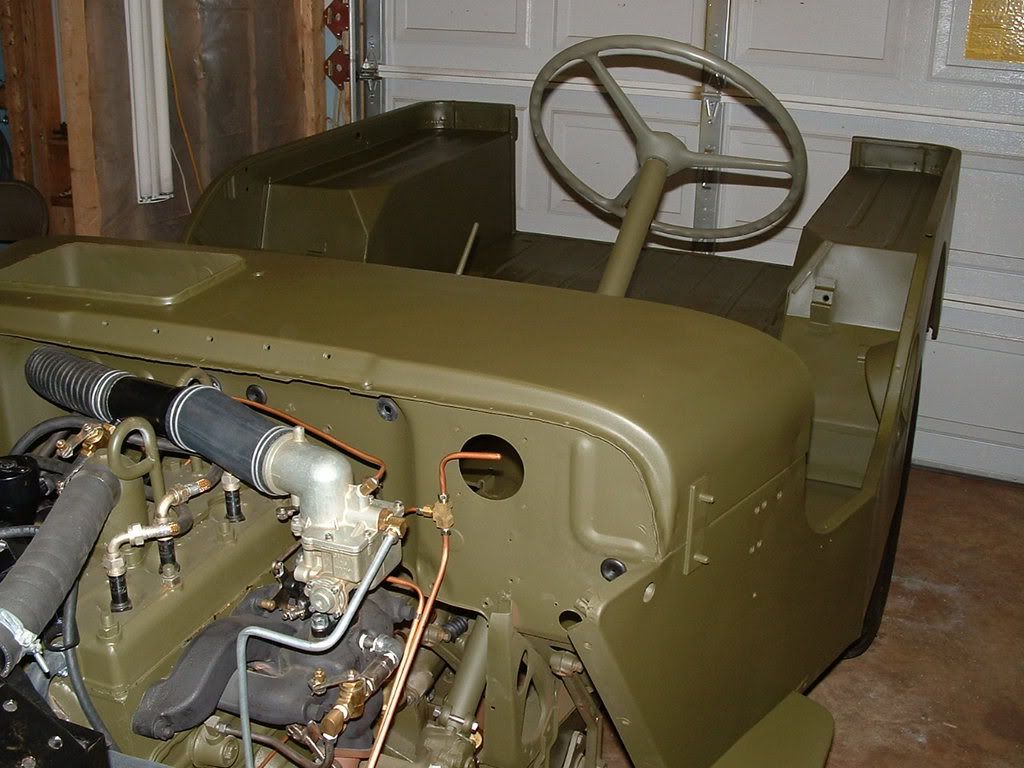
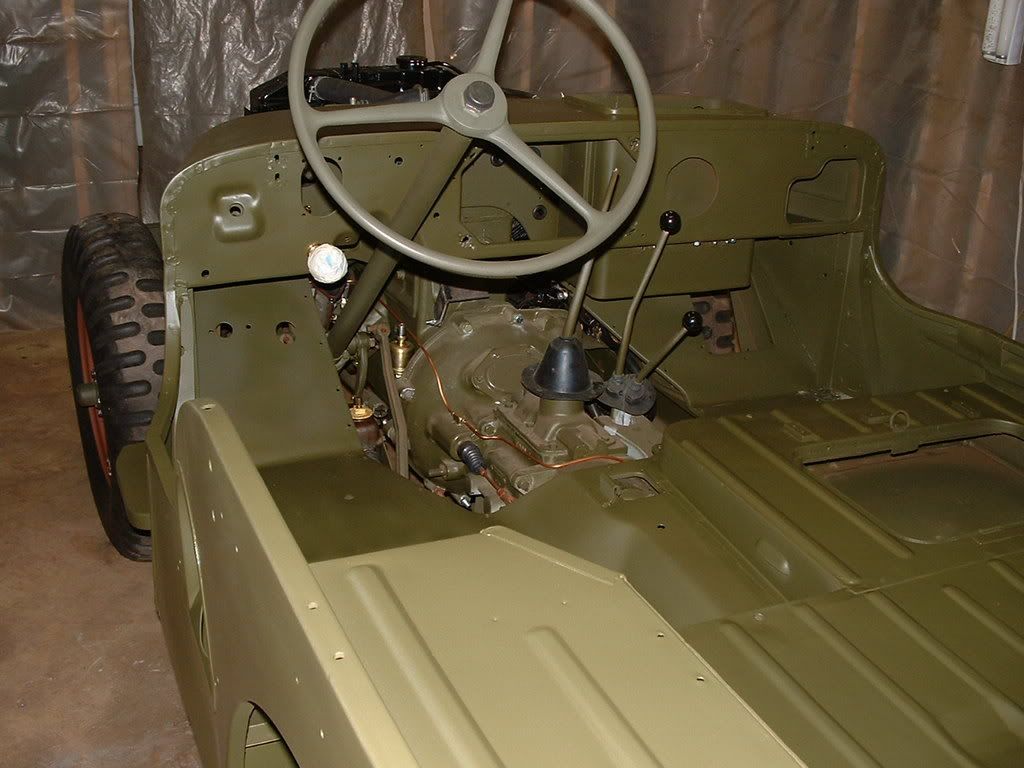
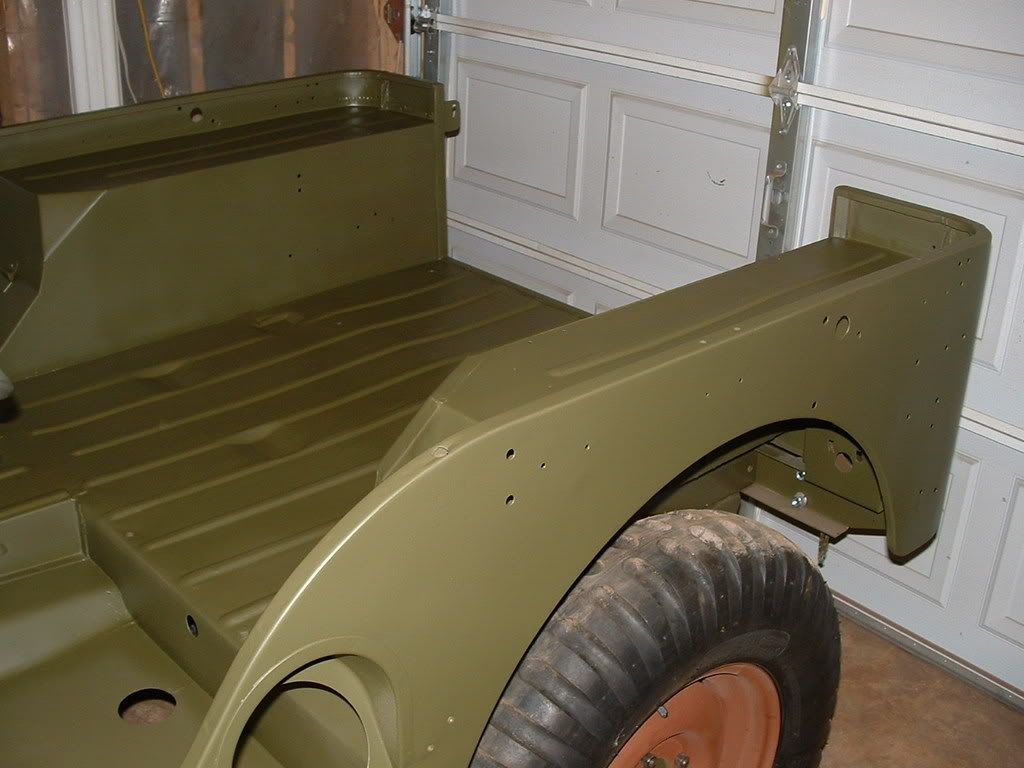
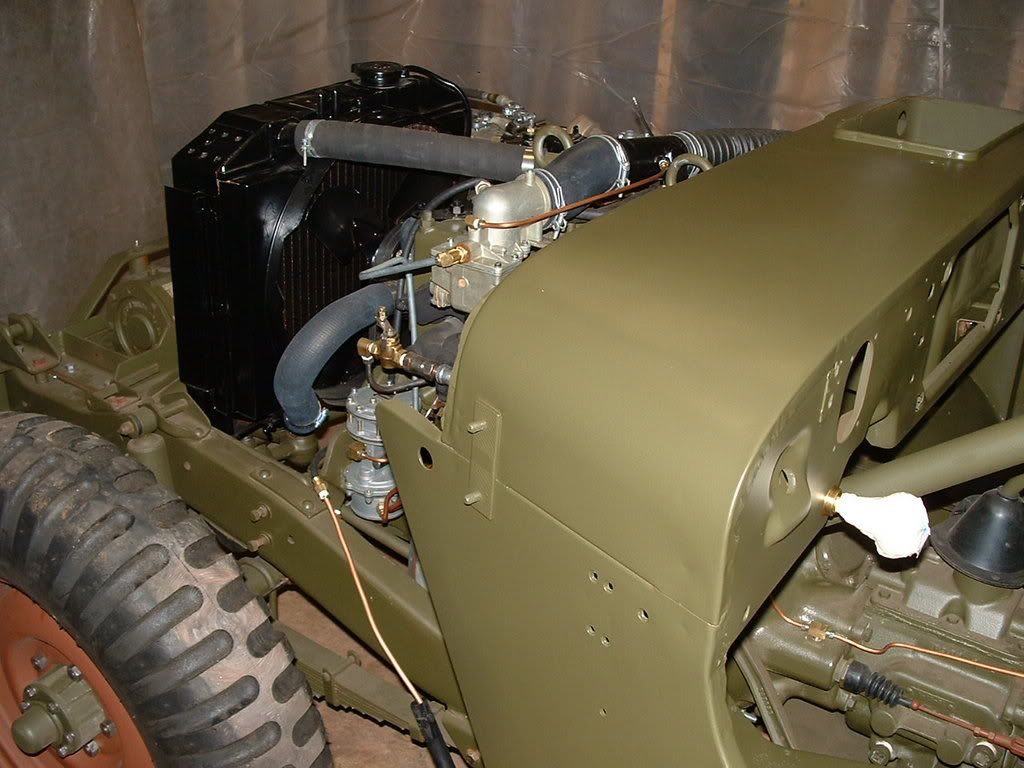
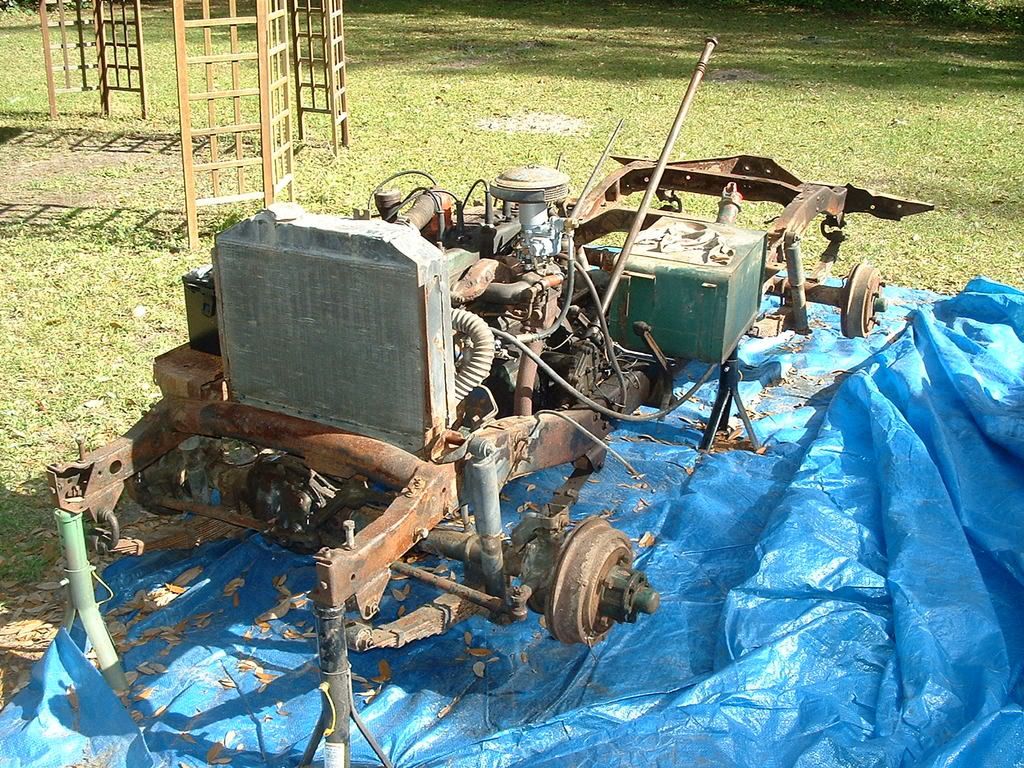
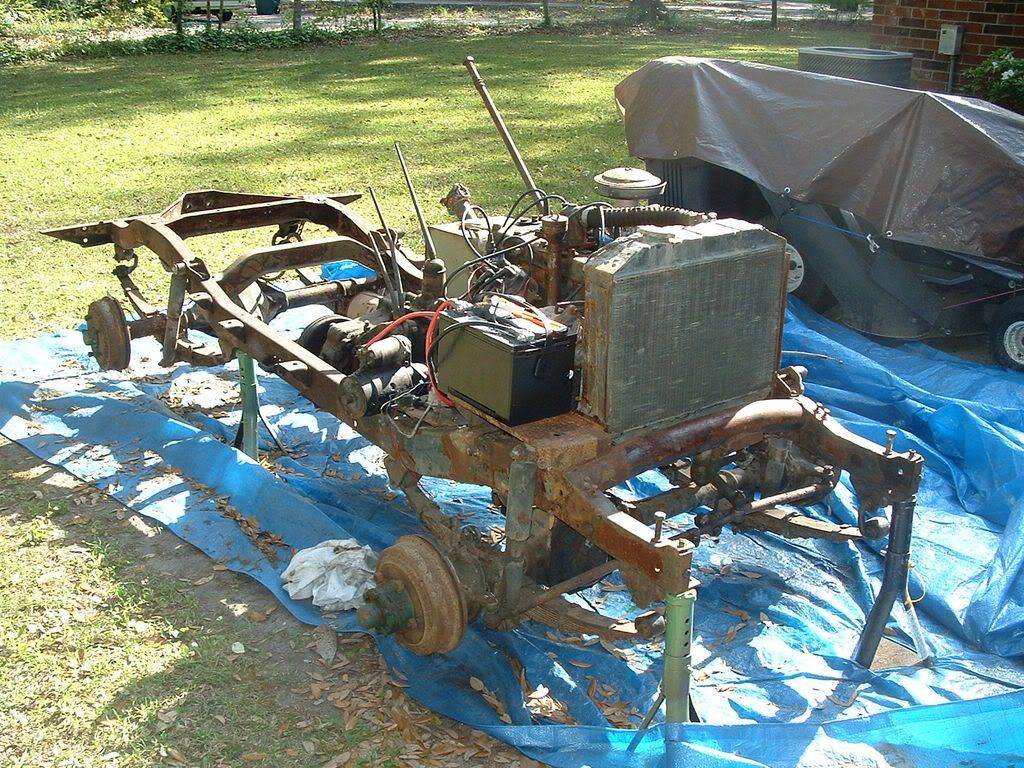
The last three weeks have been pretty busy and I wanted to thank everybody for all the hints and tips. After a lot of new sheet metal, many feet of welding wire, a contractor's pack of grinding discs, countless sheets of sand paper and several gallons of primer and OD paint the tub is finally back on the frame. I think it turned out pretty decent and I am glad that I didn't decide to buy a reproduction tub. It would have been a lot less work but I just could not bring myself to get rid of the original tin can. Now it's starting to look somewhat like a JEEP again...
 .
.  .
.  .
. 
 .
.  .
. 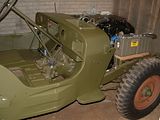
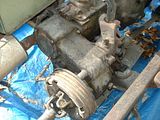
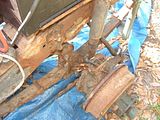
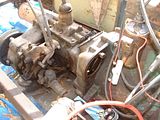
I wish I would have taken more pictures before I started. Probably got too exited tearing the rust bucket apart...
 .
.  .
.  .
.  .
.  .
.  .
.  .
.  .
.  .
.  .
.  .
.  .
.  .
.  .
.  .
. 
Greetings
Thomas
The last three weeks have been pretty busy and I wanted to thank everybody for all the hints and tips. After a lot of new sheet metal, many feet of welding wire, a contractor's pack of grinding discs, countless sheets of sand paper and several gallons of primer and OD paint the tub is finally back on the frame. I think it turned out pretty decent and I am glad that I didn't decide to buy a reproduction tub. It would have been a lot less work but I just could not bring myself to get rid of the original tin can. Now it's starting to look somewhat like a JEEP again...
 .
.  .
.  .
. 
 .
.  .
. 
I wish I would have taken more pictures before I started. Probably got too exited tearing the rust bucket apart...
 .
.  .
.  .
.  .
.  .
.  .
.  .
.  .
.  .
.  .
.  .
.  .
.  .
.  .
.  .
. 
Greetings
Thomas
-
Cacti_Ken

- Jeep Legend

- Posts: 1021
- Joined: Tue Apr 19, 2005 6:00 pm
- Location: Silsbee, Texas
-
BEAR
- Member
- Posts: 19
- Joined: Fri Jul 06, 2007 6:00 pm
- Location: "SUNNY" WESTERN AUSTRALIA