Not been posting on patina jeep in a while. Don't think nothing is happening. Been acquiring parts as I find them. Im taking some time off this month (first time in YEARS), and I plan on dedicating a solid portion of it to this jeep. Im organizing and trying to find all the goodies I bought for it over the last few months so everything will be ready to start with in a couple of weeks. A few major items are due in but I'm not sharing just yet
I'll do photos, I promise... Phone camera died and my digital doesn't play nicely with my Mac, bit I WILL find a way.
Yellow Jeep is going to get a block of time too, just don't have as much that I want to do to it right now, other than enjoy it.
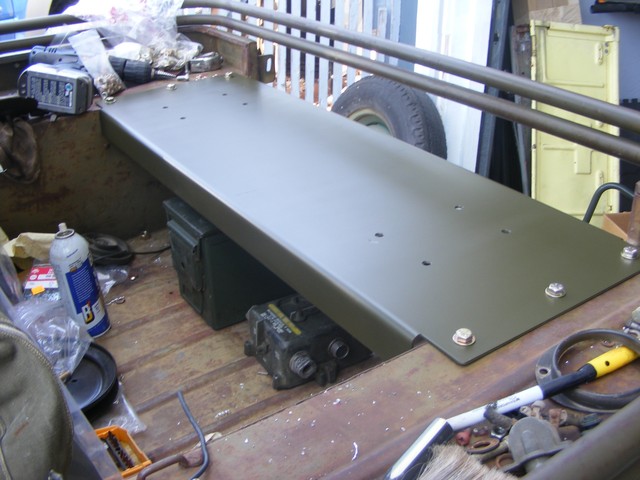
Some good progress today! Monday I laid out the mount I wanted fabricated and trotted off to the fabricators. Tuesday I had it in hand and painted it. Today, Wednesday I did the install.
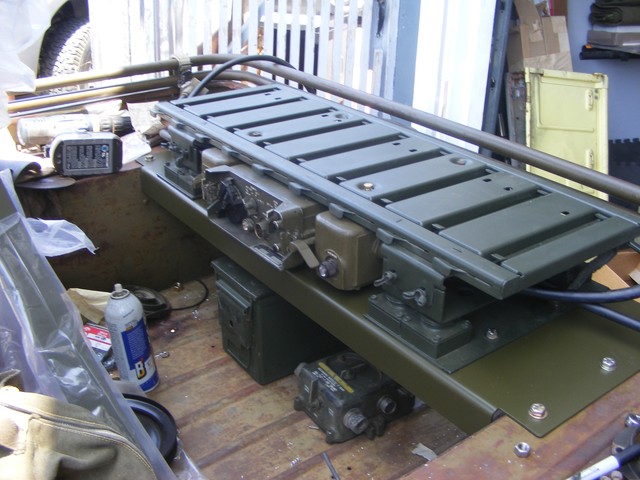
Fitting the new base:
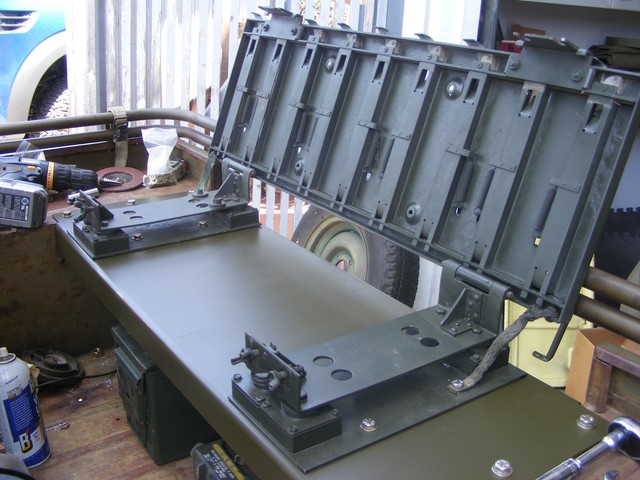
Then adding the MT-297 mount:
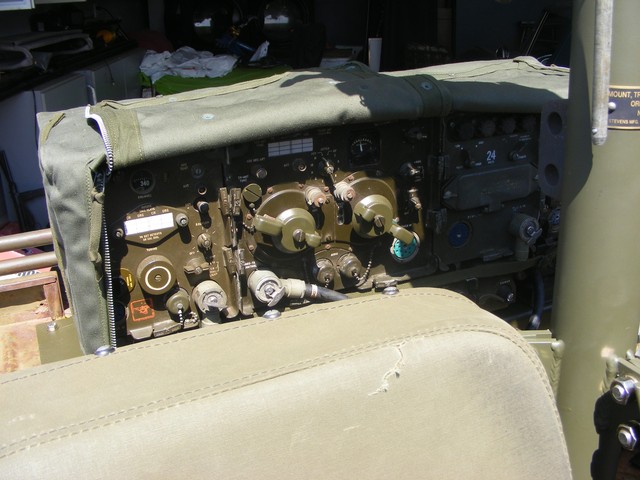
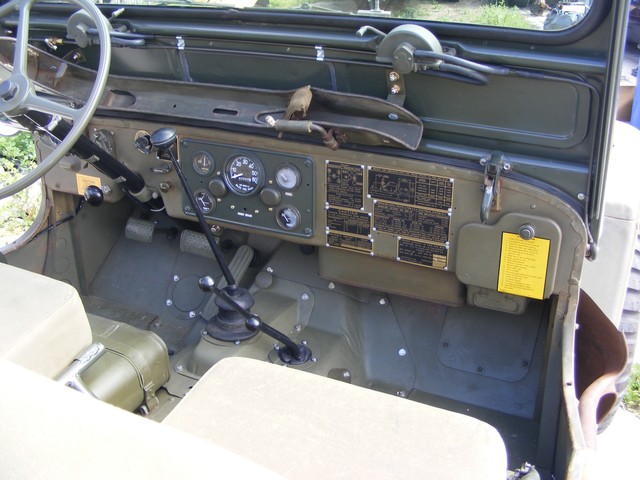
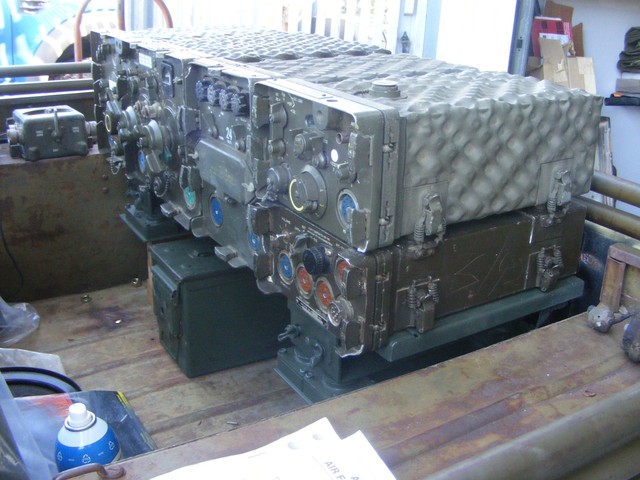
Next comes the mounts junction box. This is where all the different cables are terminated to handle quite a collection of radio options.
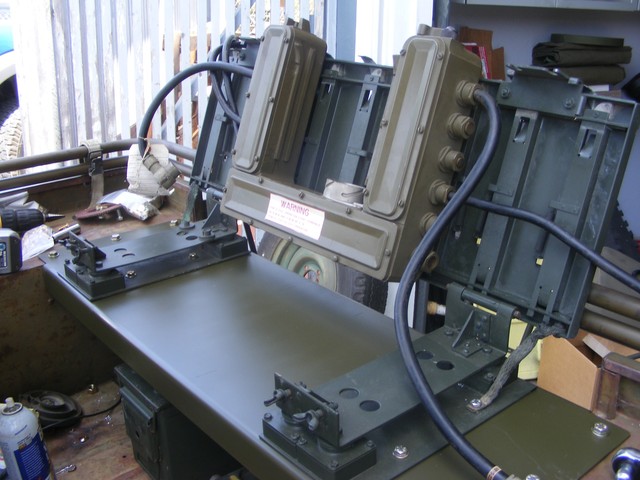
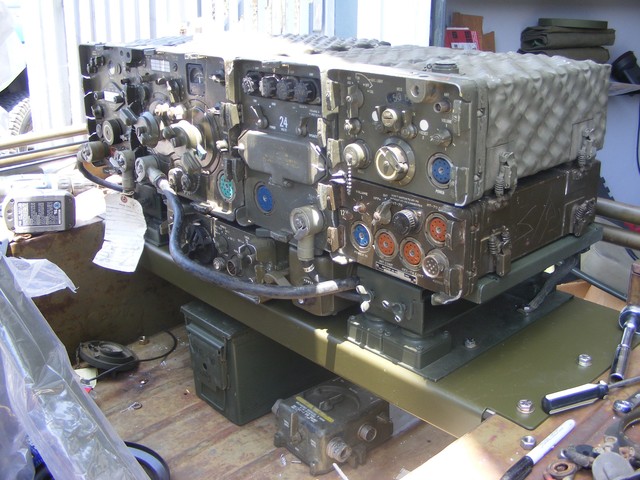
Slide in the telephone line remote control:
About ready for the boat anchors, err, radios:
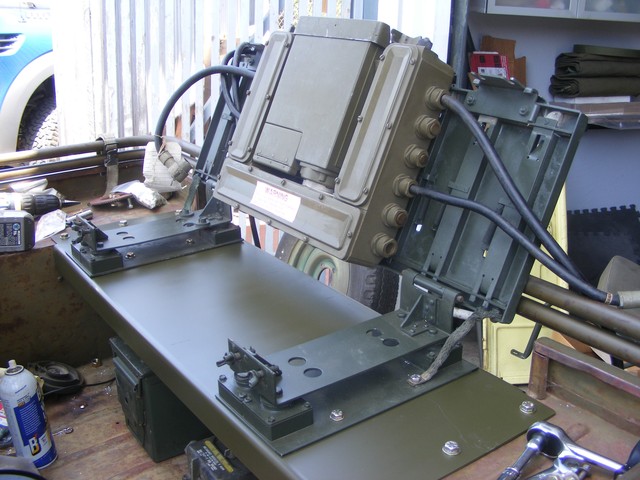
In go the radios, and start routing the cables (more work to be done there).
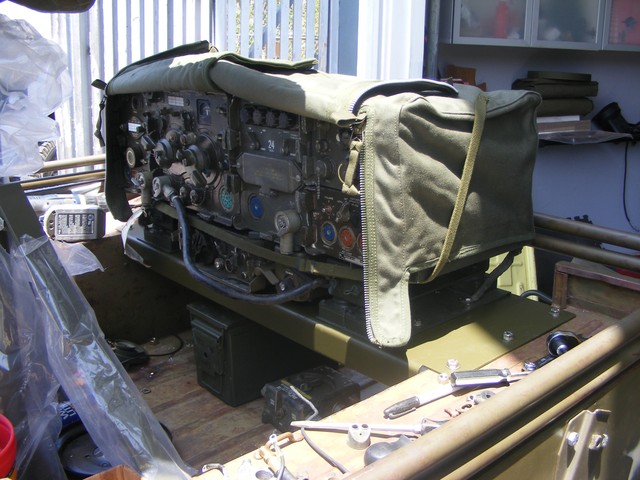
And then to keep them warm at night...
Now back to that pesky wiring job....
Last edited by mdainsd on Tue Jul 17, 2018 8:06 am, edited 1 time in total.
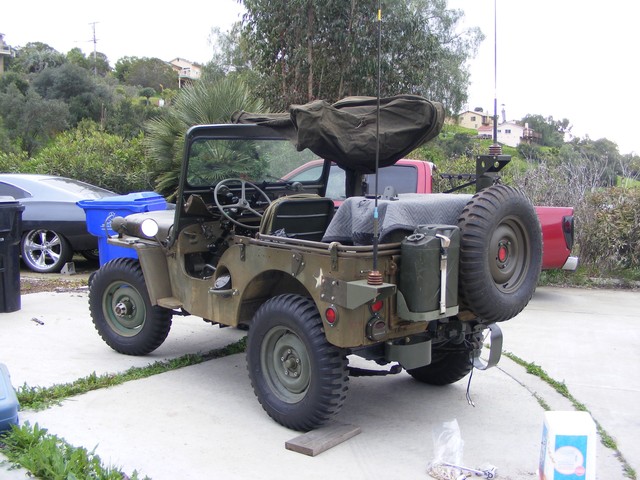
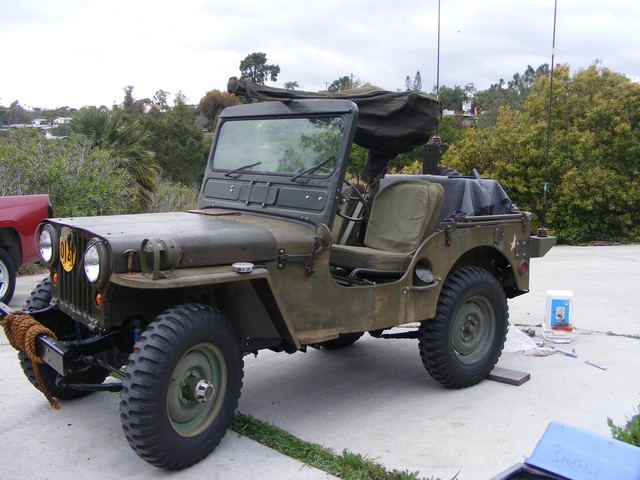
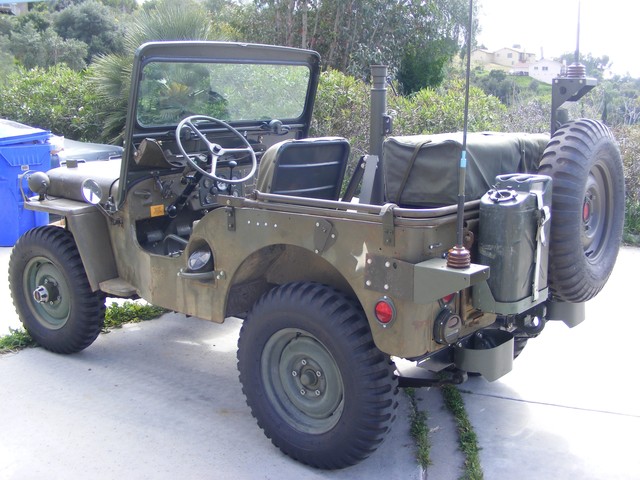
Gotten a lot done over my vacation but came up just short of being able to start her up and drive. About a dozen more electrical connections and bend and fit one fuel line. Other wise its about show time.
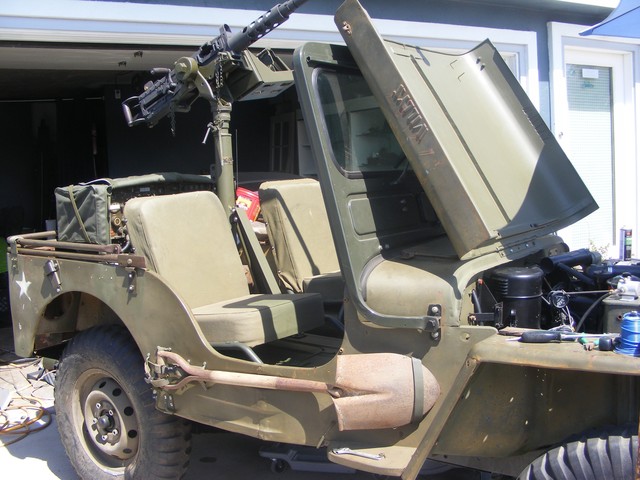
Getting the mount for the M2HB just right took way more time than I would have ever imagined. It can't be close, it has to be perfect or it will not interface with the frame brackets. Here it is (the Mutt wheel is just on there to move the Jeep around).
Patina Jeep is just about ready for its shake down run. Maybe this weekend if the weather is nice. Not quite done in these pics. But closer each day now.
Final touches and get ready to put her on the trailer for a meet later this week.
The body is pretty much been left as found. Everything under it is rebuilt or new old stock. Just added a NOS in the 1951 box air cleaner. Nothing better than the original stuff!
New seat cushions and covers, lots of parts in the windshield, dash, wiring, priming system, So many pieces.
Had it down to the Tag service place today, All registered and licensed and insured.
Really looking forward to a convoy or two this weekend as well as static display!
I’m rebuilding the same round back horn you show in this post. However, I’m having difficulty finding the correct TM that shows how to replace some of the internal components and ensure that it’s correctly reassembled.
You mentioned round horn. They are both basically round. One (the later one) has a flattened back side. Best to differentiate between them by their manufacturer's name. Early (no flat back) = Sparton and late (Flattened back) = Autolite. The Autolite horn is covered in TM 9-1825B 1952 edition Autolite/Prestolite electrical components repair manual. I never found a manual for Sparton horns or military electrical components. Keep in mind that Sparton was a very small supplier to the military back then and most small outfit parts were purchased as non-repairable and non-rebuildable. In the military we referred to them as throw aways when they became un useable. Major manufacturers like Autolite/Prestolite and Delco Remy and Bendix all have Army versions of their repair and overhaul manuals. As far as serviceable replacements were concerned the military used either one to replace the other. If you wish to repair the one you have simply start a new separate post and post photos of the horn assembled (at least 3 views) and then disassemble it carefully organizing the removed parts in their order of reassembly on your work bench and post more photos of them layed out that way and we can offer help with your repair attempt.

 [/img]
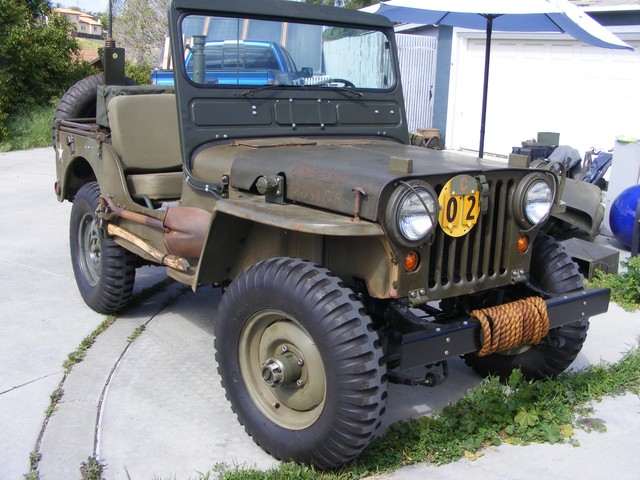

 [/img]