Page 2 of 3
Posted: Wed Dec 23, 2015 8:18 pm
by oilleaker1
Both Rick and I also spaced the heater away from the toolbox face. I paid attention so a vertical tube would clear the dash face also. Works fine. John
Posted: Sun Dec 27, 2015 8:59 am
by Bretto
Rick, I liked your idea of adding the ball valve to the water flow in the cab. Is that just an ordinary off the plumbing shelf valve at the hardware store?
With using it, do you find that you can lower the output temp by reducing the flow or is it not really effective? Should I go thru the effort of adding one is what I'm after.
Brett
Posted: Sun Dec 27, 2015 11:35 am
by RICKG
Yep Brett-off the shelf ball valve. Don't really use it for heat adjustment, just on-off flow. Have the valve at rear of head too. Thought shut-off in cab handy w/o popping hood. Max spacer front of toolbox to rear of heater 1/2" to avoid clearance problem with diffuser and lower dash.

Next Gen diffusers will be finished today so Bretto, Oilly watch your mailboxes!
Posted: Sun Dec 27, 2015 2:27 pm
by Bretto
Thanks Bro!
Posted: Mon Dec 28, 2015 6:00 pm
by Bretto
oilleaker1 wrote:Both Rick and I also spaced the heater away from the toolbox face. I paid attention so a vertical tube would clear the dash face also. Works fine. John
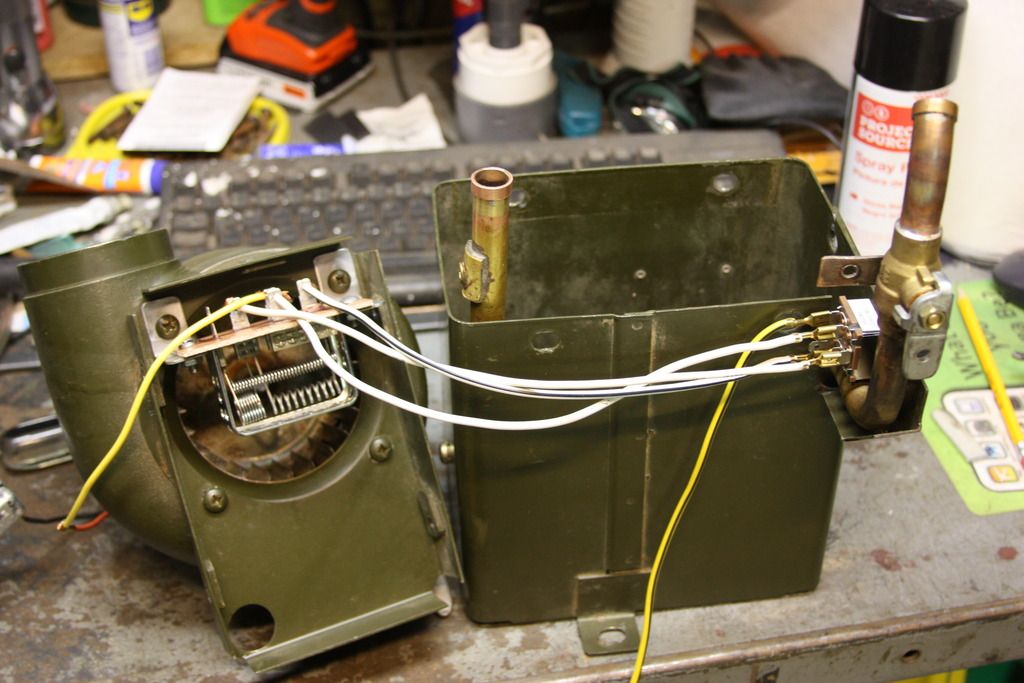
So I just sat my heater unit on the floor to see it where it sits. I don't see how a vertical tube can clear the dash face. With the unit up against the toolbox, the blower's opening is slightly behind the dash face.
Rick, from your pics, I matched the numbers of your heater to mine and they are identical. Does your blower's opening sit under the dash slightly?
I just put in some expanded metal on the backside like yours and sweated in a ball valve. Did you anchor your tubing to that 1/4" hole on the blower housing? I am thinking I will, to eliminate any stress at the heater core joint.
Posted: Tue Dec 29, 2015 11:53 am
by RICKG
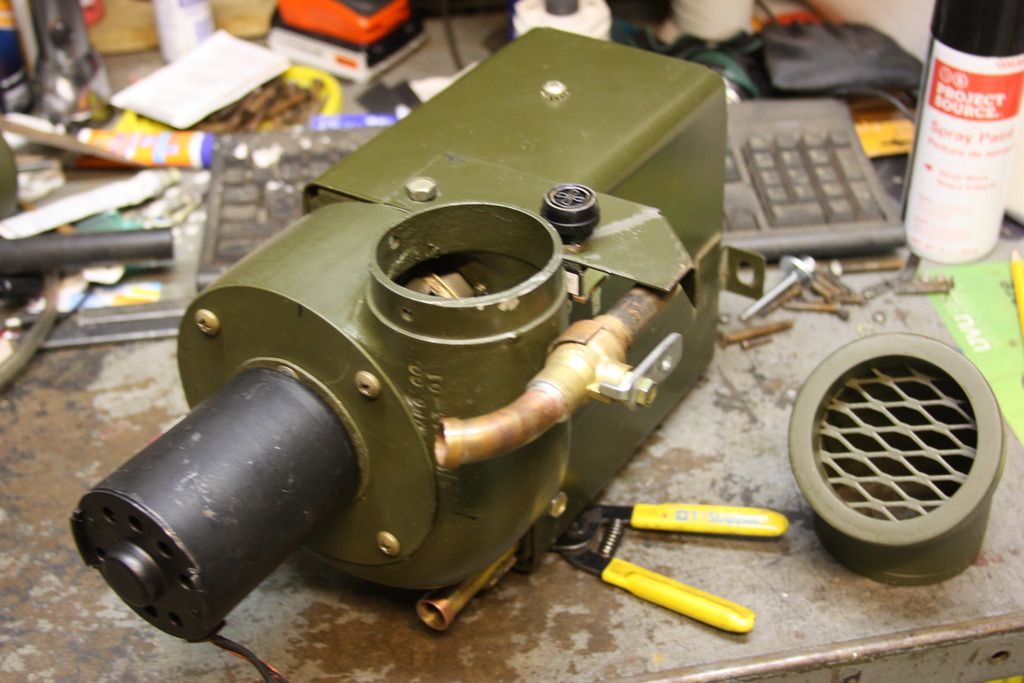
It does sit under the dash. The new style diffuser is offset 45 deg and will clear the dash. I used the 1/4 hole on the blower for stress relief on the switch wiring. Parts are in the mail (USPO) today. You'll see. Phone me if you get a chance-I'm usually home.
I'll try to post a foto today-I upgraded to the new style too, performs better.
Basically a modded 3" abs 30 deg street el. You'll enjoy about 30-45 deg of rotation on the blower nozzle.
Check here for fotos.
http://willysmjeeps.com/v2/modules.php? ... _album.php
http://willysmjeeps.com/v2/modules.php? ... _album.php
Posted: Tue Dec 29, 2015 1:42 pm
by Bretto
Fancyness! Looks like something I should talk into.

Posted: Tue Dec 29, 2015 7:23 pm
by RICKG
Bretto, Let's talk hoses, have you purchased hose yet? I found that the Gates hose I used is a loose fit on the copper tubing at the heater core. Obviously that copper tubing is not barbed. Have been dealing with coolant leaks (more weepy than leaky here). As long as you're sweating copper why not mod a coupler at the tube end to create a field expedient barb. I test fit a pc of hose cutoff on the bench with a copper mock-up this PM and am liking the tighter fit and will mod my own later.
Posted: Tue Dec 29, 2015 10:27 pm
by Bretto
Good idea and that tubing is pretty malleable to. I could see it getting crushed out of shape trying to seal a leak. Got a pic or a link to a pic of what you used as a barb? Suppose you could make a lip at the end of the tube with just a loop of copper wire sweated on.
I haven't bought my tubing yet.
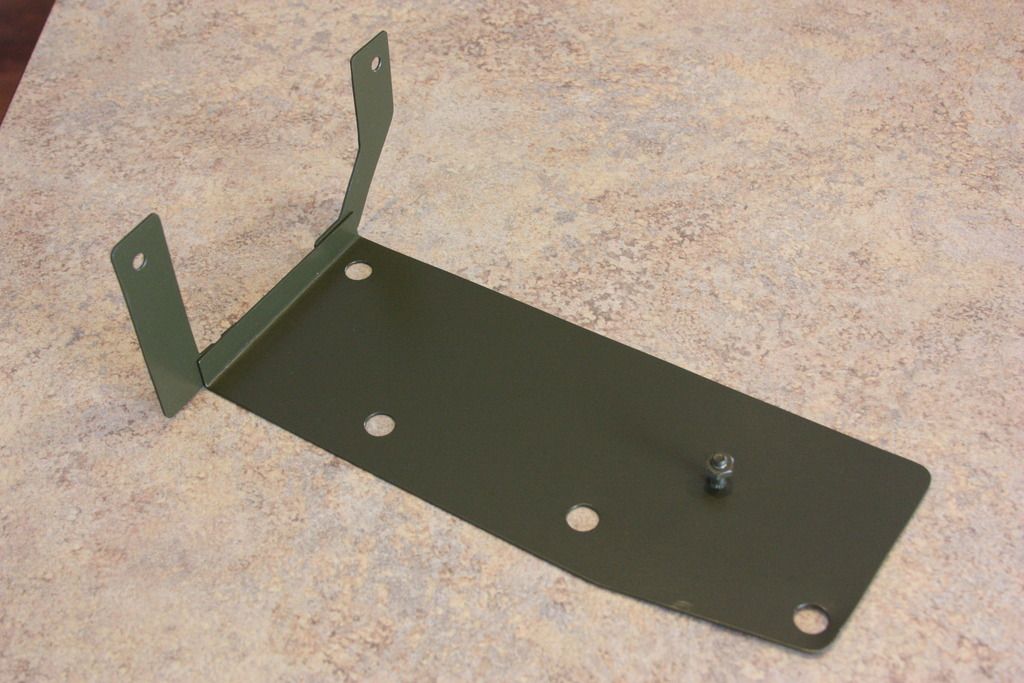
Did you drill a hole in your floor for the front ear of the heater unit or just use the rear mounting ears. Its hard to put a drill thru a perfectly good floor.
There's these. Kinda bulky though in my opinion.
http://www.homedepot.com/p/SharkBite-1- ... /202270573
Posted: Tue Dec 29, 2015 11:18 pm
by wesk
Take a look at the brass and steel hose splices for garden hose. They are barbed and you can cut one in half and take care of both nipples.
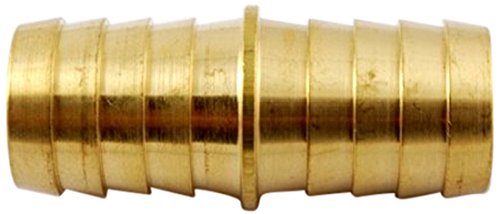
Garden hose splice

heater hose splice
Posted: Wed Dec 30, 2015 5:22 am
by Bretto
Great ideas thanks Wes.
Posted: Thu Dec 31, 2015 5:37 pm
by Bretto
Rick,
Got my diffuser in the mail today. Thanks buddy, that will work nicely. Looks pretty good on there to.
Cracked me up when I saw you put my name Bretto on the box.
Just waiting on a 12V motor I ordered. Hope it works. I did get the stock one that was on it to run. It was just a bit rusted in place seizing it. If the 12V one spins too fast for my liking, the 24v one may just be perfect. I found it neat that the stock one runs in one direction only. No matter how you connect it.
And yes, if John doesn't like the color, he'll have to get out his crayons.
Posted: Fri Jan 01, 2016 9:43 am
by RICKG
Glad you like it! If it fits a little loose on the nozzle a bit of duct tape will give you the friction you need. It should swivel 30-45 deg, nice!
Happy New Year Pal!
Posted: Sun Jan 24, 2016 6:25 pm
by Bretto
Posted: Sun Jan 24, 2016 7:16 pm
by 4x4M38
Good gravy bread that is a lot of beautiful work.
Glad we don't need those things down here. Took me all day
to clean up the one side and weld the gas can strap bracket
on mumy tailgate.
I'd never get to a heater..