Had to take a day away from the project and get some housework done. It's good to step away from these kinds of things from time to time. You come back with a fresh perspective
and the laundry done!
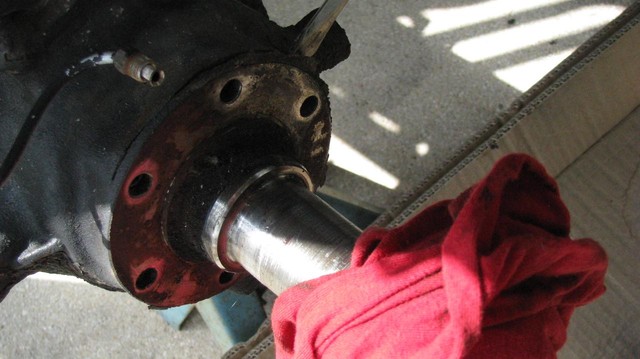
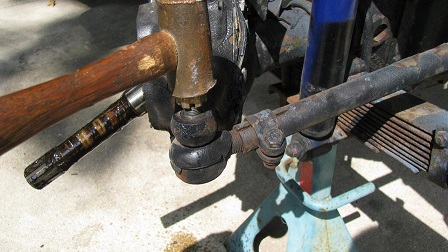
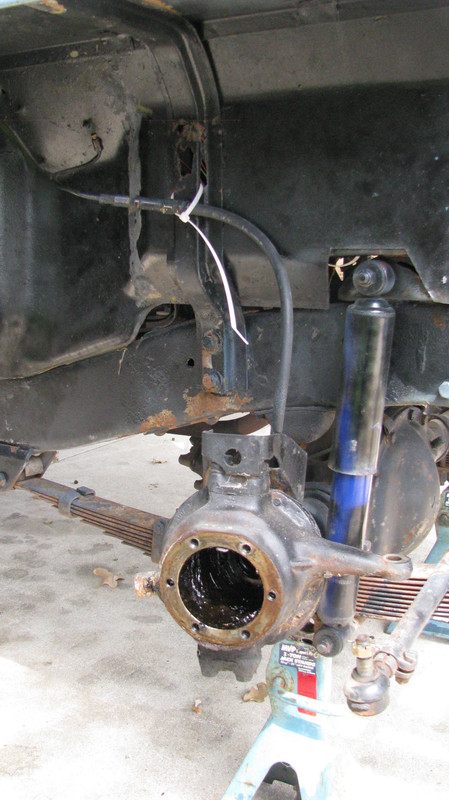
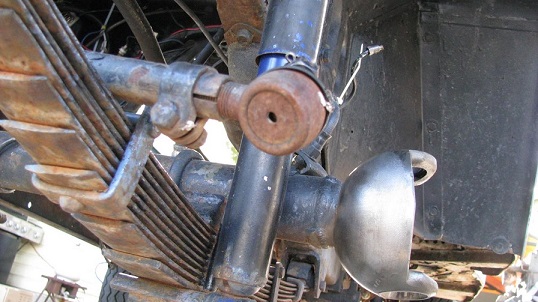
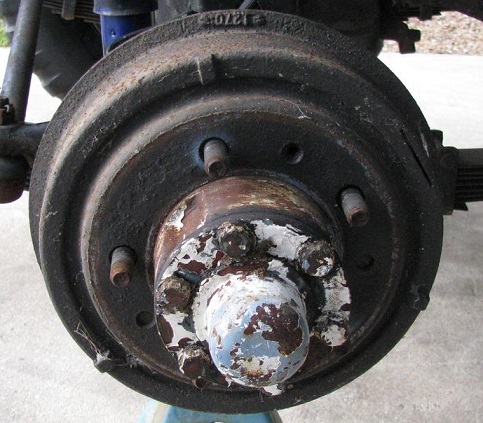
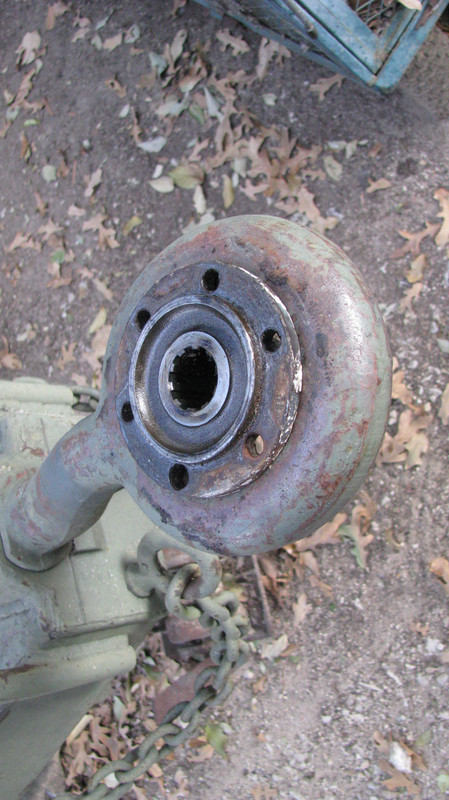
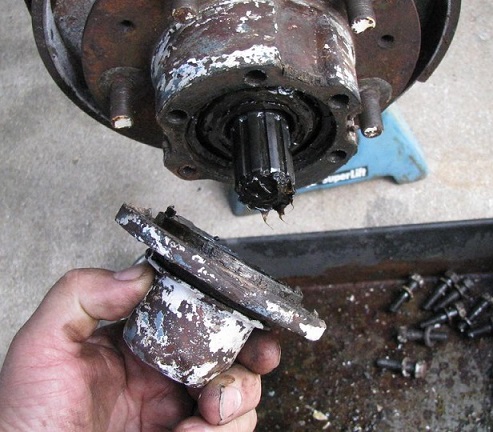
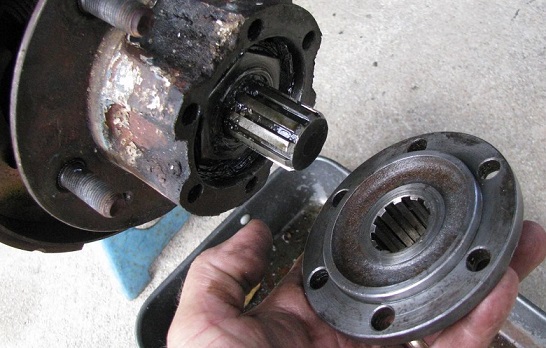
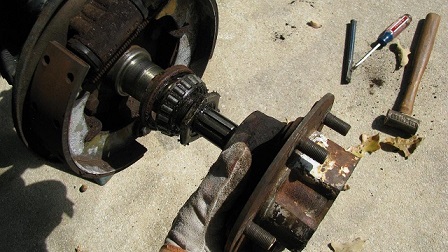
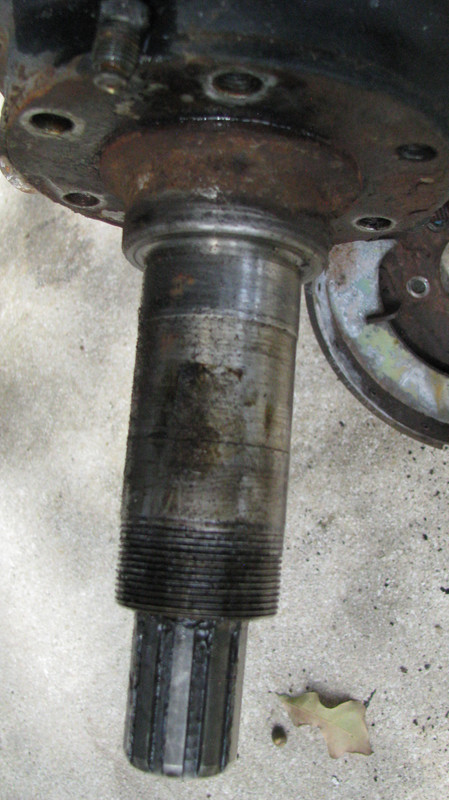
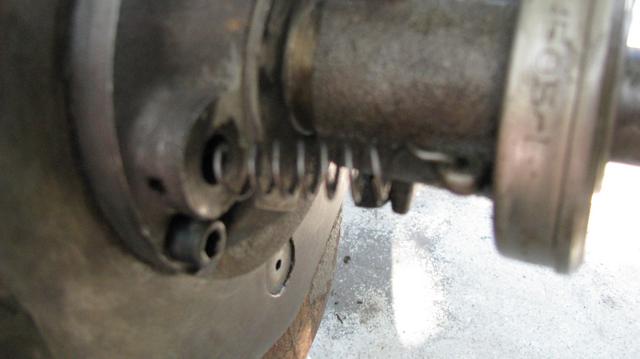
Time to remove the spindle. This is typically a very gentle process. HOWEVER, if you are working on something that has been down in the dirt up to the axles for eons, this may require more effort and a more "proper" method which entails nutting a slide hammer to the threaded end of the spindle and pulling it off that way...that is, if you intend to reuse the spindle. Replacement spindles are presently going for right around $50 so let your wallet and your conscience be your guide.
As I remarked earlier, at this point this one is presently only held on there with a very slight interference fit between the machined surfaces. Either thread a nut on the end of the spindle to protect the threads or wrap a rag around it because when it comes off, it comes off all at once and down she goes. Using a hammer or something
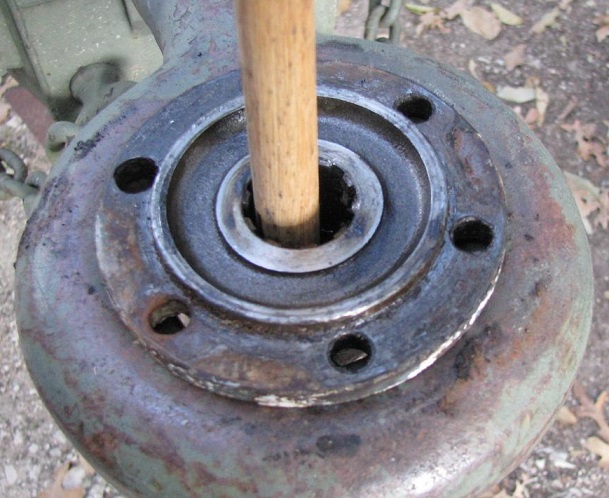
softer than the spindle, TAP on one side, fill the cap you've created with something wedge-like, like a large flat screw driver and then tap on the opposite side and out it comes.
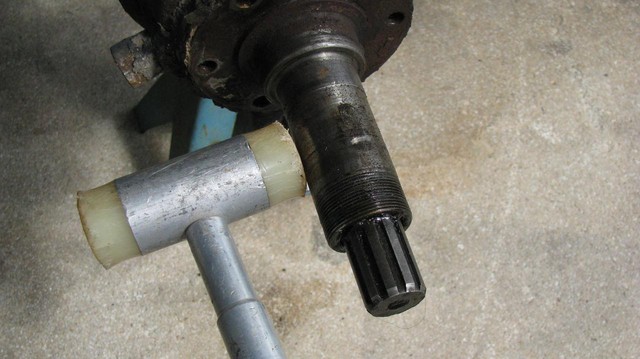
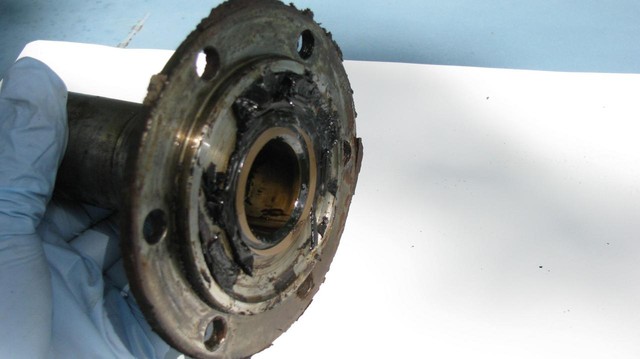
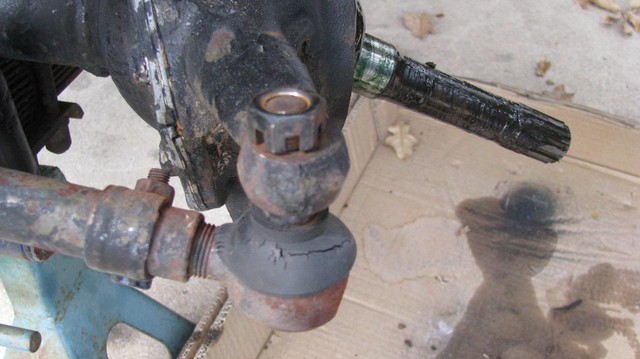
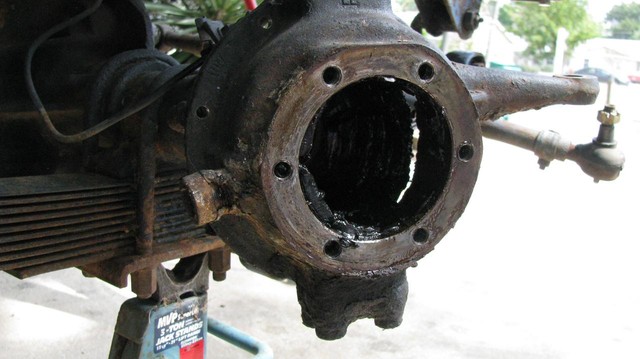
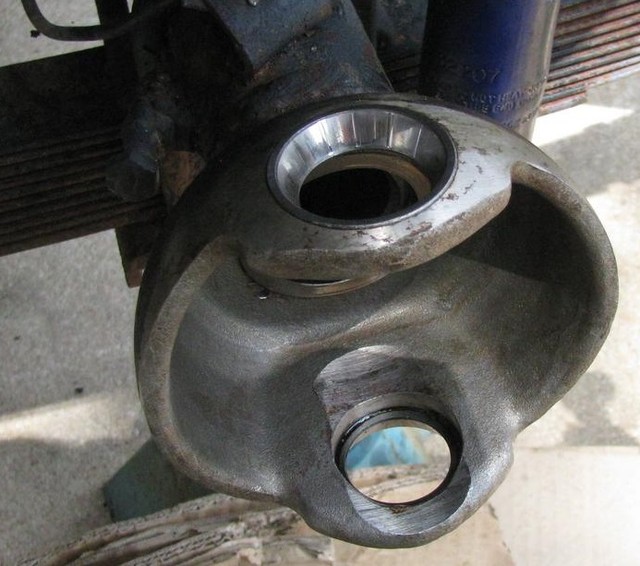
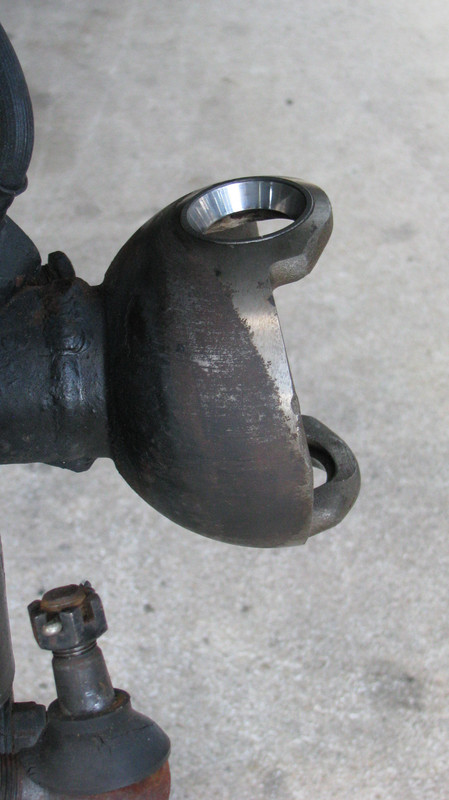
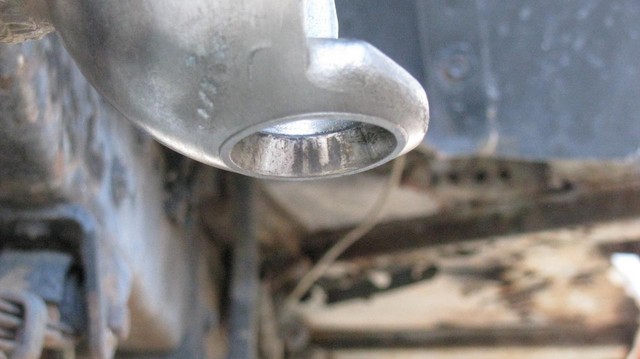
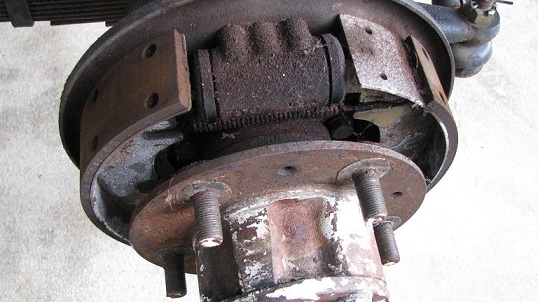
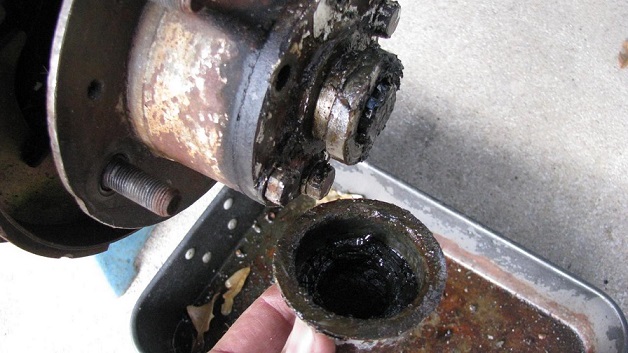
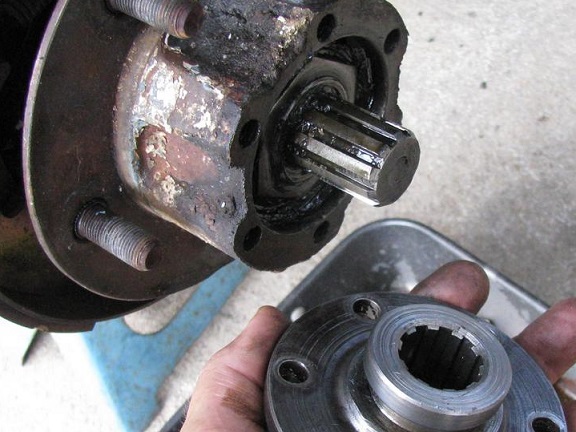
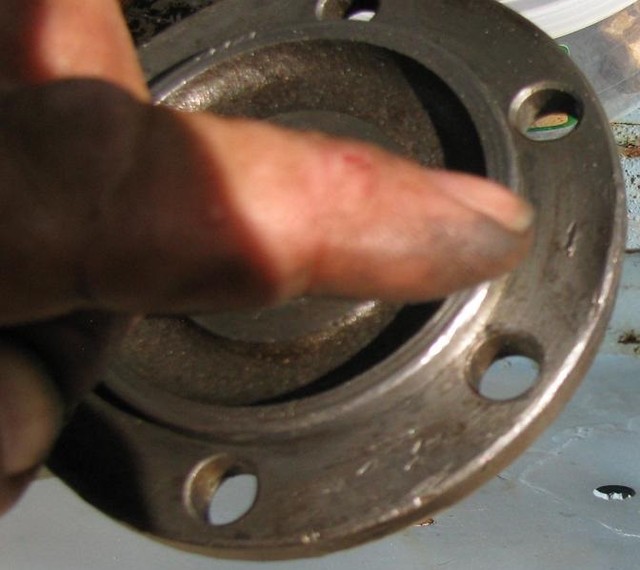
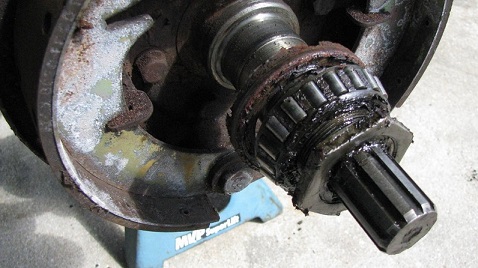
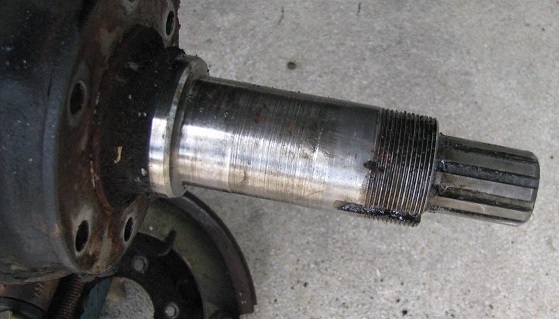
Note the gold-tone coloration on the inside of the spindle. That's a guide bushing and probably bronze. Some of the books refer to this as a bearing, by the way.
Cooper sez, "Good job, Daddy-O!"

And, it's back to watching the world go by... A dog's life is a simple one - supervise, supervise, supervise.

Mmmm! Eau d' 90 weight!
Smells good!
[img]hhttp://willysmjeeps.com/v2/modules/gallery/albums/album548/IMG_4597.sized.jpg[/img]
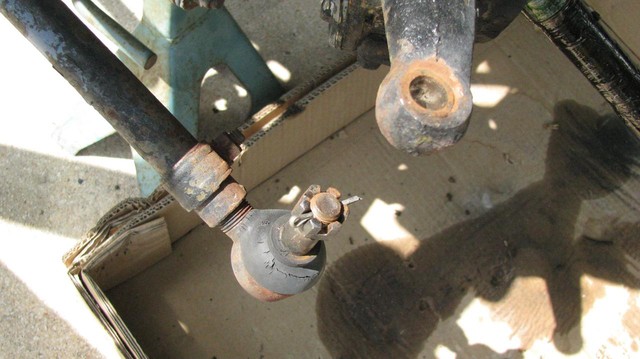
Next, tie rod ends. Loosen the castellated (
or castle) nut.
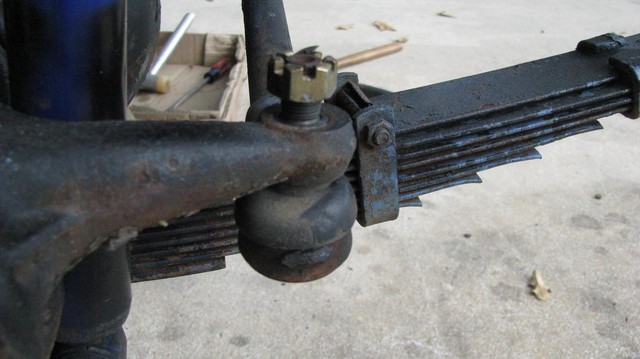
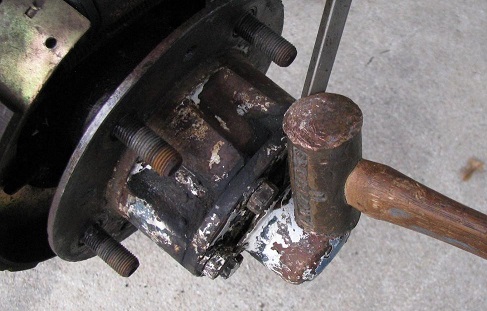
Get set up for giving that knuckle a good shock by putting one hammer against it on one side and then whack it on the opposite side.
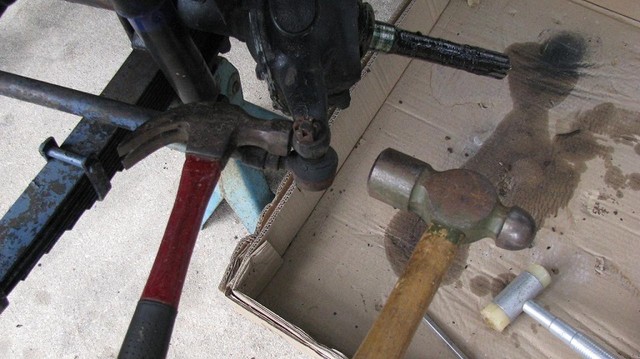
If it doesn't drop right out, flip the castle nut over, thread it on the full thickness of the nut and rap it
squarely with a copper mallet.
And out she comes..
Flip the nut back over, put it back on and throw that old cotter pin back in as a gentle reminder for reassembly.
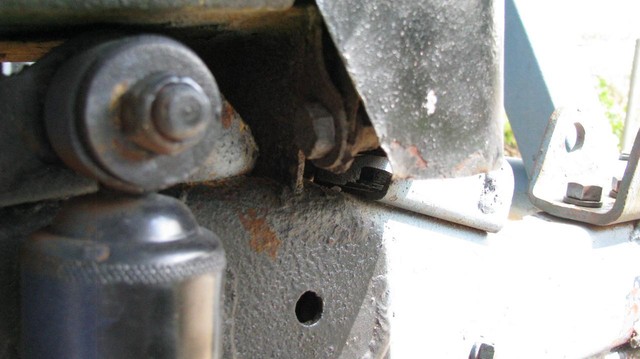
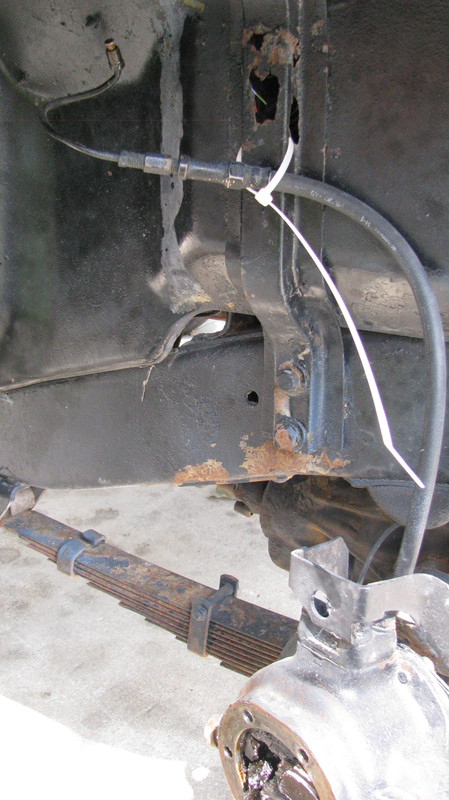
While I was there, I couldn't help but notice the awesome quality of this ground at the battery tray. Nice, huh? But this is a big trap for those of you who may be new to all of this. When you are working on a vehicle like this; and by that I mean a vehicle that needs at least one of
everything , if you are paying attention, you are surely going to notice
lots of things like this. Things that
desperately need attention. But, in order to remain persistently organized, jumping from one part of the project to another isn't going to cut it. That's buckshot mechanics and it's a no-no. Poor grounds have absolutely nothing to do with what we're presently about, so, the thing to do is make note of it and come back to it and by "make note of it" I don't necessarily mean making an actual note. Notes get lost, even when they're on bloody huge pieces of cardboard. Writing on the vehicle in chalk or with grease pencil isn't permanent either. I like to use neon colored zip ties specifically for this purpose. Slap one on what you want to come back to and go right back to what you're doing.
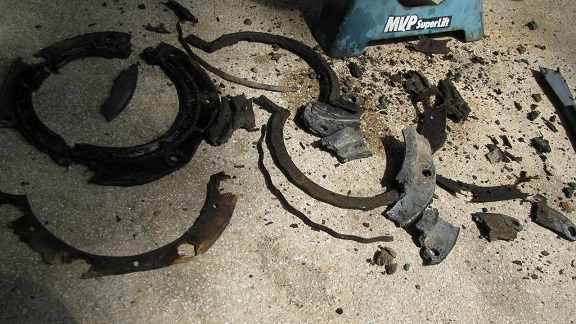
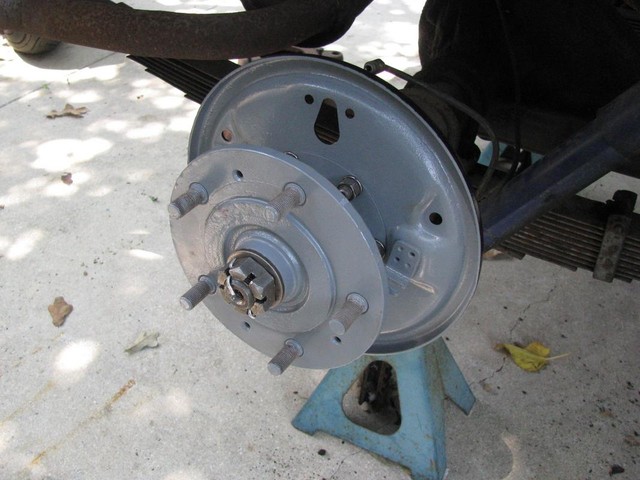
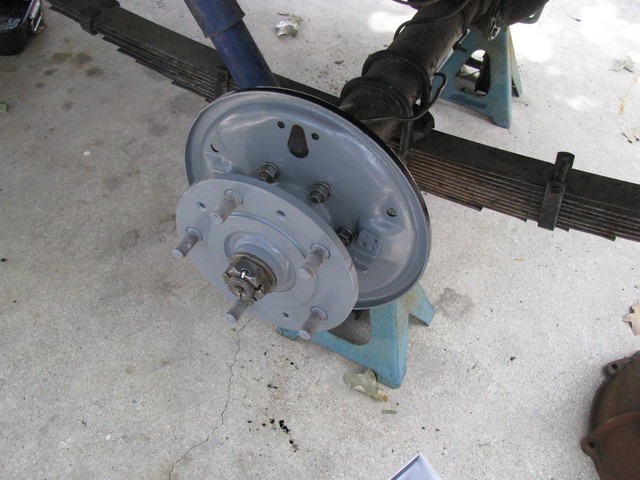
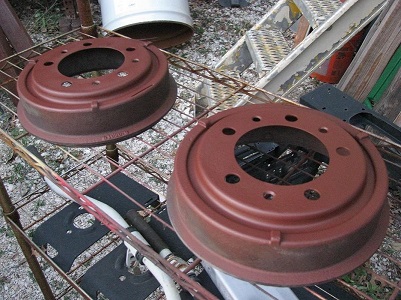
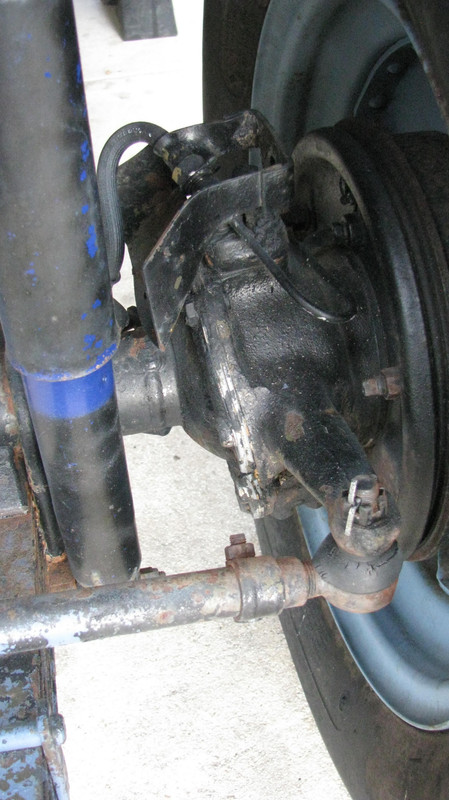
Brakes
are part of this iteration and this zip tie is keeping this junk out of my way until I'm ready to deal with it. I love zip ties and I buy em by the gross! Speaking of gross, I *ahem* believe my rust hole is showing!

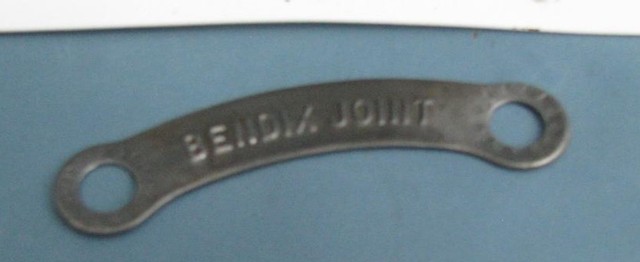
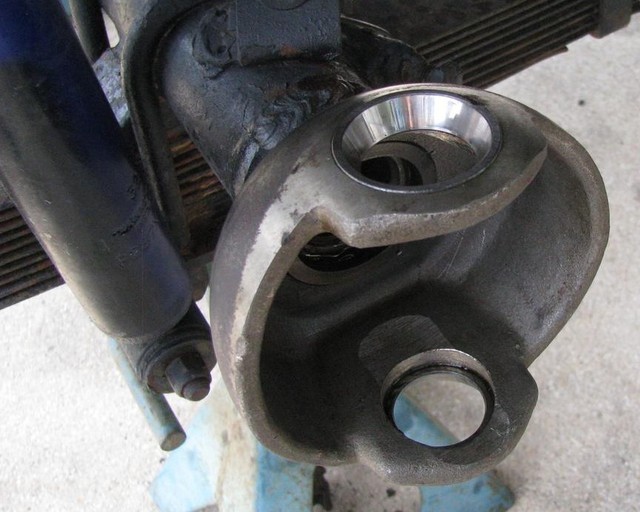
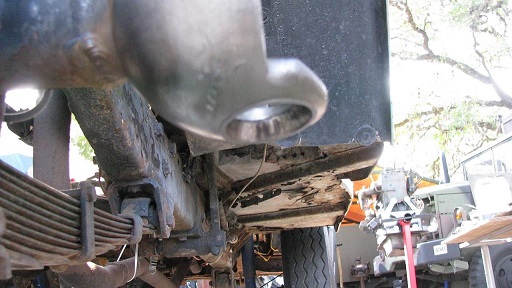
With the spindles removed, out come the axles. Remove them carefully and, as a whole, like you'd deliver a baby. These are Bendix style joints.
But...pull the axle out by one end and you'll suddenly find about 4 large silver marbles suddenly rolling around at your feet! If this happens don't lose your mind. Just keep everything kind of together and when it comes time to reassemble, mic' them and the ones that are closest in size go in opposite one another. Easy-peasy. It's 1940's technology, not rocket science.
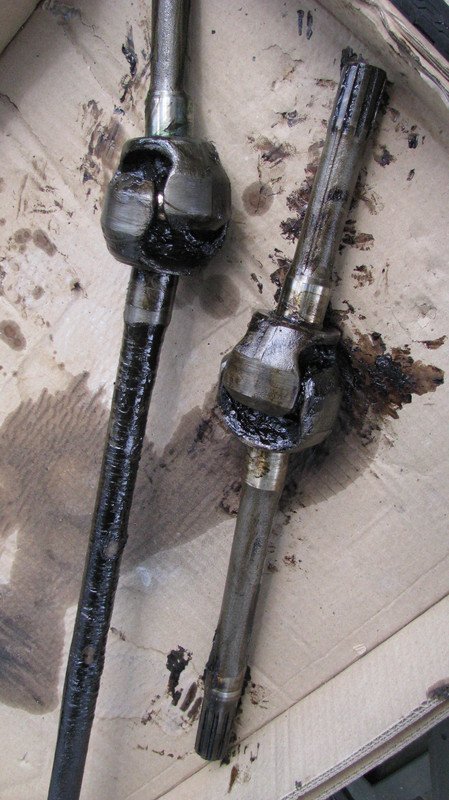
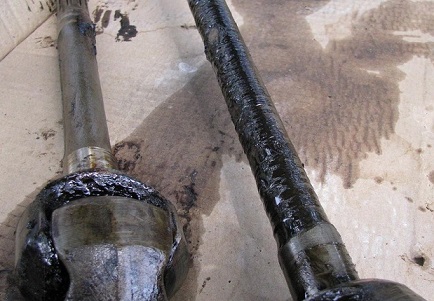
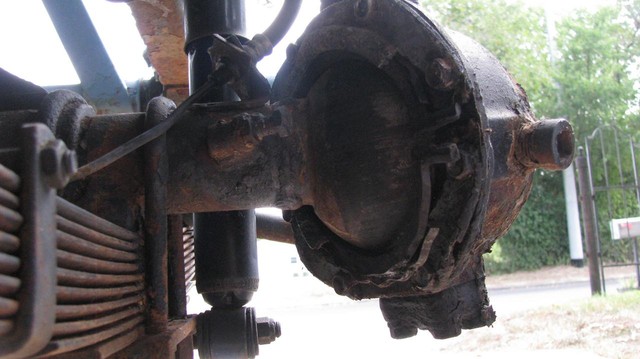
Here, I've wiped one shaft off. Notice how the grease has migrated past the seal and into the "wet side" of the axle? That's a clear indication of a bad seal.
And now we've made two big gaping holes. Lovely.
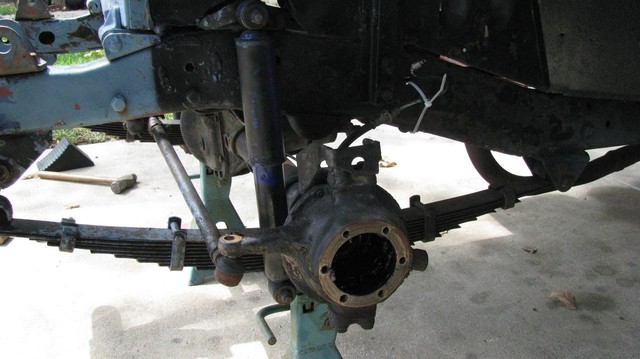
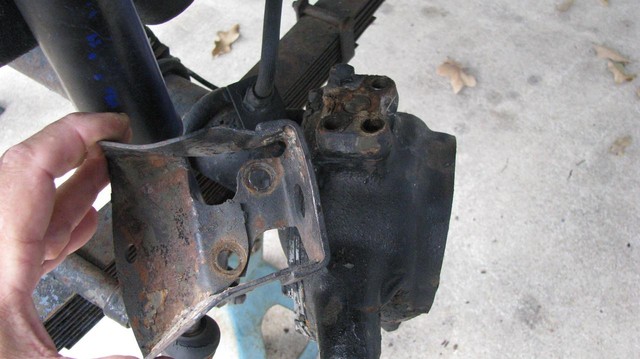
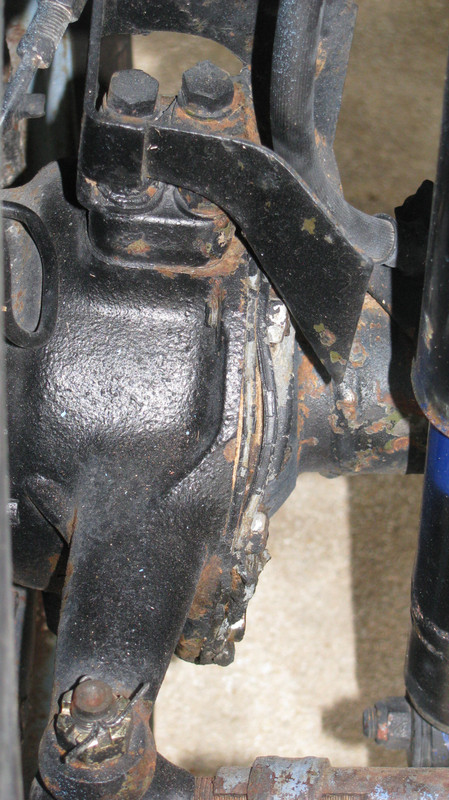
Next we'll remove the guards for the brake lines. They are bolted to the top of the upper king pin bearing cap. We need to get these out of the way so we can remove the seals at the rear of the steering knuckle.
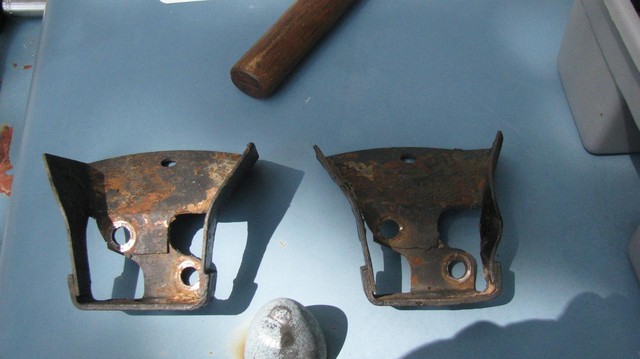
The guards are the same part, used on both sides. They are held on with only two of the four bolts securing each of the upper king pins.

This one appears to have had a close encounter of some kind..
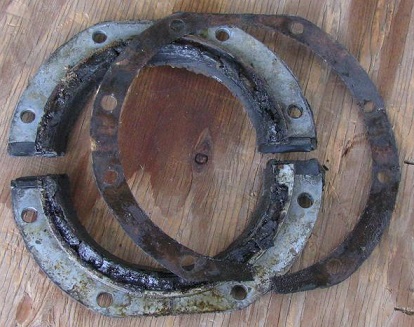
With those removed, we'll move on to the seals at the back side of the knuckle. Typically, these seals have an upper and a lower hemisphere. Each half is held on with four short bolts.

All kinds of nasty here. This is why we do it, folks.
And here I've found a tiny little nugget of goodness amidst all this awful stuff.
VERY cool! I'll make sure that finds its way back on when we put everything back together.
Ok, here is where I had to put the camera down because this is where I got really dirty and greasy. Order of disassembly was as follows -
Loosen all the bolts securing each of the king pin bearing caps to the steering knuckles. Do not remove any king pin bearing cap until you have loosened
all the bolts unless you want to struggle with them on a bench later on. This just happens to be the perfect time to loosen them because they are usually very tight. If you do remove one of the king pin bearing caps and if you then starting working on loosening other bolts on the opposite end, things get really wonky. It's not a fatal mistake but it's very awkward and people will make fun of you behind your back and call you names. Next, remove the upper king pin bearing cap (straight up) and look for and recover the shims that are sandwiched between the upper cap and the steering knuckle. The shims are for setting the proper preload on the bearings. You can now remove the lower king bearing cap or leave it on if you wish. If you have removed both the upper and lower bearing cap you should be able to pull the knuckles straight off the end of the axle tube. The lower bearing will, most likely, fall out of it's cup. No worries, they're surprisingly tiny and a short fall won't hurt them a bit. Now, if you have elected to leave the lower bearing cap on, simply pull the top of the steering knuckle outward, pivoting it on the lower bearing and then lower it somewhat to get it entirely free. With that you're ready to start wiping up and disposing of lots and lots of really
horrible grease.
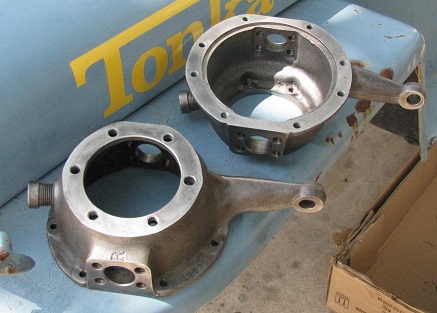
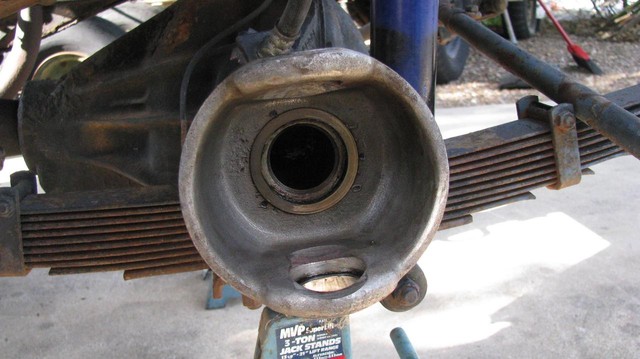
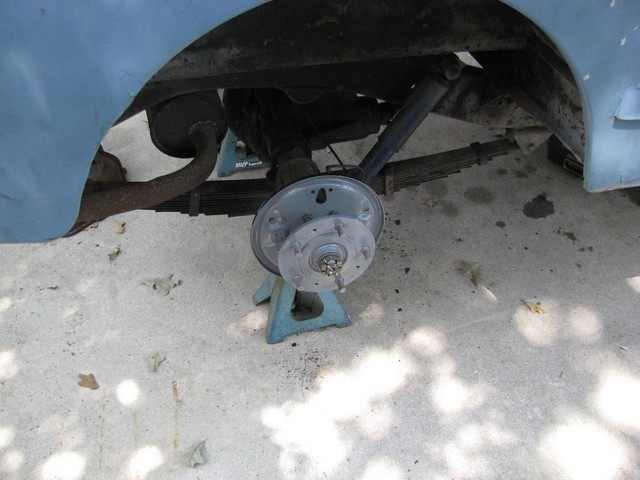
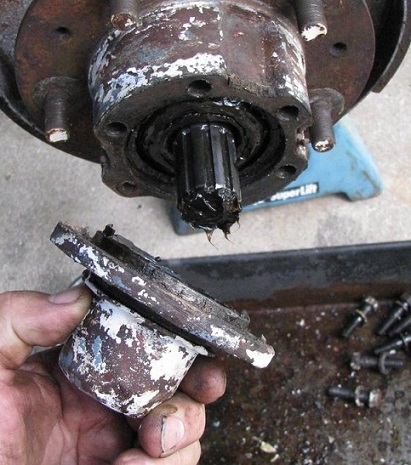
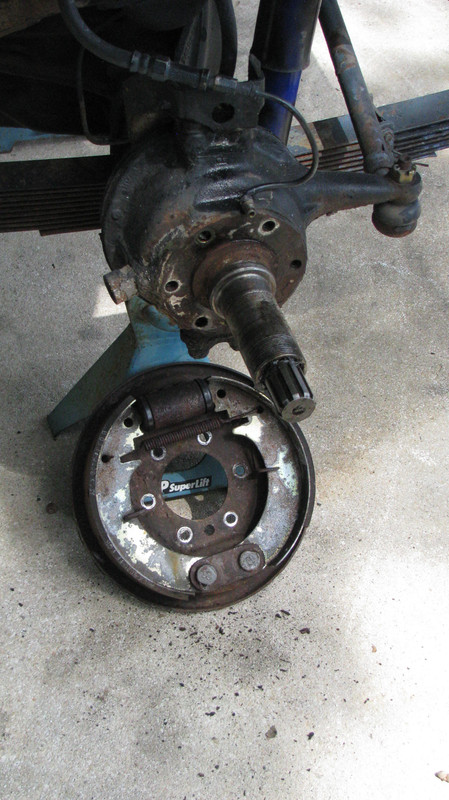
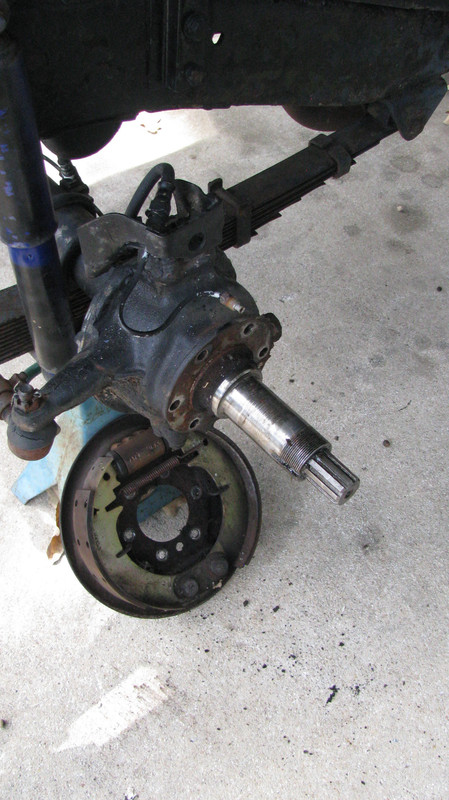
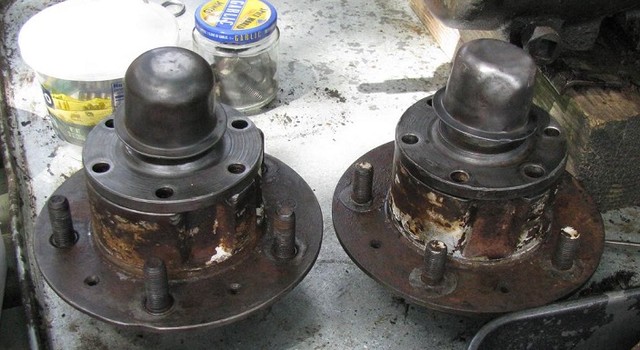
...and with
that done, this is what you'll end up with.
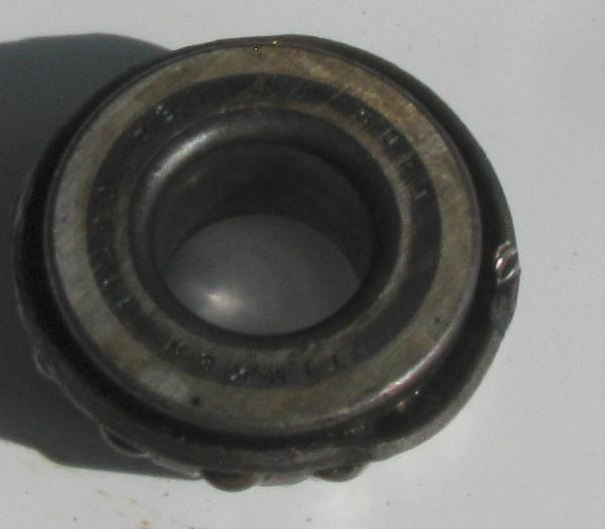
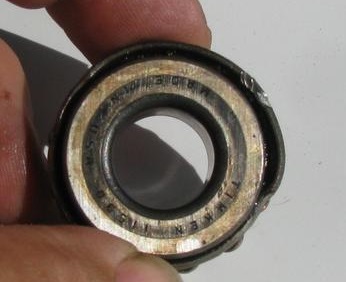
The bearing cups are going bye-bye. Actually, they went bye-bye a long time ago. This damage, even and localized is called false brinelling. Consider that these bearings don't go round and round like the bearings of an axle. True brinelling takes place while the bearing is in motion and thus, leaves a wear pattern at an angle. These bearings probably spend their entire life within only several degrees of their initial installation point which makes it all the more important that they be adequately packed with lubricant and that the preload be set properly. The cause of this damage is simply vibration between the roller bearing and the cup while the bearing is stationary, relative to the cup. Every bearing cup on the front end has this wear and will need to be replaced, along with the bearings.
I think we can rightly assume that keeping this truck between the lines was a dicey proposition. Steering must have been a full-time job!
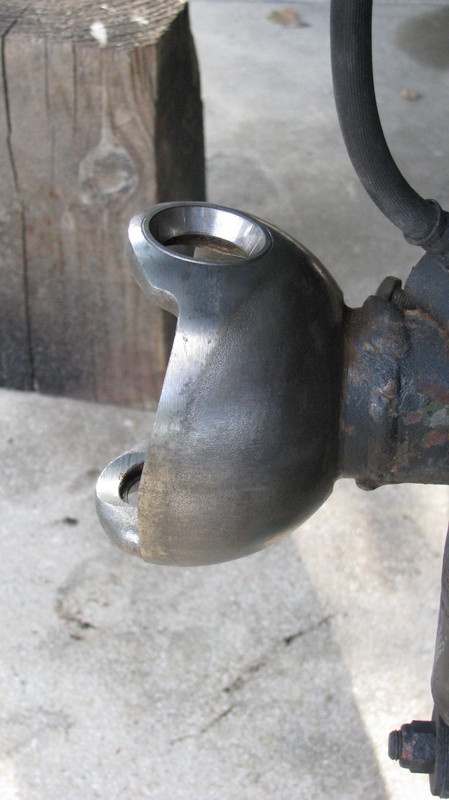
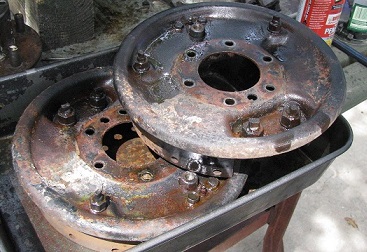
Here I have laid out my parts in a sensible manner, prior to the laborious process of cleaning.

This seal actually came out intact!

The other side...in a million little pieces.

Inner bushing.
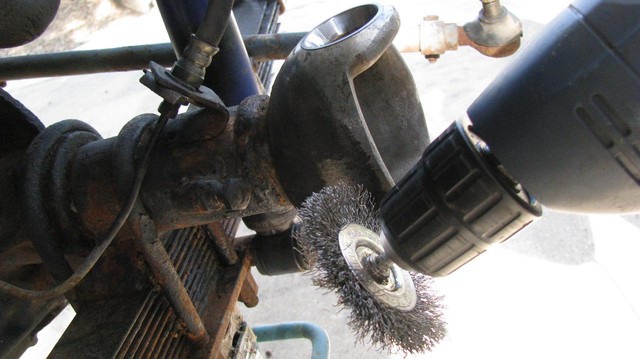
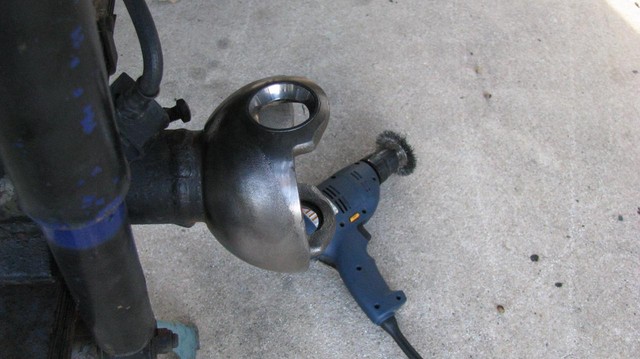
Here, I'm having a go with the wire wheel. This did a very fine job inasmuch as I removed most of the dirt and surface rust. But, I'm afraid the whole thing is going to need a bit of a polish with crocus cloth and maybe a wipe down with Ospho to kill the rust deep in the pores of the metal. The new seals will require a relatively smooth surface to work against.
So, sorting this out and making it smooth is going to be a bit laborious and every bit of it done by hand owing to the spherical nature of the surface. Which brings me back to being organized. Jobs like this require time, and time-consuming jobs require that you be comfortable, have what you need readily at hand with maybe some good music, something to sip on or something interesting to watch on a laptop set up nearby. Zen mechanics.
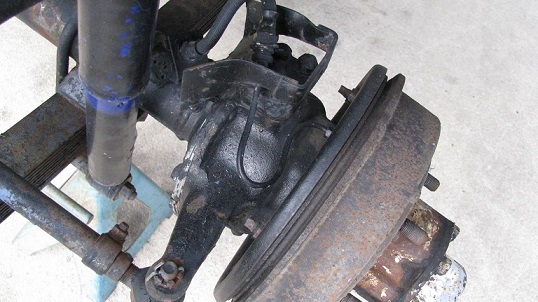
And finally, more stupidity. Where the
heck did that zerk go? Was it ever even there?!


 [/url]