Page 16 of 43
Posted: Wed Aug 18, 2021 3:45 pm
by CoastieReid
jake138 wrote:I have a 26 tooth output gear that's in decent shape, if I recall it has some small rust spots on the teeth. I'll take some pictures tomorrow and if you want it, it's yours.
Thank you. I actually ordered one- let’s see how that one looks. It’s due to get here tomorrow.
I had leave start today but got called in. Who knew at 41 my hearing is better than it was at 18- and that’s 23 years of work between the mains (engines). I think they are full of sh$+.
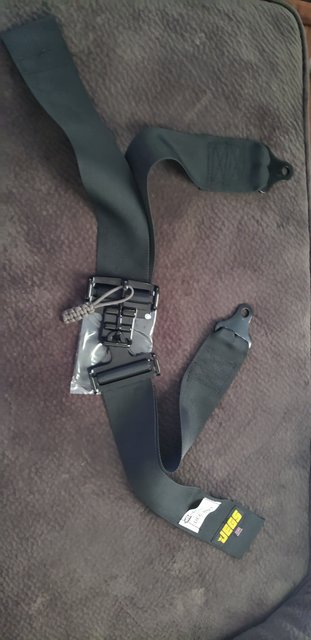
My seatbelts arrived today. Off to the parts pile.
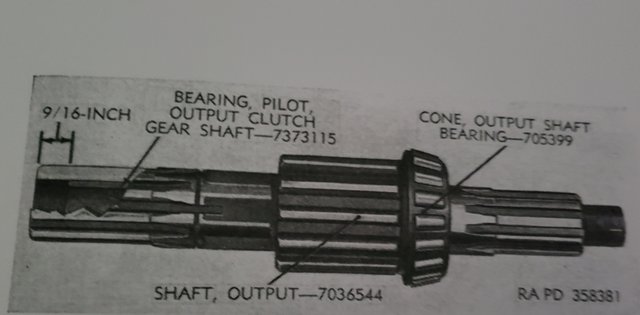
I dropped my d18 shaft off at my machine shop for them to instal a new pilot bushing. I tried a while back and mushroomed it.
I’m on leave till next Thursday and it’s going to hot, humid and raining just about all of it.
I’ll find something to do.
Posted: Thu Aug 19, 2021 4:24 pm
by CoastieReid
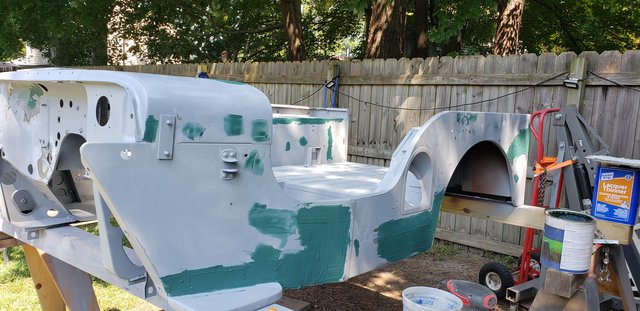
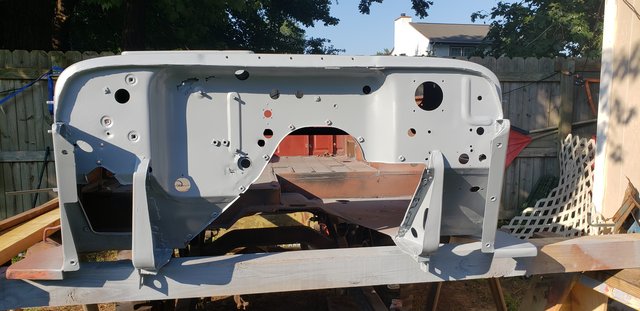
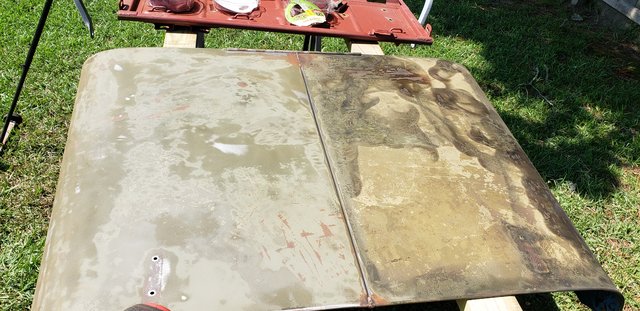
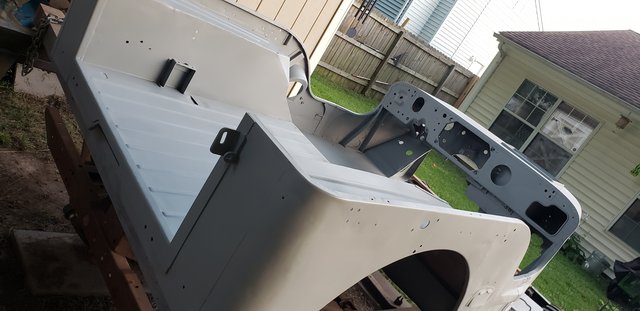
Sanded and sanded today.
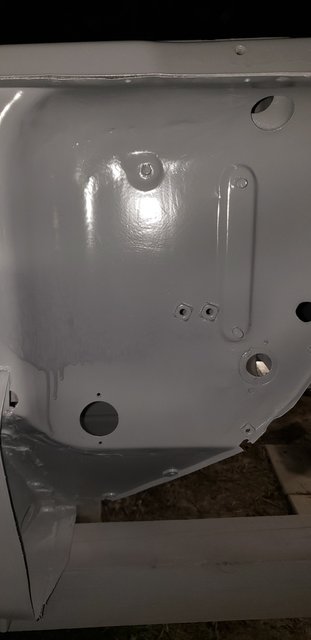
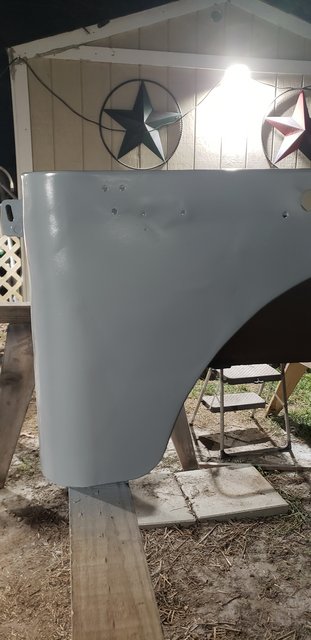
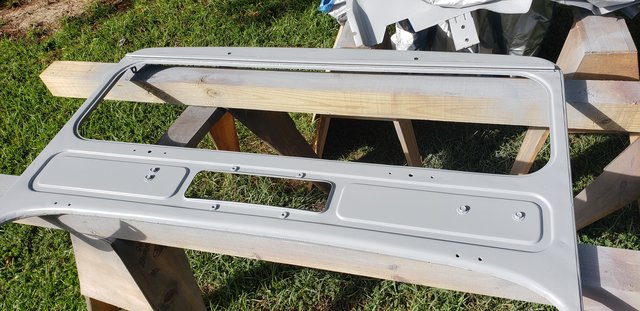
Sprayed a little transtar grey epoxy.

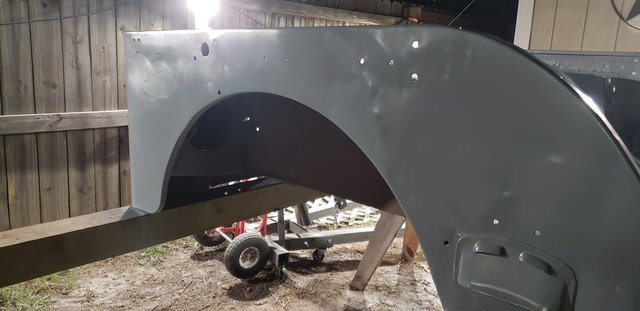
I was able to coat the windshield frame, the two front fenders and a couple other brackets.
Need to do some more body work and welding on one of the fenders. But I’ll get to it.
Flipped it all over and shot the other side with some epoxy as well.
Posted: Fri Aug 20, 2021 4:02 pm
by CoastieReid
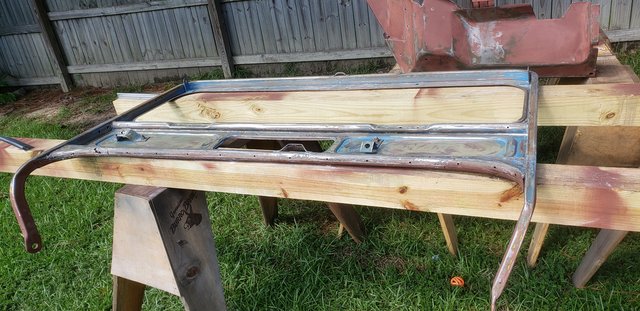
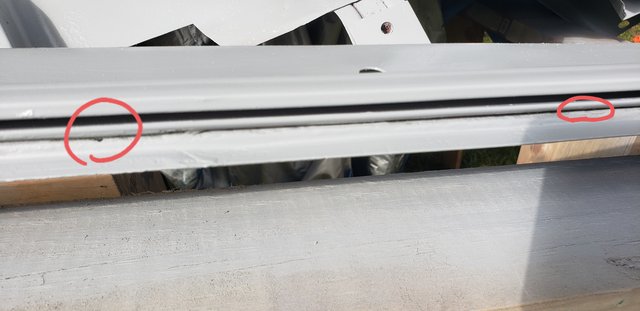
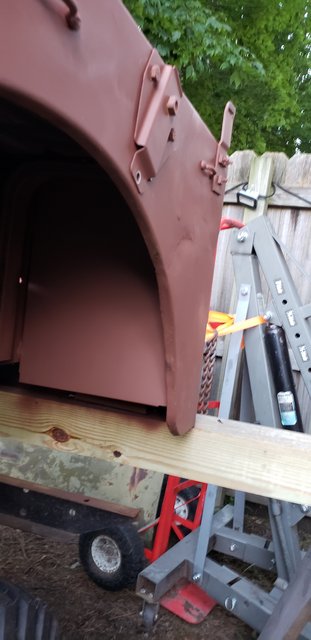
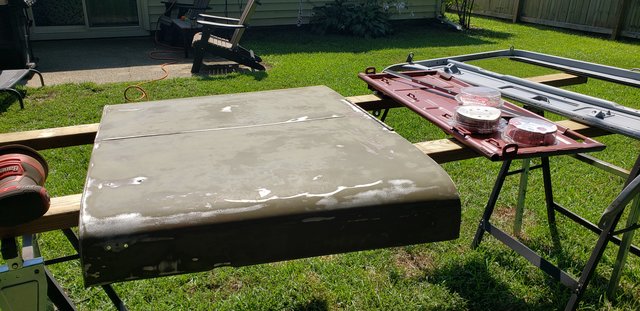
More front side windshield frame work. Short hair fiberglass filler on some pitting. Man that stuff is a bear to sand.

More epoxy
A little annoyed but manageable.
Two small breakthroughs holes. When I flip the frame, I can hit it from the inboard side.
I only sanded to 80 grit before epoxy. I have a long way to go on body work
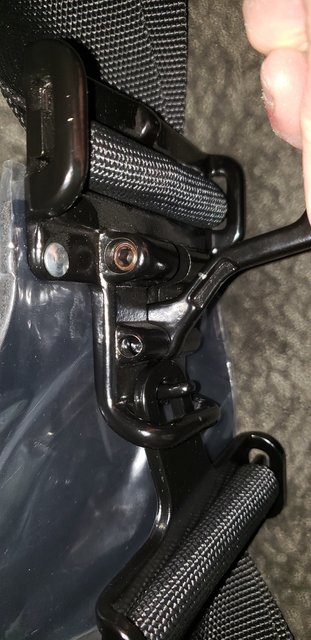
So those Jegs seatbelts... dang they are thick. It will work- more heavy duty than my Jeep!
I made a small lift lanyard for them out of paracord when it was raining.
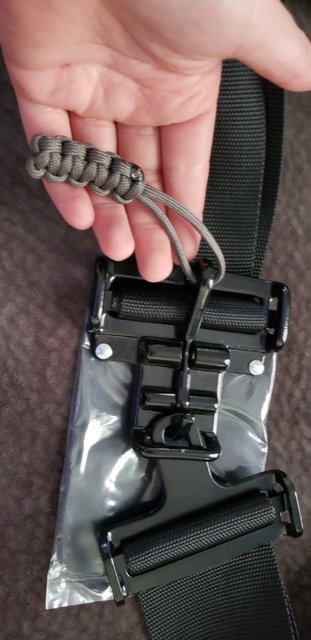
These remind me of the ball turret gunner of a ww2 bomber (think the scene in Memphis belle where Sean Austin’ character is scolded to put on his safety strap cause there was no room for a parachute).
I picked up my output shaft for my D18 from the machine shop. $10.00 for the bushing to be pressed in, and it fit perfect.
Posted: Sat Aug 21, 2021 7:04 pm
by CoastieReid
Rained so much last night.. thunderstorm woke me up.
Today was muggy as all getout. 90%humidity, 90degrees. Ugh.
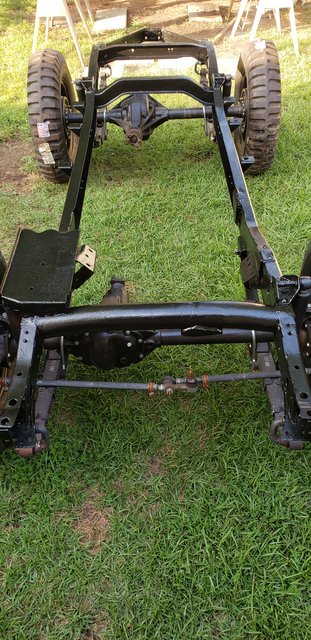
Out of curiosity I grabbed the trans crossmember and just clamped it to the frame. Gives me 10 inches from the crossmember to the tub floor. Since I build the floor off the frame on the tub, I sure hope it clears.

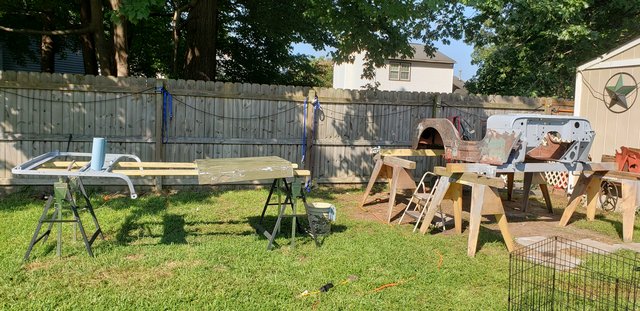
Cleaned my shed a bit to stow some parts while I blew apart the tub again.
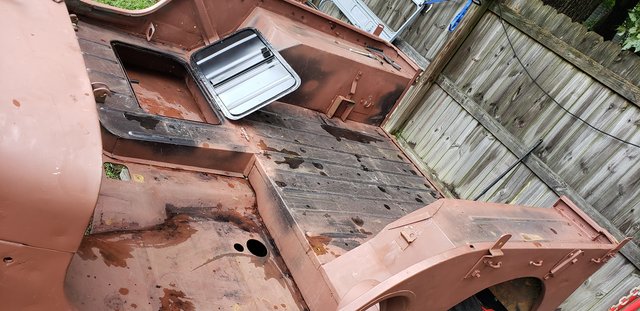
I need access to the underside of the tube for seam sealing and the Monstaliner coating (it’s Bedliner I’ve used on my f100).
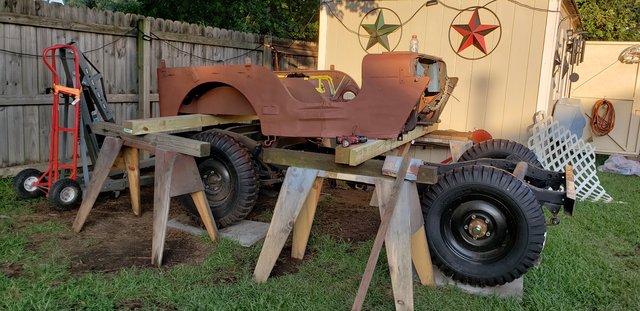
Those sawhorses are as safe as a harbor freight jack stand.
Seriously it’s sturdy. I pushed it a bunch . Would rather it fall now than when I’m sitting under it.
Posted: Sat Aug 21, 2021 7:17 pm
by RonD2
Hi April,
Maybe optical illusion or the light and angle of your photo of the cross member, but it looks strange to me.
Maybe it's upside down or not M38?
Your transmission is T90 with Dana 18 transfer case?
Posted: Sat Aug 21, 2021 7:19 pm
by CoastieReid
Yes t90 and d18. It maybe backwards. I had dropped it a few times trying to clamp it on.
Posted: Sat Aug 21, 2021 8:09 pm
by RonD2
Btw, nice latch-link seat belts! Still used in race cars I think. And every old Marine Corps helicopter I ever sat in had them. Old school stuff, nothing like modern belts.
You'll have to give careful pre-flight demo to most any passengers using them!

And looking at your cross member again with fresh eyeballs it does look M38 and right side up. Sorry about that!
Posted: Sun Aug 22, 2021 6:39 pm
by CoastieReid
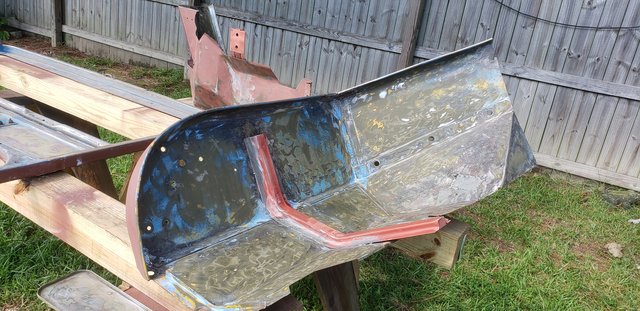
I know this was supposed to have been bolted in, but I welded it with 4 little tack welds. The old one was as well, and I put the welds on the wheel side. I should have drilled those holes way back when I had the tub upside down. It was too much to do it this time- why I welded it,
It started to thunder right on my neighborhood so I retreated from the backyard to the garage.
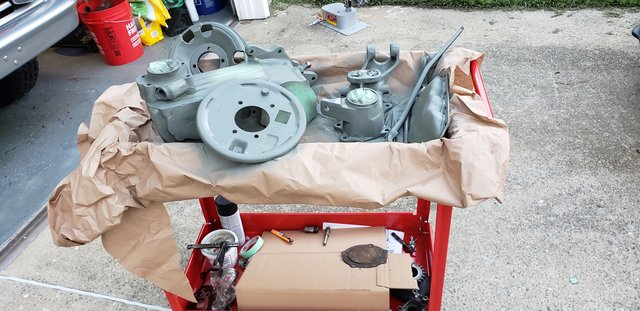
Put the transfer case in primer.
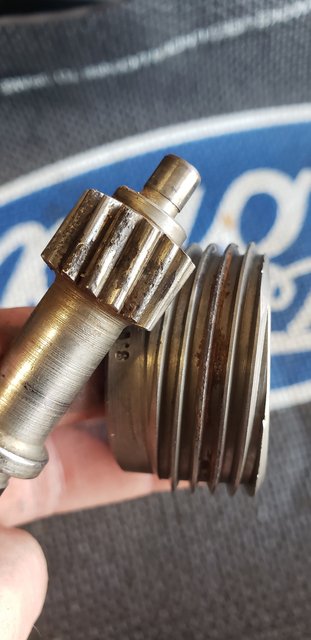
Noticed a little bit of pitting on the speedometer driven gear teeth .... for what I just saw it would cost for a new one, I’ll take my chances on what I got.
I do need a better way to get the flaking paint off some of my parts. I have so much still to do in that realm. That blue and yellow paint from the PO sure starts to glitter up once it starts flaking off.
Posted: Mon Aug 23, 2021 6:03 pm
by CoastieReid
the driven gear for my speedometer... I'm gonna run it. I do not have a cable though- that was cut because I couldn't get it out otherwise back at disassembly of the jeep.
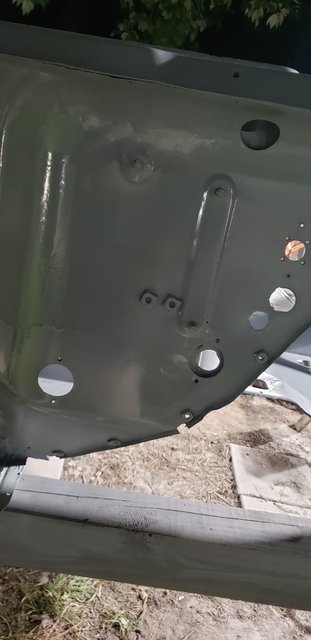
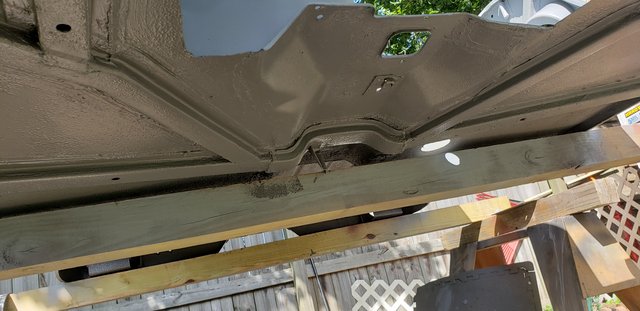
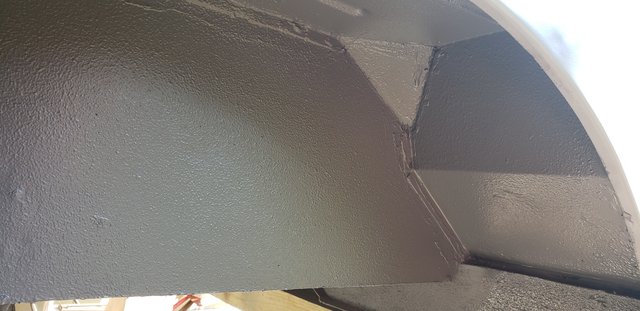
I had been reluctant to use epoxy on this build due to the extra it causes. The extra money, the extra air hose i have to run to the back yard, the extra time for cleaning out the HVLP gun, the extra everything. I decided a week ago that I would do epoxy and am now getting around to it.
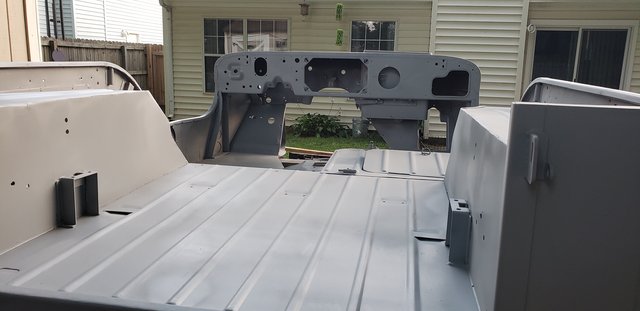
just the firewall
cowl and the driver side for now.
not a great picture, but I left my transfer case baking on the driveway for about 12 hours today
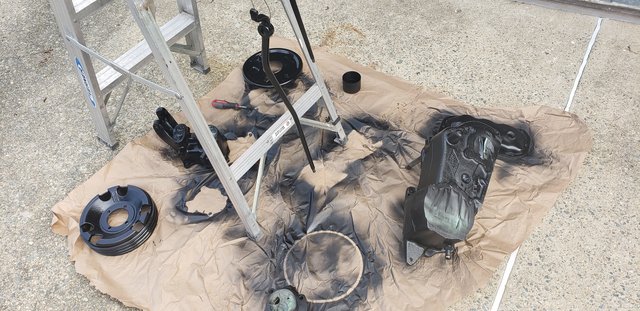
it was only 95 with 65% humidity. (felt like 100* plus outside)
I only have a QT of epoxy left, and will have more delivered shortly. I have to sand down the hood, the grill, passenger side, tailgate, and fix the windshield.
[/u]
Posted: Tue Aug 24, 2021 5:45 am
by CoastieReid
Sidebar comment...
Was talking with my Dad(he's retired CG and LEO- babysits my dogs when I'm on deployment) the other night- back when he was a teen in the 70's, his dad got him a job. His Dad (grandpa Reid) was at the Satellite Tracking Station in New Boston NH back then, and of course a teenager needs a job.
That job was to paint and clean the jeeps at the base.
Dad didn't talk much about it, but he did know that they would in lazy teen fashion just slap new paint right over some old. He mentioned that he would actually put the stencils on and paint those more often than spray the whole thing.
Interesting- the Space Force is now operating that Satellite tracking station in that location.
Posted: Tue Aug 24, 2021 6:31 pm
by CoastieReid
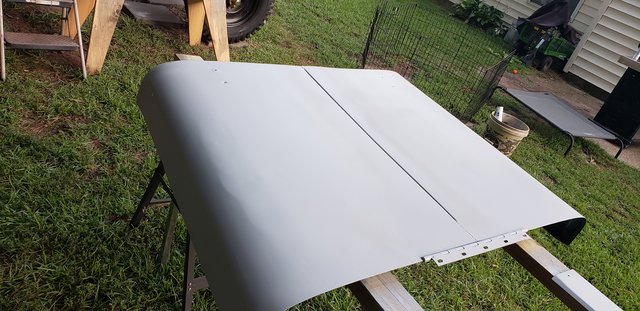
one last look at the hood numbers.
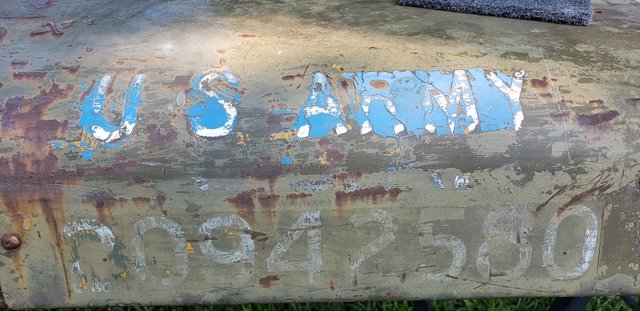
they gone.
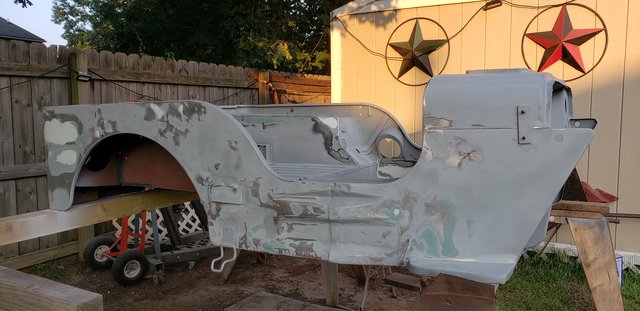
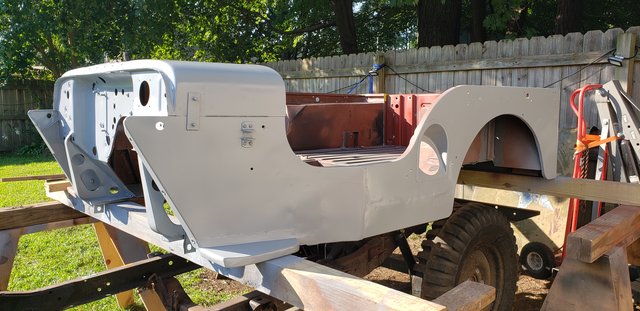
sanded to 120
The whole body tub sanded down to 120
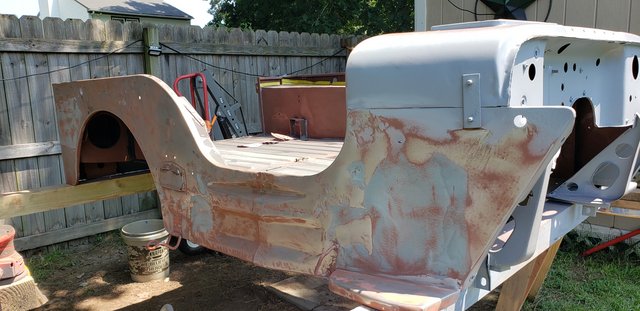
sat down for a little cold drink- while experiencing super hot weather- admiring my mess
little drinking problem...… it was over 100 today.
I used a Quart of a Sherman Williams brand epoxy and I don't like that brand. I like that it is in epoxy now don't get me wrong... I normally use Transtar epoxy but I ran out and my order didn't come in yet- I got a email notification it would be in tomorrow.
Tomorrow I am driving about 4 hours away towards the middle of the state near the NC border to look at 25 acres of land... I am considering buying for a future home- away from the city.
Posted: Thu Aug 26, 2021 7:03 pm
by 4x4M38
I bought a speedo cable a while back. Reasonable.
I’ll try and figure out who the vendor was.
Make sure you have the right pins in the cable so they match the gear and speedo.
Posted: Sat Aug 28, 2021 7:27 pm
by CoastieReid
Posted: Mon Aug 30, 2021 5:56 pm
by CoastieReid
I used a eastwood chassis paint and rustoleum over a year ago and it’s faded bad. I used Majic paint from tractor supply and the catalyst this time. Brushed and rolled.not perfect- just trying to keep the rust at bay. This Jeep sits outside all day every day.
And I did a Brown material job at this... cut a hole using a holes saw for the light, and it was rough... need to file this out better, like real rough. Pissed me off and I stopped cause I’d make it worse. Its too tight for the mock up of the light right now.

I will get this fixed, and do the other side with a better hole saw.
Posted: Sat Sep 04, 2021 3:05 pm
by CoastieReid
I found a lennox brand 5" hole saw which cut through this sheet metal like butter. The HF was crap.

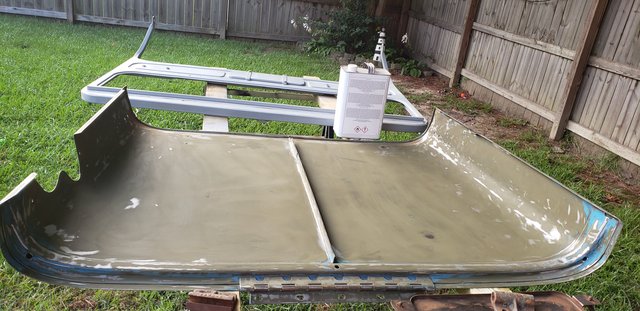
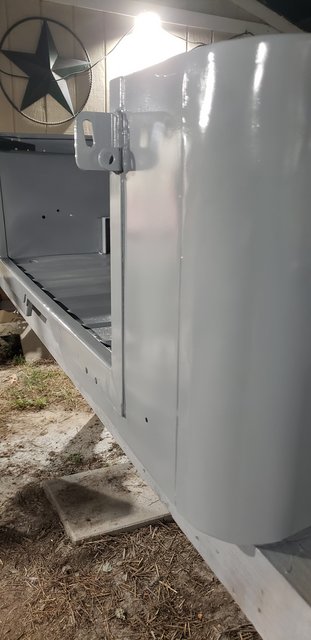
finished rolling on the Monstaliner bedliner under the tub. I also painted the wheel wells in the rear.

I even coated inside the tool box floor.
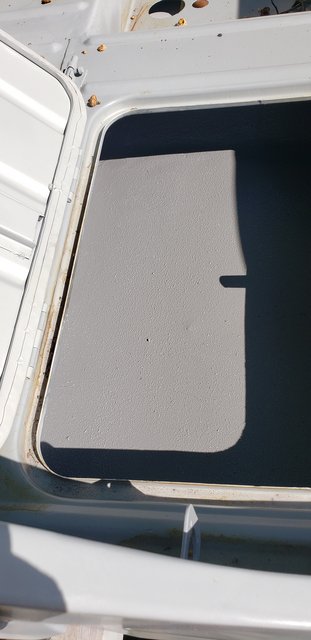
I still have a Quart of unused medium quartz grey, for the front under fenders, and any touchups I need to do later.
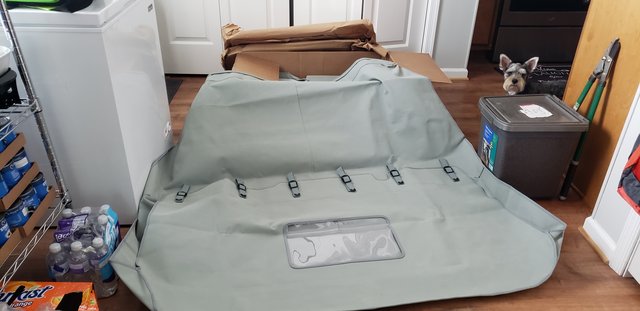
I got a notification that I had a delivery while I was out back, so I grabbed it on a break and see that it was labeled Kaiser.
My dog Kaiser was snooping as I opened the canvas top.
It looks great- its grey.
Sure hope it fits!
I think tonight i will finish painting the front and rear bumpers, and tomorrow I can roll the frame back under the body and lower the body back on for the final time.
Guess I should look at starting my process for finishing the body work and fenders so I can start paint.
I am excited to see the canvas here. lots of progress since I bought the jeep.