Page 1 of 1
Left hand threads on Both rear axle hubs - DANA 44
Posted: Thu Sep 05, 2019 6:34 pm
by Jeff_Lee
I am rebuilding the brakes on my 1951 M38, and are replacing all the wear parts, including the drums. I also decided to change the wheel bearings and seals at the same time. While digging into this project I found that I have left hand threads on BOTH rear hubs.... obviously a field upgrade at some point along the way, ha. I had not noticed this before and just followed the "L" stamp on the end of the studs to instruct my wrenching. Both hubs appear untouched - the studs appear to be "first press".
I want to change one hub to Right Hand threads while I have it to hand. I have purchased 5 new RH studs of the correct length
Is this a simple process of press out the old, and press in the new stud ??
I have a hydraulic press that is quite powerful and should do the job. I am a little concerned about oversizing the press-fit holes, and ending up with 5 non-concentric or loose studs.
And just to be sure, the LH threaded studs go on the right rear hub and front left hub?
Any tips appreciated... Jeff
Posted: Thu Sep 05, 2019 10:13 pm
by chuck
Left hand threads on left(driver) side, right hand threads on right(passenger) side.
Posted: Fri Sep 06, 2019 12:51 am
by wesk
1 - remove three countersunk screws retaining drum to hub.
2 - Separate drum from hub.
3 - Drive out or press out the five studs. (Take care to support back side during driving, pressing or hammering operations to avoid creating excessive runout in the hub which is limited to 0.030".)
4 - Drive in or press in the new studs. (Take care to support back side during driving, pressing or hammering operations to avoid creating excessive runout in the hub which is limited to 0.030".)
5 - Check hub runout\
Join drum to hub again with the 3 countersunk screws.
There is painfully little info in the TM's and civvy sm's on this procedure.
TM 9-8012 offers only a single paragraph 218 pages 251 & 252.
TM 9-1804B is useless on this topic.
Early CJ service manual SM-1002 helps but has a lack of info or error in that the writer of this service manual was unaware the drum is retained on the hub with three countersunk 1/4-20 screws. It is not retained by swaging the wheel lug studs in any way as it suggests.
If you don't have these manuals then I would strongly suggest you obtain them. We offer all the military TM's free in PDF format on our downloads page. I haven't PDF'd the early CJ manual SM-1002 or the later CJ manual SM-1046 yet but you xcan find scans of their important chapters in my photo album:
http://www.willysmjeeps.com/v2/modules. ... _album.php and
http://www.willysmjeeps.com/v2/modules. ... _album.php
Posted: Fri Sep 06, 2019 6:58 am
by jam51m38cdn
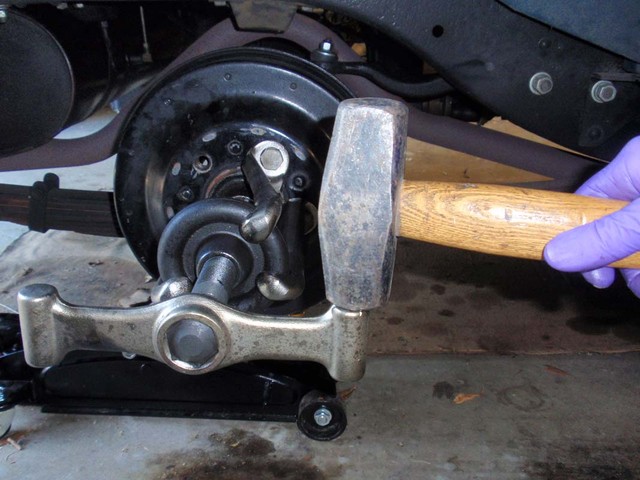
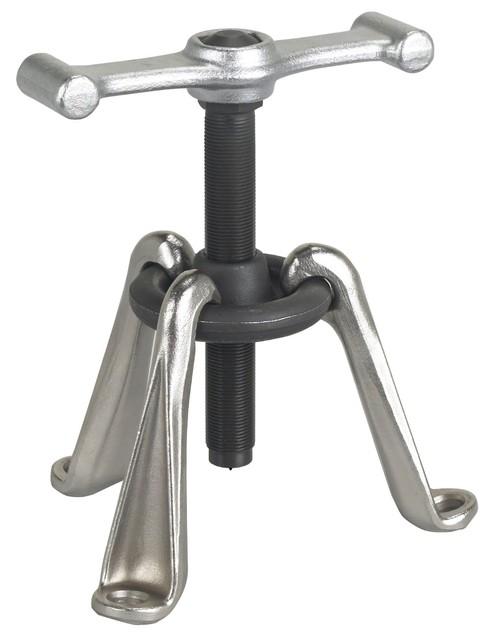
I have never had to oversize hub holes on anything i put new studs in. Do you have the 2 piece axles with the taper or the newer 1 piece axles. The taper axles can be a lot of fun getting the hubs off. I have found only 2 pullers that will do the job. Both of them bolt on to the lugs.

Jim
Posted: Fri Sep 06, 2019 9:53 am
by wesk
I have never had to oversize hub holes on anything i put new studs in.
Jam, I believe Jeff's comment below means he was concerned about accidentally enlarging the hole in the hub while changing the studs. He does not mean he wishes to enlarge the hole.
I am a little concerned about oversizing the press-fit holes, and ending up with 5 non-concentric or loose studs.
Posted: Fri Sep 06, 2019 12:29 pm
by Jeff_Lee
Thanks Chuck, I would have buggered that up by using my feeble memory.
And Wes, thanks for the instructions. I scanned the doc's looking for guidance, but came up a little short on confidence. I know that the odd broken stud is replaced, but hesitated on popping out all five.
Jim, hubs can be a pain to separate, but mine came off with a 3 legged puller similar to yours. Don't leave home without it!
Thanks all.
Jeff
Posted: Fri Sep 06, 2019 6:32 pm
by jeepjay
on a lot of those hubs the stud is swaged over after installation, if you try to push it out it will enlarge the holes in the hub. there is a tool available that fits over the studs threads and cuts the swaging away which then makes stud removal very easy and the hub retains it's original size
Posted: Fri Sep 06, 2019 7:15 pm
by jam51m38cdn
Another thing i usually do is after i get the old stud out is i start the new stud splines in the same place as the old one and then turn the lug nut around and tighten it up to pull the stud in straight in until it seats against the back of the hub. Jim
Posted: Sun Sep 08, 2019 8:55 pm
by Jeff_Lee
jeepjay wrote:on a lot of those hubs the stud is swaged over after installation, if you try to push it out it will enlarge the holes in the hub. there is a tool available that fits over the studs threads and cuts the swaging away which then makes stud removal very easy and the hub retains it's original size
Not an expert on this stuff, but I think the swaged lugs are on the front wheel brake Drums. It doesn't appear that these rear hub lugs are swaged. I'll be pressing them in/out tomorrow and will report.
Jeff
Posted: Sun Sep 08, 2019 10:01 pm
by wesk
Correct. I believe the swaging articles are errors in the manuals and do not apply at all the toe rear axle on our M38's.