Page 1 of 2
Crossmember replacement
Posted: Mon Jul 20, 2009 6:45 am
by jeeper50
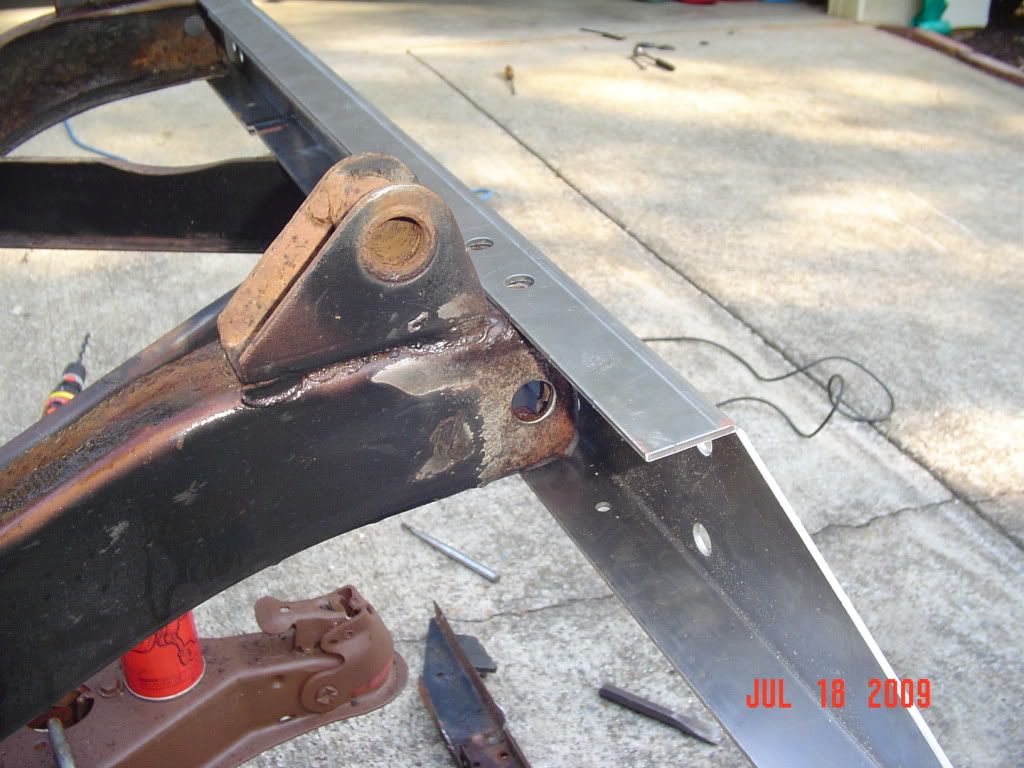
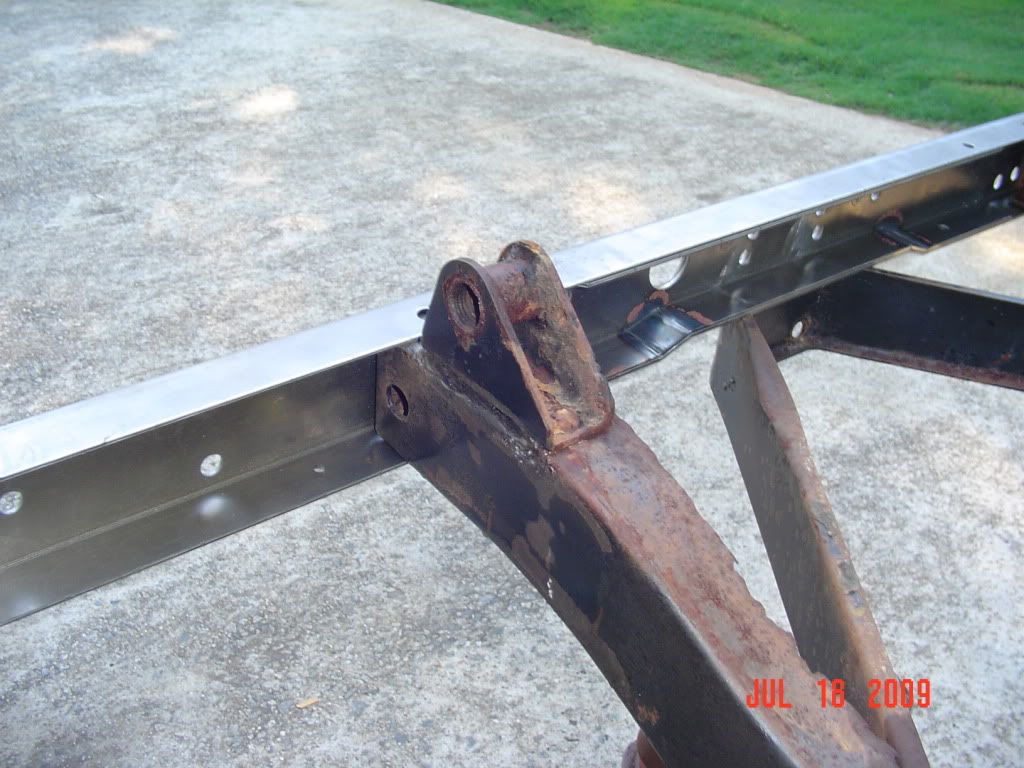
I bought a MWM M38 crossmember for my M606 frame, I removed my old crossmember and cleaned up the frame horns. The replacement crossmember is drilled 1/2 holes and the frame is 3/8 holes, I was wondering how you'all completed installation with the mismatched holes. After fitting it most holes are good as far as matching the frame holes, but did you weld up the holes and back drill the new holes or enlarge the frame holes to 1/2?
Posted: Mon Jul 20, 2009 7:00 am
by idiocrates
My only experience has been with an m38a-1.....but it appears as if my rear crossmember was riveted on with rivets with big flat heads.......maybe the hole size difference is by design. Just my $.02 worth.
Jim
Posted: Mon Jul 20, 2009 7:07 am
by jeeper50
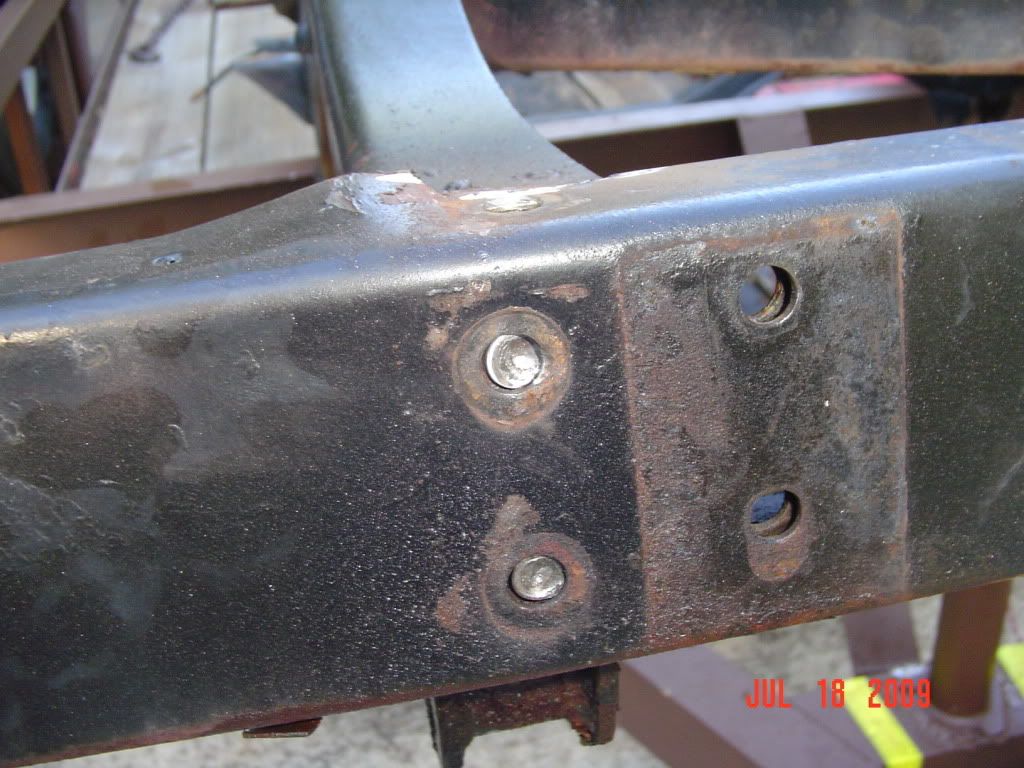
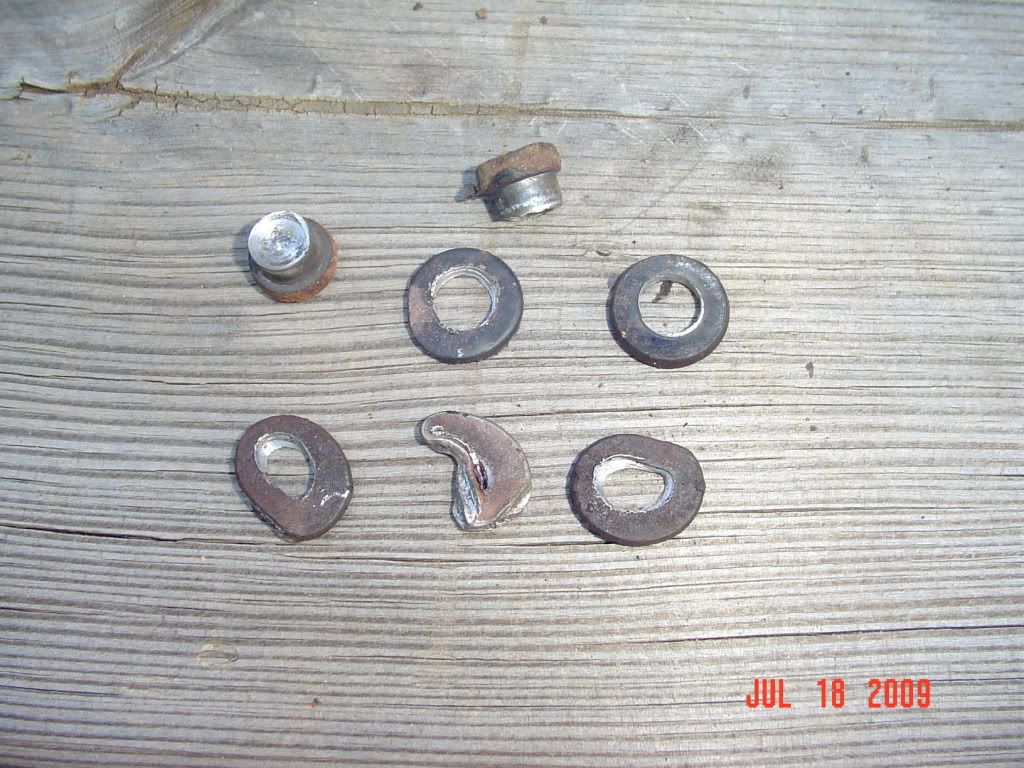
That's what I drilled/chiseled out to remove the old crossmember. I wonder if I could make a bushing out of a washer to take up the size difference.
Posted: Mon Jul 20, 2009 7:14 am
by wesk
This discrepency has been addressed in the past and has been explained as a manufacturer's deliberate attempt to make the crossmember easier to fit with many frames that may not be in perfect alignment. This is a nice idea but I personally would like to see a more accurate repop show up on the market. If this was truly necessary then all repop frame parts would have the wrong size holes. In the ineterim if you want the perfect fit either weld the new holes shut and backdrill or weld in small plugs and backdrill.
crossmember holes
Posted: Tue Jul 21, 2009 4:48 pm
by G740
I beg to differ. The holes in the crossmember were measured from an original M38A1 part. The hole diameter is not supposed to be the same size. They compensated for the expansion of the rivet to take care of this. It was not an arbitrary decision on our part to make one that "caters" to multiple vehicles. We have recently dissected an 1952 M38 and the hole on that crossmember match the one we made. If you all want a crossmember with smaller holes, just say so and we will make it otherwise. Won't be correct, but what ever you guys want, we will make.
John
Posted: Wed Jul 22, 2009 11:43 am
by jeeper50
Can I send mine back in exchange for one drilled 3/8" That would make it sooo much easier?
Posted: Wed Jul 22, 2009 12:15 pm
by idiocrates
I'm guessing it must take some kind of a metallurgic or mechanical engineering degree to fully understand why some things are done the way they are done......why some things are welded....and some things are riveted......and other things have a combination of both......and some things just get bolted together. I can "see" this issue from both sides......from the need to fit old, mishapened frames......to being over-sized because they have always been over-sized and thus will continue to be reproduced that way.......what it really comes down to......is just how "accurate" YOU want YOUR restoration to be. Personally.....I'd settle for 3/8" nuts and bolts with over-sized flat washers over the 1/2" holes......but I know this would probably bring shivers down some people's spines. but then.......all I'm after is functionality. Soooo....to thine own self be true........or like Uncle Charlie used to say.....machts du vas du wilst.......which loosely translated means.......do whatever you want to do because that's what you want to do anyway. hehehe......
Jim
Posted: Wed Jul 22, 2009 3:13 pm
by jeeper50
I'm not biulding a numbers matching restow by any means, but may have stumble upon a cheap answer- 7/16" flat head mild steel rivets for $5.45 for 1lb of rivets. Can be cold worked with a BFH
http://www.rjleahy.com/Techcenter/rivet ... rivets.htm
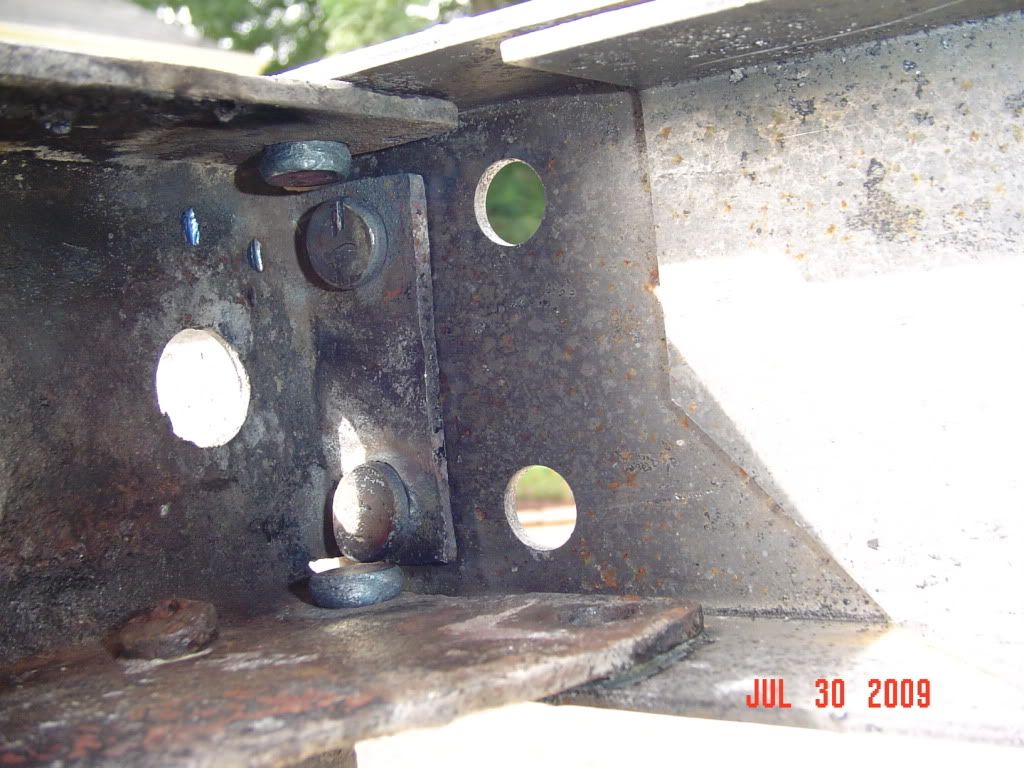
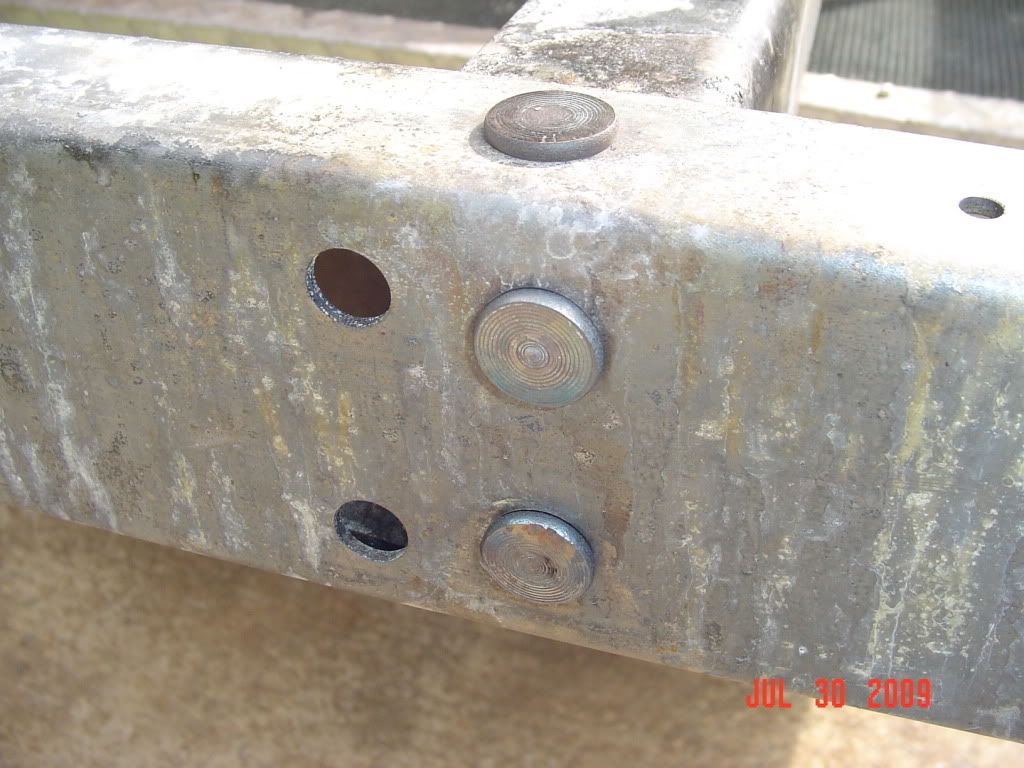
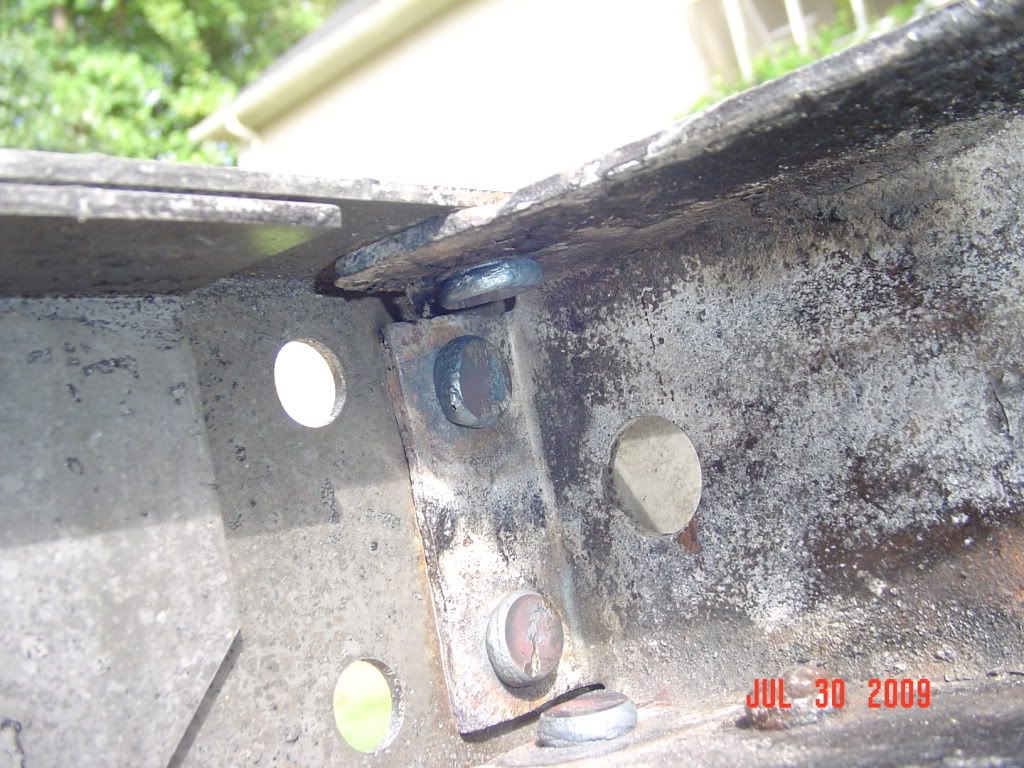
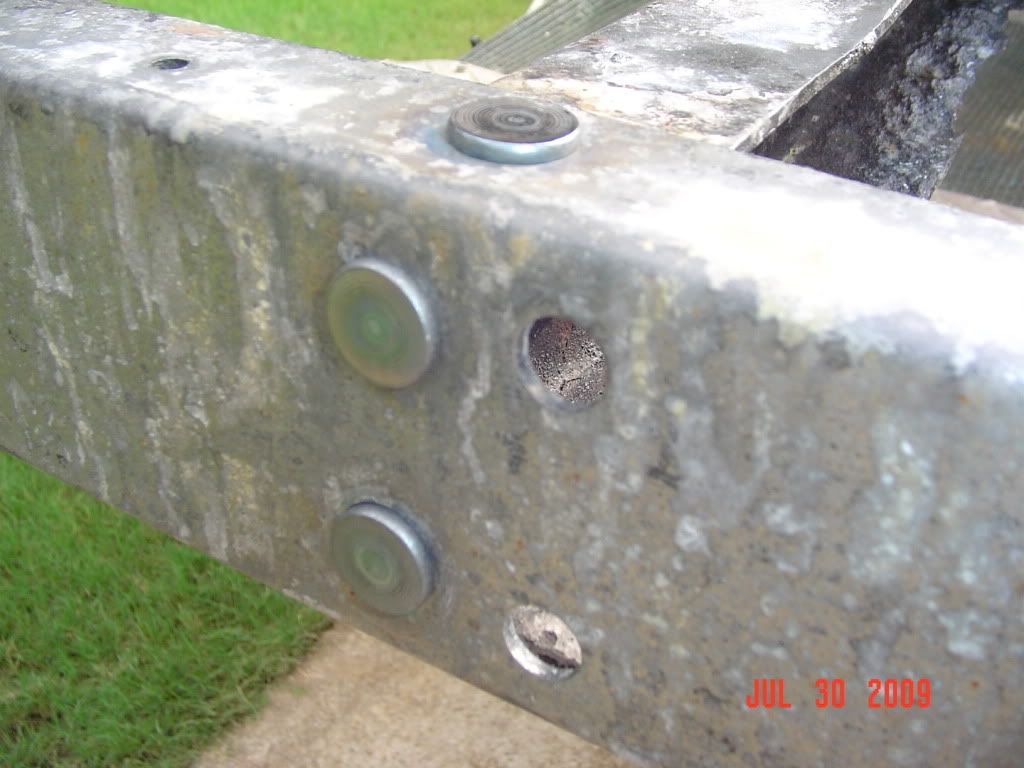
rivets in!!!!
Posted: Thu Jul 30, 2009 6:37 pm
by jeeper50
Posted: Thu Jul 30, 2009 7:29 pm
by 53a1
That looks great. I wish you had some pictures of the tools so I could rig up something.
To summarize your procedure, you heated the rivets to red, put the bucking bar against the revet head on outside of bumper and flattened out the rivet with the rivet gun. How did you reach in those tight areas to flatten them out?
And one final question, what is a flush set?
I was just planning on using some regular bolts but I was going to turn down the bolt head so my Marine bumper will fit over.
Thanks.
Posted: Thu Jul 30, 2009 8:38 pm
by wesk
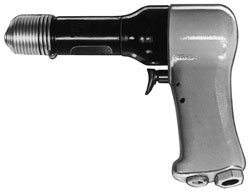
The riveting pneumatic gun You'll need at least a 4X or larger gun.

These bucking bars are used to get into those tight places. They would be placed against the back end of the rivet that will mushroom out.
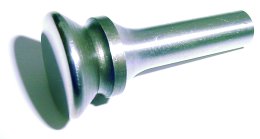
The flush rivet set is placed in the gun and used to strike the front of the rivet.
Links for tools:
http://www.browntool.com/
http://www.aircraft-tool.com/shop/main.aspx
I am an aircraft mechanic and use these tools very often. In fact a lot over the past 45 years. We seldom used more than a 3X gun and rarely have to heat or use steel rivets. Howver when you start talking 3/8" steel rivets and 5X or 6X gun and a torch you must heat these rivets cherry red to set them adequately.
Posted: Fri Jul 31, 2009 7:00 am
by jeeper50
I used this bar for the upper and lower rivets. For the rear facing rivets I used a flat bar clamped to hold the rivet head against the frame and shot the tail of the rivet with the flush set, could have been done the other way.
http://www.aircraft-tool.com/shop/detai ... UCT_ID=141
hit the pawn shops in your area and I bet a air chisel would work good also.
Posted: Fri Jul 31, 2009 9:00 am
by wesk
I own several long and short barrel air chisels. Their stroke is way too long. Makes them impossible to control and keep within a 1" circle. With two hands and a lot of determination you can occasional make the short barrel stand still but if you are spending money for a used tool you may as well buy the right one for the job.
Most larger cities also have used tool resale shops. If you are close to any large aircraft manufacturing town like Riverside, Wichita, Ft. Worth, Macon, and Seatle then you can get real lucky since they have resale tool stores for their tooling used in finished aircraft contracts.
Posted: Fri Jul 31, 2009 9:25 am
by 53a1
Excellent! Thanks for the info, procedures and description of what tools I need for the job. I have a pretty well equipped home machine shop but there is always something new to learn and a new tool to add.
First, I will call around to the tool rental shops and see if they have this tool.
Posted: Fri Jul 31, 2009 10:44 am
by wesk
An extra set of hands is always a good idea. Especially with the large bore 4X and bigger rivet guns. It can be quite difficult to kepp the flush rivet set where you want it and work the bucking bar on the other side of the rivet by yourself. If that rivet gun walks, you will get some serious deep sharp dents on the adjacent steel. We call the assistant the "Buckee".

Note: This type work can be tough on old farts like me. You get something akin to tennis elbow from the hammering effect on your arm.