Page 1 of 1
Generator-Regulator cable
Posted: Tue Nov 29, 2011 1:35 am
by evanso1975
The generator-regulator connection cable for my M38 has no protective rubber sheath left on it. I was going to tape it up, but has anybody used this product before:
http://www.plastidip.com/home_solutions/Liquid_Tape
And if so, is it any good?
Thanks,
Owen.
Posted: Tue Nov 29, 2011 2:00 am
by GPA
Had used Scotchkote Electrical Coating from 3M. Well short of expectations. Buy a new cable instead.
Posted: Tue Nov 29, 2011 4:11 am
by wesk
You remove one end and slide new heat shrink on it and shrink the new shrink with the heat gun and re-assemble the one end. Looks like new.
Posted: Tue Nov 29, 2011 7:21 am
by wilfreeman
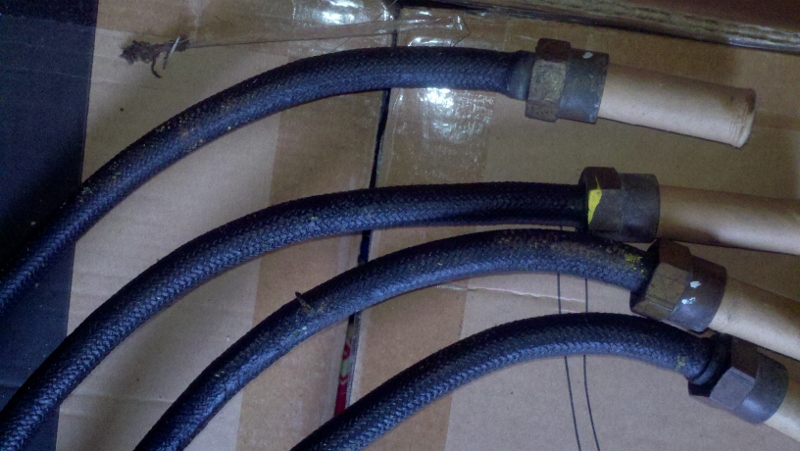
I used something like it from Lowes on my original spark plug wires - put about 3 coats on it. Still looked like painted braid. I'll get a pic in a little while. I guess it prevents any metal on metal contact, which really doesn't matter because it is just a radio interference shield anyway. The rubber was cracking pretty bad on my generator/regulator cable too - I just taped it (because I didn't want to pay $75 for a replacement) and it looks pretty good - matches the wiring harness! I might buy one later on when I start "perfecting" the jeep for shows - right now I just want to get her on the road!
Heat shrink
Posted: Tue Nov 29, 2011 8:15 am
by rdsar2k
I like the idea of removing one end and adding heat shrink. Is there a special tool needed to remove the wires? I couldn't figure it out without risk of damaging my cable further. The M170 cables are not to be had and I have two originals with cracked rubber. I also googled searched for a instrument bezel crimping tool without any luck. Seems everyone wants you to send your gage to them. I did find a lot of instruction on cutting the bezel retainer or prying it off and gently re-crimping with pliers whose jaws were wrapped with tape.
Posted: Tue Nov 29, 2011 9:47 am
by wilfreeman
Here's a pic of my Plasti-Dipped (actually painted on - 3 coats) spark plug wires. Maybe they can be sanded down smooth and painted with another coat, I don't know. They are kindof stiff too, but it's kindof cold out too. They are good for spares though.
Posted: Tue Nov 29, 2011 11:44 am
by evanso1975
Thanks for the info folks.
If I can figure out how the end of the cable comes off, heat shrink might be the best way to go.

Posted: Tue Nov 29, 2011 11:55 am
by wesk
I'll get you the info. There is a manual just for the electrical connectors and switches produced by Bendix/Scintilla. TM 9-1825E. I bought one after a long search last year and the pages concerning the Bendix main light switch are in the downloads section.
The procedure is quite simple. Some of the three wires in them will be soldered and some will be crimped. The connector is in three parts, outer nut, inner nut and pin block.
Someone else asked this question a few weeks ago on the G503 and I explained it to them and they even posted the size heat shrink they used. The exposed braid pattern is not the look you want. The rubber sleeve is to prevent chaffing that could wear through the braid or though the object it may be chaffing on. It is not there to seal the cable assy nor is it there to insulate electrically.
This is also a good time to inspect the three or two wires for condition and replace if necessary.
Posted: Tue Nov 29, 2011 1:14 pm
by evanso1975
Thanks Wes, the info came through OK.
