This is one of the easiest and most useful tools I have built.
I had all the materials on hand so it was very inexpensive. I don't know how a person could do a good job of painting without one.
Nice set up!
With my frame I just had it up on stools and was able to paint everything. That would of been nice to been able to spin it over though. For my tub though I did do the rotissorie thing to work on it and to paint.
I built this with the idea that I will be able to use it on the tub as well by just shortening the 2x4's on the sides.
I'll see how it works here in a couple of months when I get to that part of the restoration.
Bravo! Very well done. Simple design and construction yet very capable. What are the dimensions for the width at the bases and the height from bottom of base to pivot point if I may ask?
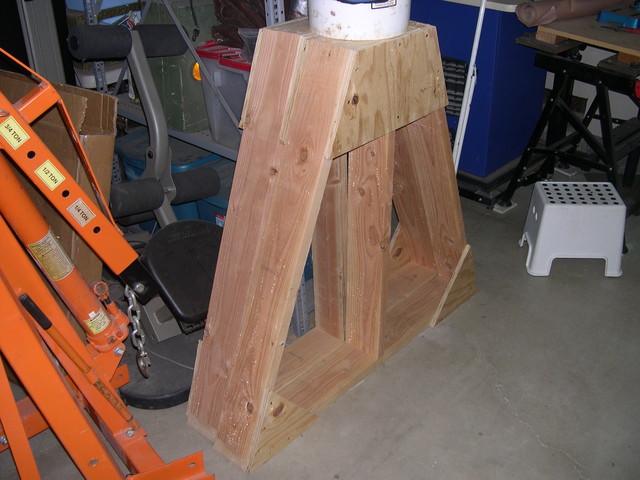
The bases are 48" long and made from an 8' 4"x6" beam cut in half.
The sides are 2"x6" and measure about 38" end to end. I started out with 40" sections but the bevel needs to be cut so it sits flat on the base board and the spindle base.
This gives about 40" of clearance from the supporting rails on the sides which are 2"x4" attached.
The distance from the bottom of the base to the pivot point of the spindle is about 40".
I haven't put the tub on it yet but it should work.
Last edited by citabra on Mon Aug 27, 2012 9:13 am, edited 1 time in total.
That looks good. I started building mine a couple of weeks ago. I still need to build the frame to mount the tub. I bought some 2x2 square tubing for that.
Looks like a good design for a frame but I would be careful mounting a tub to it. Because there is no housing for the metal tubing to rotate in, you may want to use a three or four point mount for the tub or it may end up folding on you.
Thanks Dave. I have a couple of pipe vises for the tub to rotate on. I may only use one vise on one side with something else on the other side. I haven't gotten that far yet. I'll use a couple of 2x4s (or something) on each side with a few braces along the way.
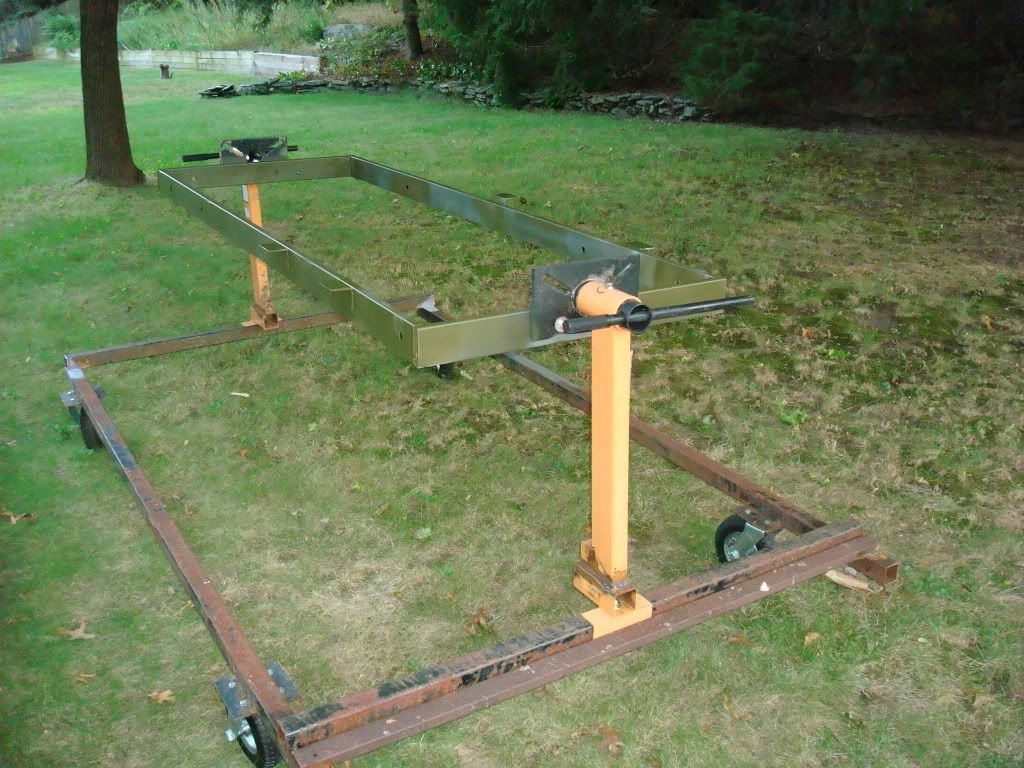
I just finished making this out of Ducati shipping crates and scrap steel.
The engine stands came off of Craigs list and the casters from Harbor
Freight. I have a little less than 90.00 with 2 to 3 hours into.
Its going to cost me some Sam Adams to get some help to lift the body on it .