How-to: Faux Frame Rivets
Posted: Sun Sep 08, 2013 8:06 am
While affixing my new rear crossmember to the frame I tried out a suggestion that I had heard in the past about how to create faux rivets to match the originals on the rest of the frame. The end result came out quite well and I decided to share it with you all as a how-to guide.
Note: Do not rely solely on these faux rivets to affix your crossmember to the frame. Proper welds should be completed in addition.
How-to: Create faux frame rivets to maintain the original manufactured appearance.
You need:
- Washers
- Wire wheel
- Grinder w/ grinding disc
- welding setup (I used mig)
Step 1
If the washer is coated, take it to the wire wheel and thoroughly clean off the coating.
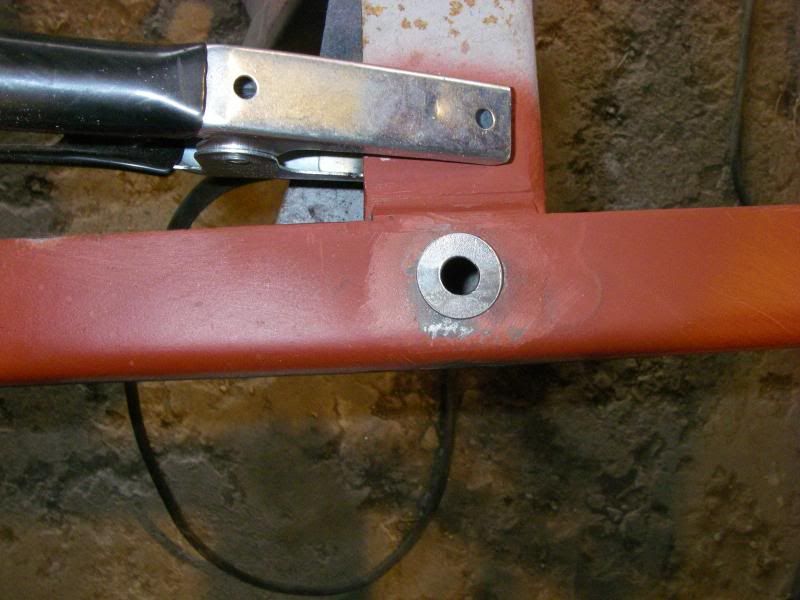
Step 2
Place the washer on the frame where you would like to create the rivet.
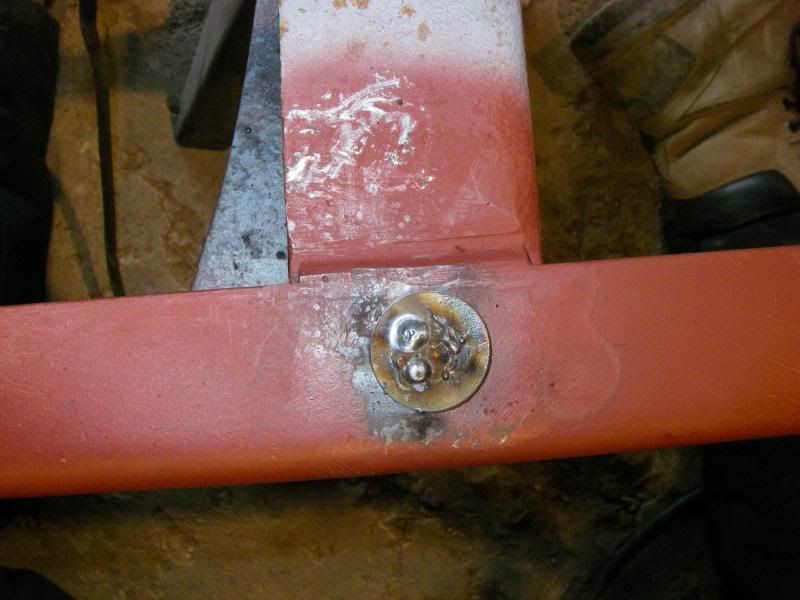
Step 3
Start at the bottom with the frame and work your way in and up filling the washer with weld.

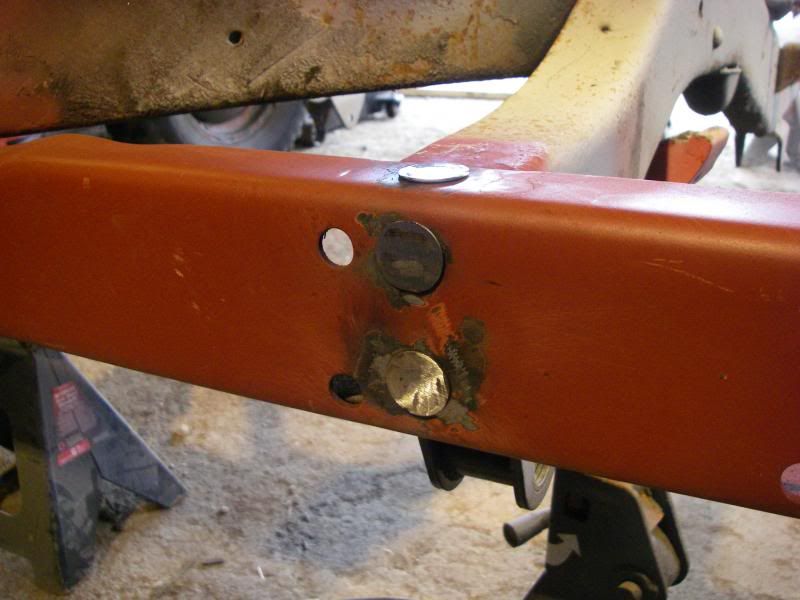
Step 4
Grind the product flush so that there is no colour difference between the weld and washer.
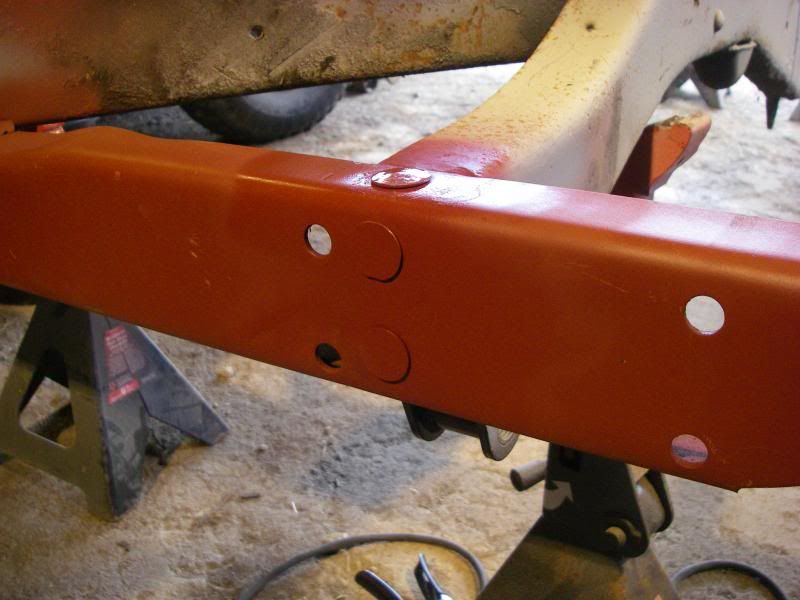
Step 5
Cover your new faux rivets in a coat of primer and paint.
Note: Do not rely solely on these faux rivets to affix your crossmember to the frame. Proper welds should be completed in addition.
How-to: Create faux frame rivets to maintain the original manufactured appearance.
You need:
- Washers
- Wire wheel
- Grinder w/ grinding disc
- welding setup (I used mig)
Step 1
If the washer is coated, take it to the wire wheel and thoroughly clean off the coating.
Step 2
Place the washer on the frame where you would like to create the rivet.
Step 3
Start at the bottom with the frame and work your way in and up filling the washer with weld.
Step 4
Grind the product flush so that there is no colour difference between the weld and washer.
Step 5
Cover your new faux rivets in a coat of primer and paint.