Patch repair
Posted: Fri Jun 27, 2014 9:23 am
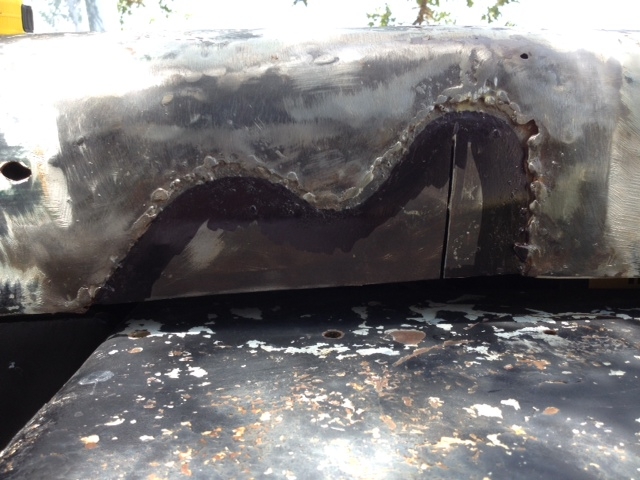
Now I will preface what I am about to say with this. I am in the pipeline business. I have seen pipeline welders make welds that will pass x-ray inspection in the rain, snow, sleet, sunshine, night, standing up, laying down, upside down, hanging in a bucket on the side of a tank and the ultimate are underwater pipeline welders. So I have some small basis for my next comment.
The guy that did this was no welder.
Instead of doing any body metal repair at all to the dents and bends, and then deciding to tack on a piece of sheet behind the fording cutout, he then layered on 3/8" to 1/2" of Bondo and then smoothed, sanded, and painted that mess.
I have it all off the area now. Trying to decide whether to remove the patch and correct the cutout before any metal work, or try and do some sheetmetal work first.
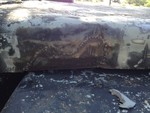
I can't imagine how much money in Bondo Bubba put in this thing. The left front fender has about 3/8" of Bondo layered into a dished area that could have simply been pounded out from underneath. He might have used a cupful to then level it instead of the quart.
The guy that did this was no welder.
Instead of doing any body metal repair at all to the dents and bends, and then deciding to tack on a piece of sheet behind the fording cutout, he then layered on 3/8" to 1/2" of Bondo and then smoothed, sanded, and painted that mess.
I have it all off the area now. Trying to decide whether to remove the patch and correct the cutout before any metal work, or try and do some sheetmetal work first.
I can't imagine how much money in Bondo Bubba put in this thing. The left front fender has about 3/8" of Bondo layered into a dished area that could have simply been pounded out from underneath. He might have used a cupful to then level it instead of the quart.

 shame there is no practical remedy for recycling or the repurpose of spent bondo.